2-Day Expedited Shipping Only $14.95 - See Restrictions
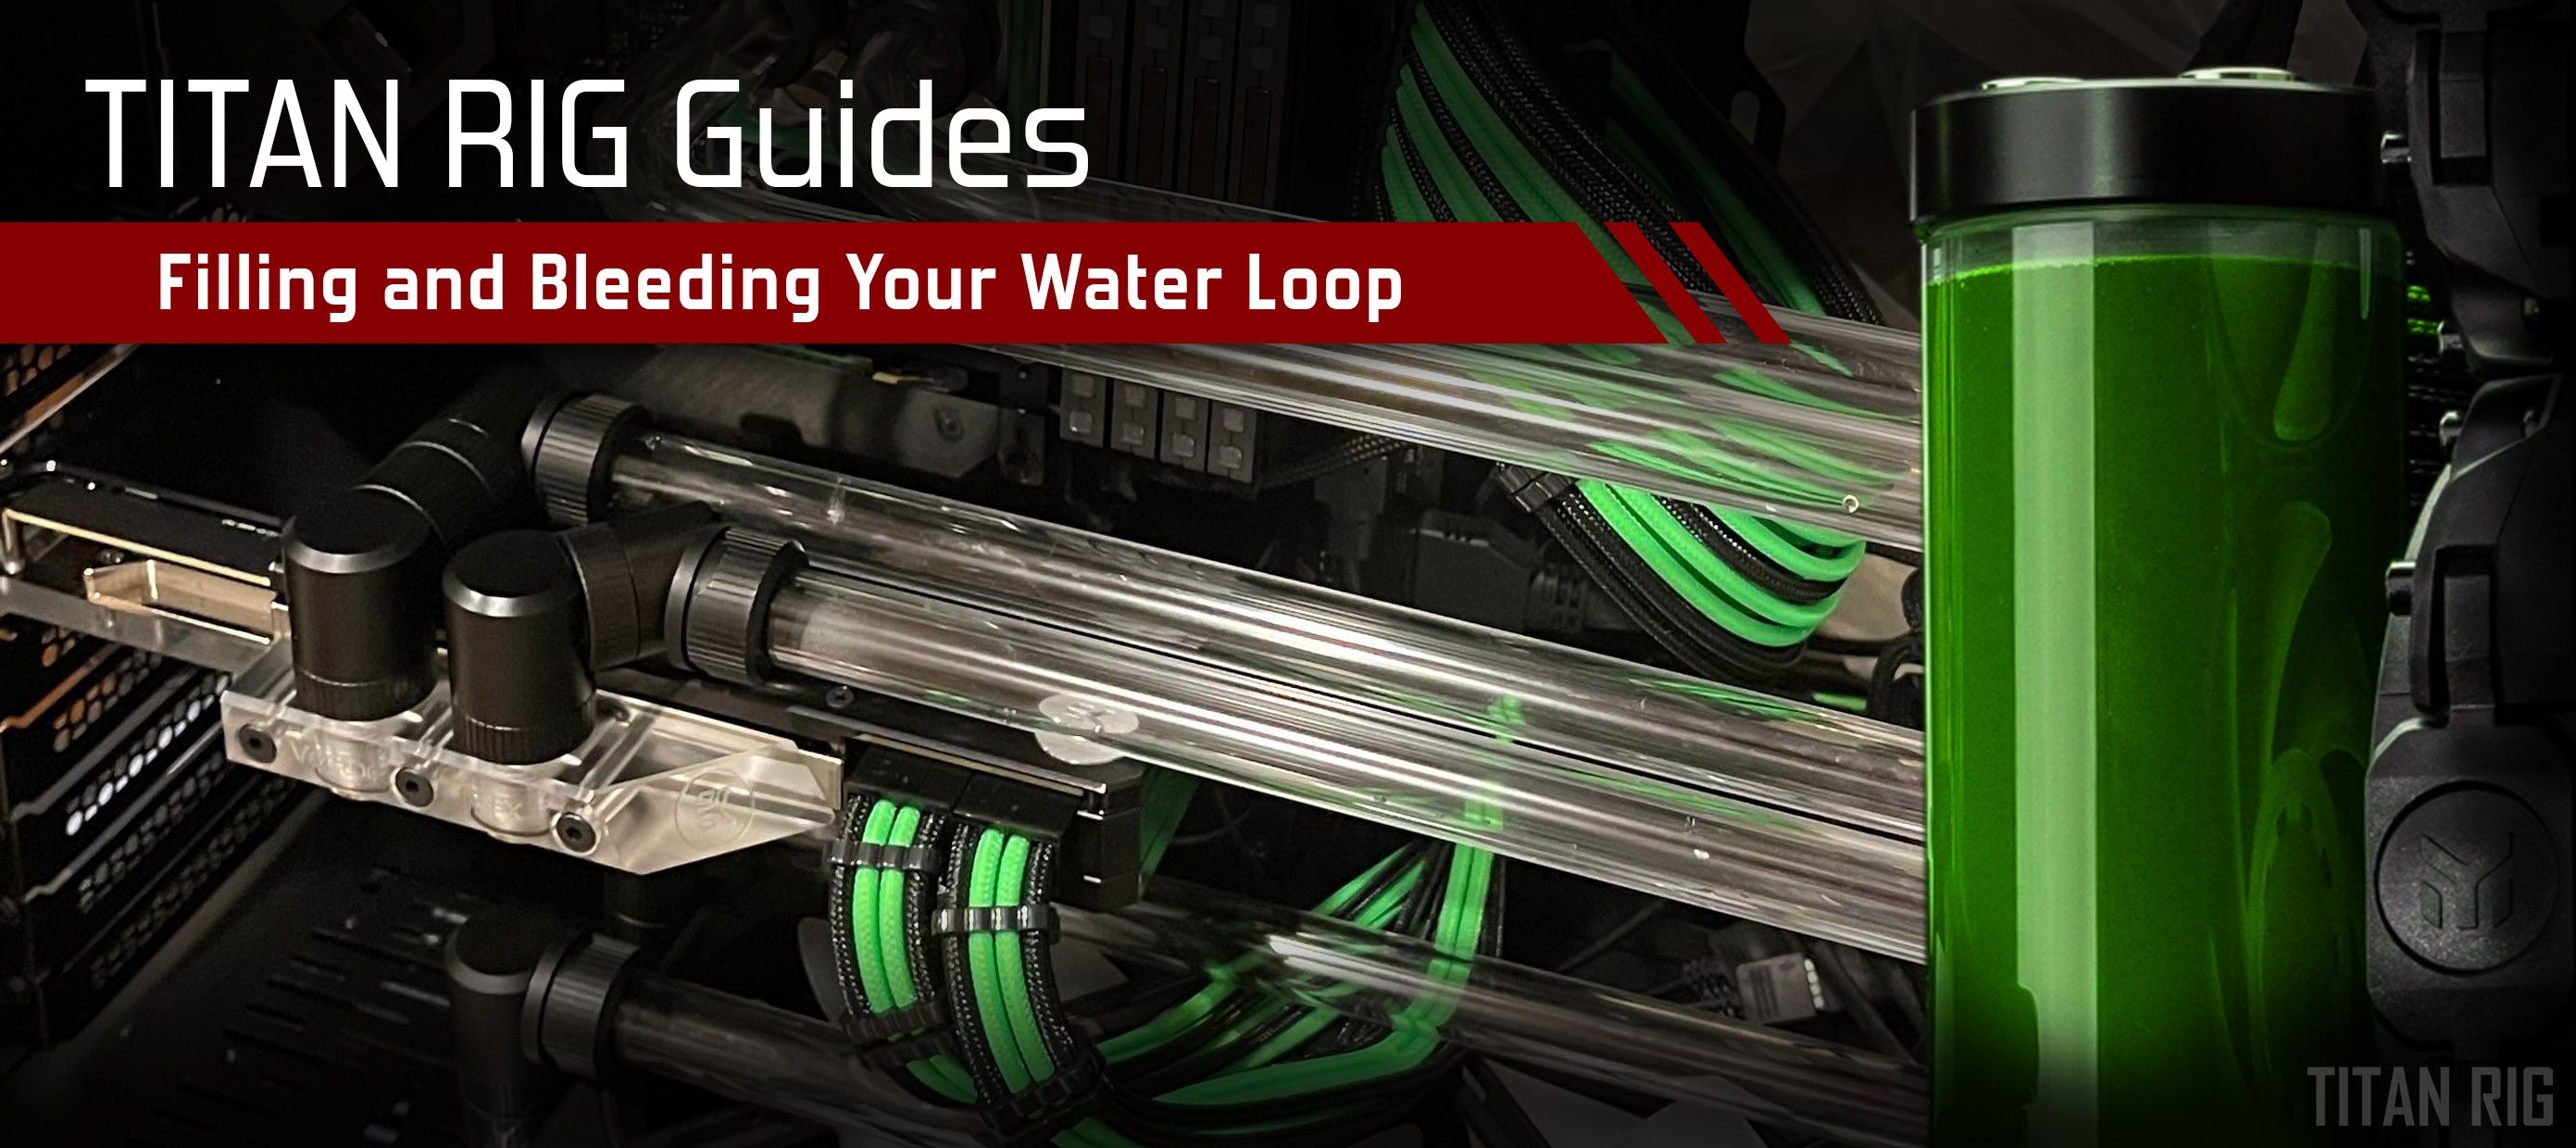
How To Fill And Bleed Your Water Loop
January 24, 2022
You’re there. You’re at the point of no return.
You planned out your water cooling loop meticulously.
You bought your parts and cleaned them all up on arrival.
You painstakingly installed your water blocks with all their associated thermal pads and fasteners.
You put your radiators and fans in the most efficient placement possible.
You installed your reservoir and pump as instructed.
You ran your tubing and made sure all your connections were tight.
Everything is together – a beautiful assembly of cooling capacity just waiting for the last piece in the puzzle to begin its years of faithful service.
You’ve chosen your coolant and have plenty on hand.
Now what?
On the surface, getting the coolant into your new loop seems like a simple thing – and it can be.
When it comes to a more complex cooling loop though, getting coolant into all the places it needs to be can be a little more challenging.
Let’s look at the process step by step.
Note: The first part of this guide assumes you have a reservoir in your system, whether it’s a standalone reservoir or a pump/reservoir combo unit.
1 - How Do I Get It In There?
The first step is pretty obvious – we have to get coolant into our reservoir. If a closed liquid circulation system has a starting point, it’s the reservoir. So how do we get coolant into it?
While the filling process will be a little different for different setups, the main challenges are caused by the same things.
Physics is going work against us here. The system we’re adding coolant to isn’t actually empty. It’s completely full in fact – full of air.
If we want to add coolant to the system, we have to displace the air in the process. The water is obviously heavier and denser than air, so gravity will help, but there are problems that gravity can’t overcome by itself.
The single biggest problem in filling a water cooling system is providing an exit for the air that’s already in there. For the air to leave the loop to make room for the water there has to be a way for it to get out.
Vapor lock – Vapor lock or air lock is what happens when the air in a closed liquid system can’t escape – that means liquid can’t enter. This happens when the air doesn’t have a large enough path to exit at the same rate that the liquid is entering.
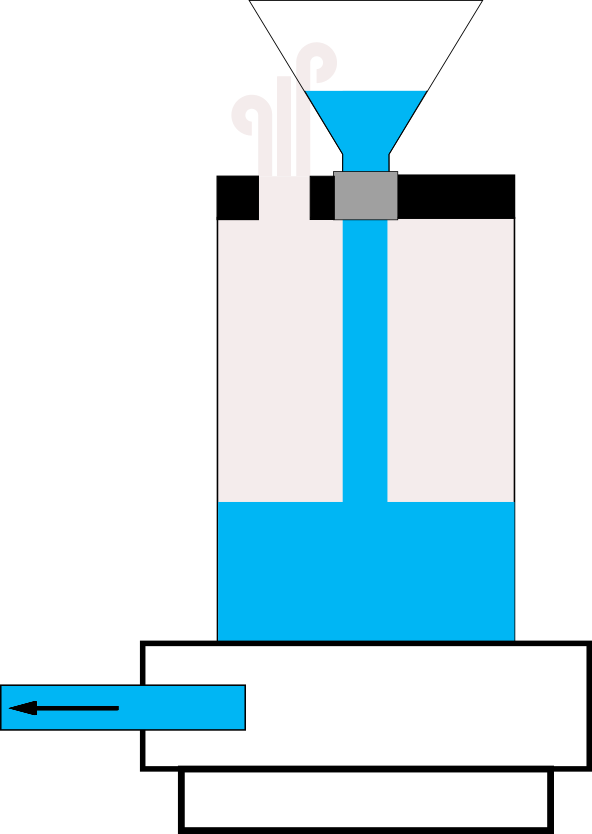
Vapor lock can happen even in an ideal setup. If we were able to attach a threaded funnel to a fill port on the reservoir and pour our coolant in as fast as we could, we’d quickly end up with something like this:
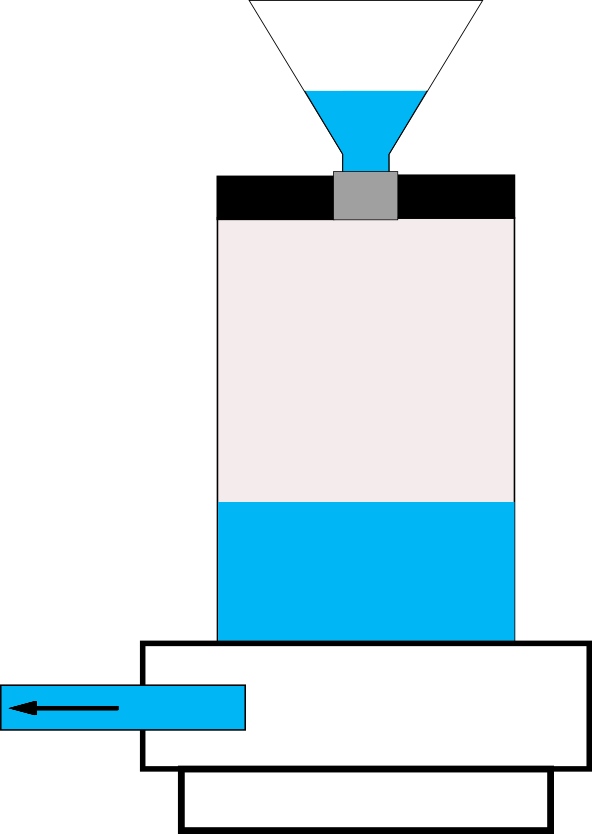
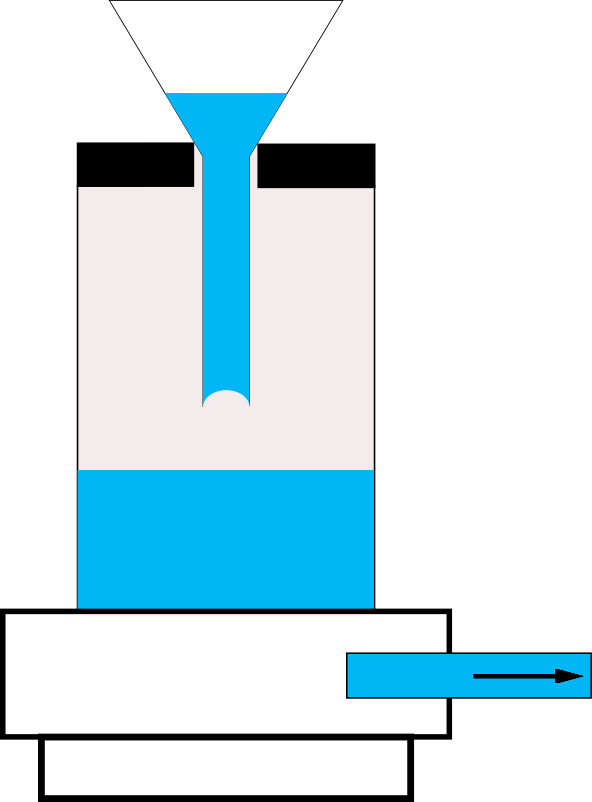
In the image on the left, a threaded funnel is being used. While these are convenient since they stay in place without needing to be held, they also completely block the port, preventing air from escaping around the outer edge.
The image on the right shows a more standard funnel placed fully in the reservoir top, resting on the outer edges of the fill port. Same effect here.
The coolant is blocking the way for the air to escape, and the air is blocking the way for the coolant to enter. Typically this results in bubbles as the weight difference of the two materials gradually forces the liquid in and the air out, but if your exit path is small enough that won’t happen.
What to do about it?
The best thing to do about vapor lock is to avoid it altogether.
In the above example, using a funnel with a larger neck would help – the larger the opening the easier it is for the coolant and air to pass each other when changing places. Instead of that single bubble trapped at the bottom of the neck, we’d see bubbles traveling up the neck and out the top.
Using a standard non-threaded funnel, we could just lift the funnel up a little bit to let air escape around the outside edge. This can be problematic also though, since it requires a hand to hold the funnel in place.
Opening another port on the top of the reservoir will solve the vapor lock problem completely. Coolant and air wouldn’t be fighting for the same passage and your coolant would flow in and displace the air easily.
One of the best ways to eliminate vapor lock is something that I’ve started using in every water loop I build: a manual exhaust fitting.
If you have a port you can install one of these into, preferably as high as possible in the loop, you can simply press the outer face of the valve as you pour in your coolant and the trapped air will escape through the valve. It doesn’t care where it exits – if there’s a path out it’ll go out.
These are also excellent for draining, since vapor lock works the exact same way in reverse.
It’s tight in there!
SFF PCs are getting to be more and more popular, and offer their own challenges to water cooling. With less space comes less access, including access to your reservoir.
If access is a problem, there are some tools to help.
Filling bottles are an excellent choice for hard-to reach reservoirs.
If your space is so tight that a filling bottle won’t even reach it, another option is to install an angled fitting in the top port of the reservoir and attach a length of flexible tube to the fitting to use as a fill tube.
2 – Get It Moving!
When you first add your coolant to your loop, you’ll only be able to add coolant until the reservoir is full. Depending on your reservoir placement, some of your coolant may run out of it into part of your loop with the help of gravity, but it will eventually reach a level where the reservoir fills up.
At this point you’ll need to use the pump in your loop to move the coolant out of the reservoir and into the system.
The most common way to do this is to use the power supply in the PC to power the pump. This works perfectly well and it’s usually a convenient way to do it.
Remember though: since this is the first time the system has actually had liquid in it, we can’t know for sure if we have any leaks.
We all know that active electronics and liquid don’t play well together.
Good news though: it’s not the electronics themselves that don’t get along with liquid – it’s the electricity.
What some people may not know is that PC components can get wet and still work normally after a thorough drying *if there is no power going through them when they get wet*.
Liquid on actively-powered electronics causes short circuits that the electricity can follow to get to places it shouldn’t be. That’s what damaged the parts, not the liquid.
Any time you fill a new liquid loop, all of the components in the PC besides the water pump should not have power connected to them.
Disconnect power from every component in your system besides the water pump. If you have a modular power supply it may be easier to disconnect your cables on that end.
With the 24-pin cable disconnected, we can’t use the power switch on the case to turn on the power supply. We’ll have to trick it into thinking the switch is on.
In order to do that, we have to make a connection on the power supply’s 24-pin cable by bridging (connecting) two of the pins.
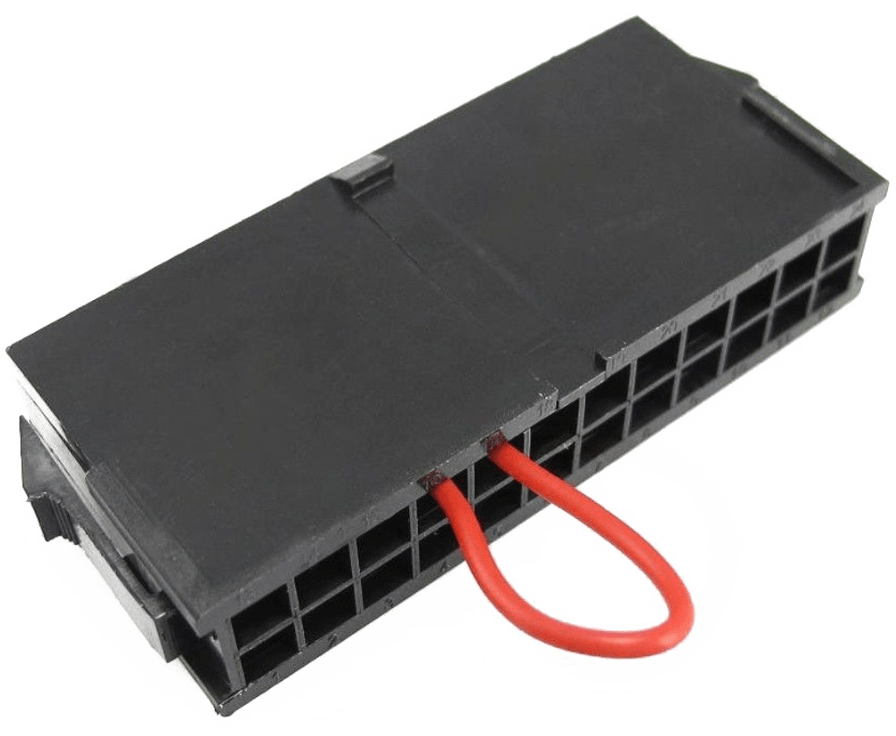
The easiest way to do it is with a PSU bridge connector, but it can be done safely with a paper clip if you don’t have a PSU bridge handy.
1 – Make sure the power supply is unplugged and the power switch on the back is off.
2 – locate the pins you need to bridge – in the pinout diagram below the trigger circuit is #16. The connection needs to be made between #16 and any of the black ground pins.

Your connector won’t have numbers on it. If you look at the side of the connector that has the latching tab, the pin you want is the fourth pin from the left.
Take your paper clip and bend it into a U shape. Insert one end into #16 and the other into any of the ground pins. The easiest way is just to use one of the pins directly beside #16 – there are ground pins on both sides.
Once that connection is made, leave the paper clip there. Plug your power supply in.
At this point, whenever you flip the power switch on the back of the power supply it will turn on and power anything connected to it.
Since the only thing connected to it now is your water pump, the power supply switch becomes a water pump switch. :)
Our friends at Bit-Tech have an excellent writeup on the entire process too.
Another method for powering your pump without using your PC at all is an external power supply.
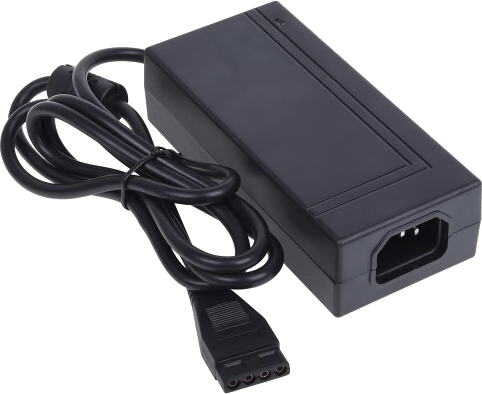
If your pump is powered by a 4-pin Molex-type connector, you’ll need something like the 2-amp 12V/5V power supply from CoolerGuys. There are other models out there also – all you have to have is something that converts wall power to 12V DC and has a connector that fits your pump.
Adapters are available for changing these from 4-pin Molex to SATA and even 3-pin connectors, depending on how your pump is wired.
Personally I like simple “wall wart” power supplies for this. They’re small, simple and cheap. The one I use even has a switch on the cord already.
OK, it’s got power – now what?
Once you have power to your water pump – and nothing else – you can get that coolant out of your reservoir to where it’s supposed to be.
Turn on your pump and keep a close eye on the coolant in the reservoir. It will move FAST and you don’t want to run your pump dry. As soon as the liquid level drops to the top of the pump, shut it off.
Now you have an empty reservoir again. Lather, rinse, repeat. Fill the reservoir again, empty it with the pump again. Eventually you’ll start to get coolant returning to the reservoir as the loop fills up.
At some point the reservoir won’t completely empty when you turn on the pump. You’re almost there!
When that happens you can add coolant with the pump running until you finally have a stable full reservoir.
Be sure to leave a small air pocket in the top of the reservoir. Liquid expands as it heats – some more than others. Air is a lot easier to compress than liquid.
The air pocket allows the liquid to expand when it gets warm without dramatically increasing the pressure on your components.
3 – Chasing The Bubbles
Once your loop is full, sit back and enjoy all the tiny bubbles coursing through your tubing, piling up in your water blocks and making your reservoir look cloudy.
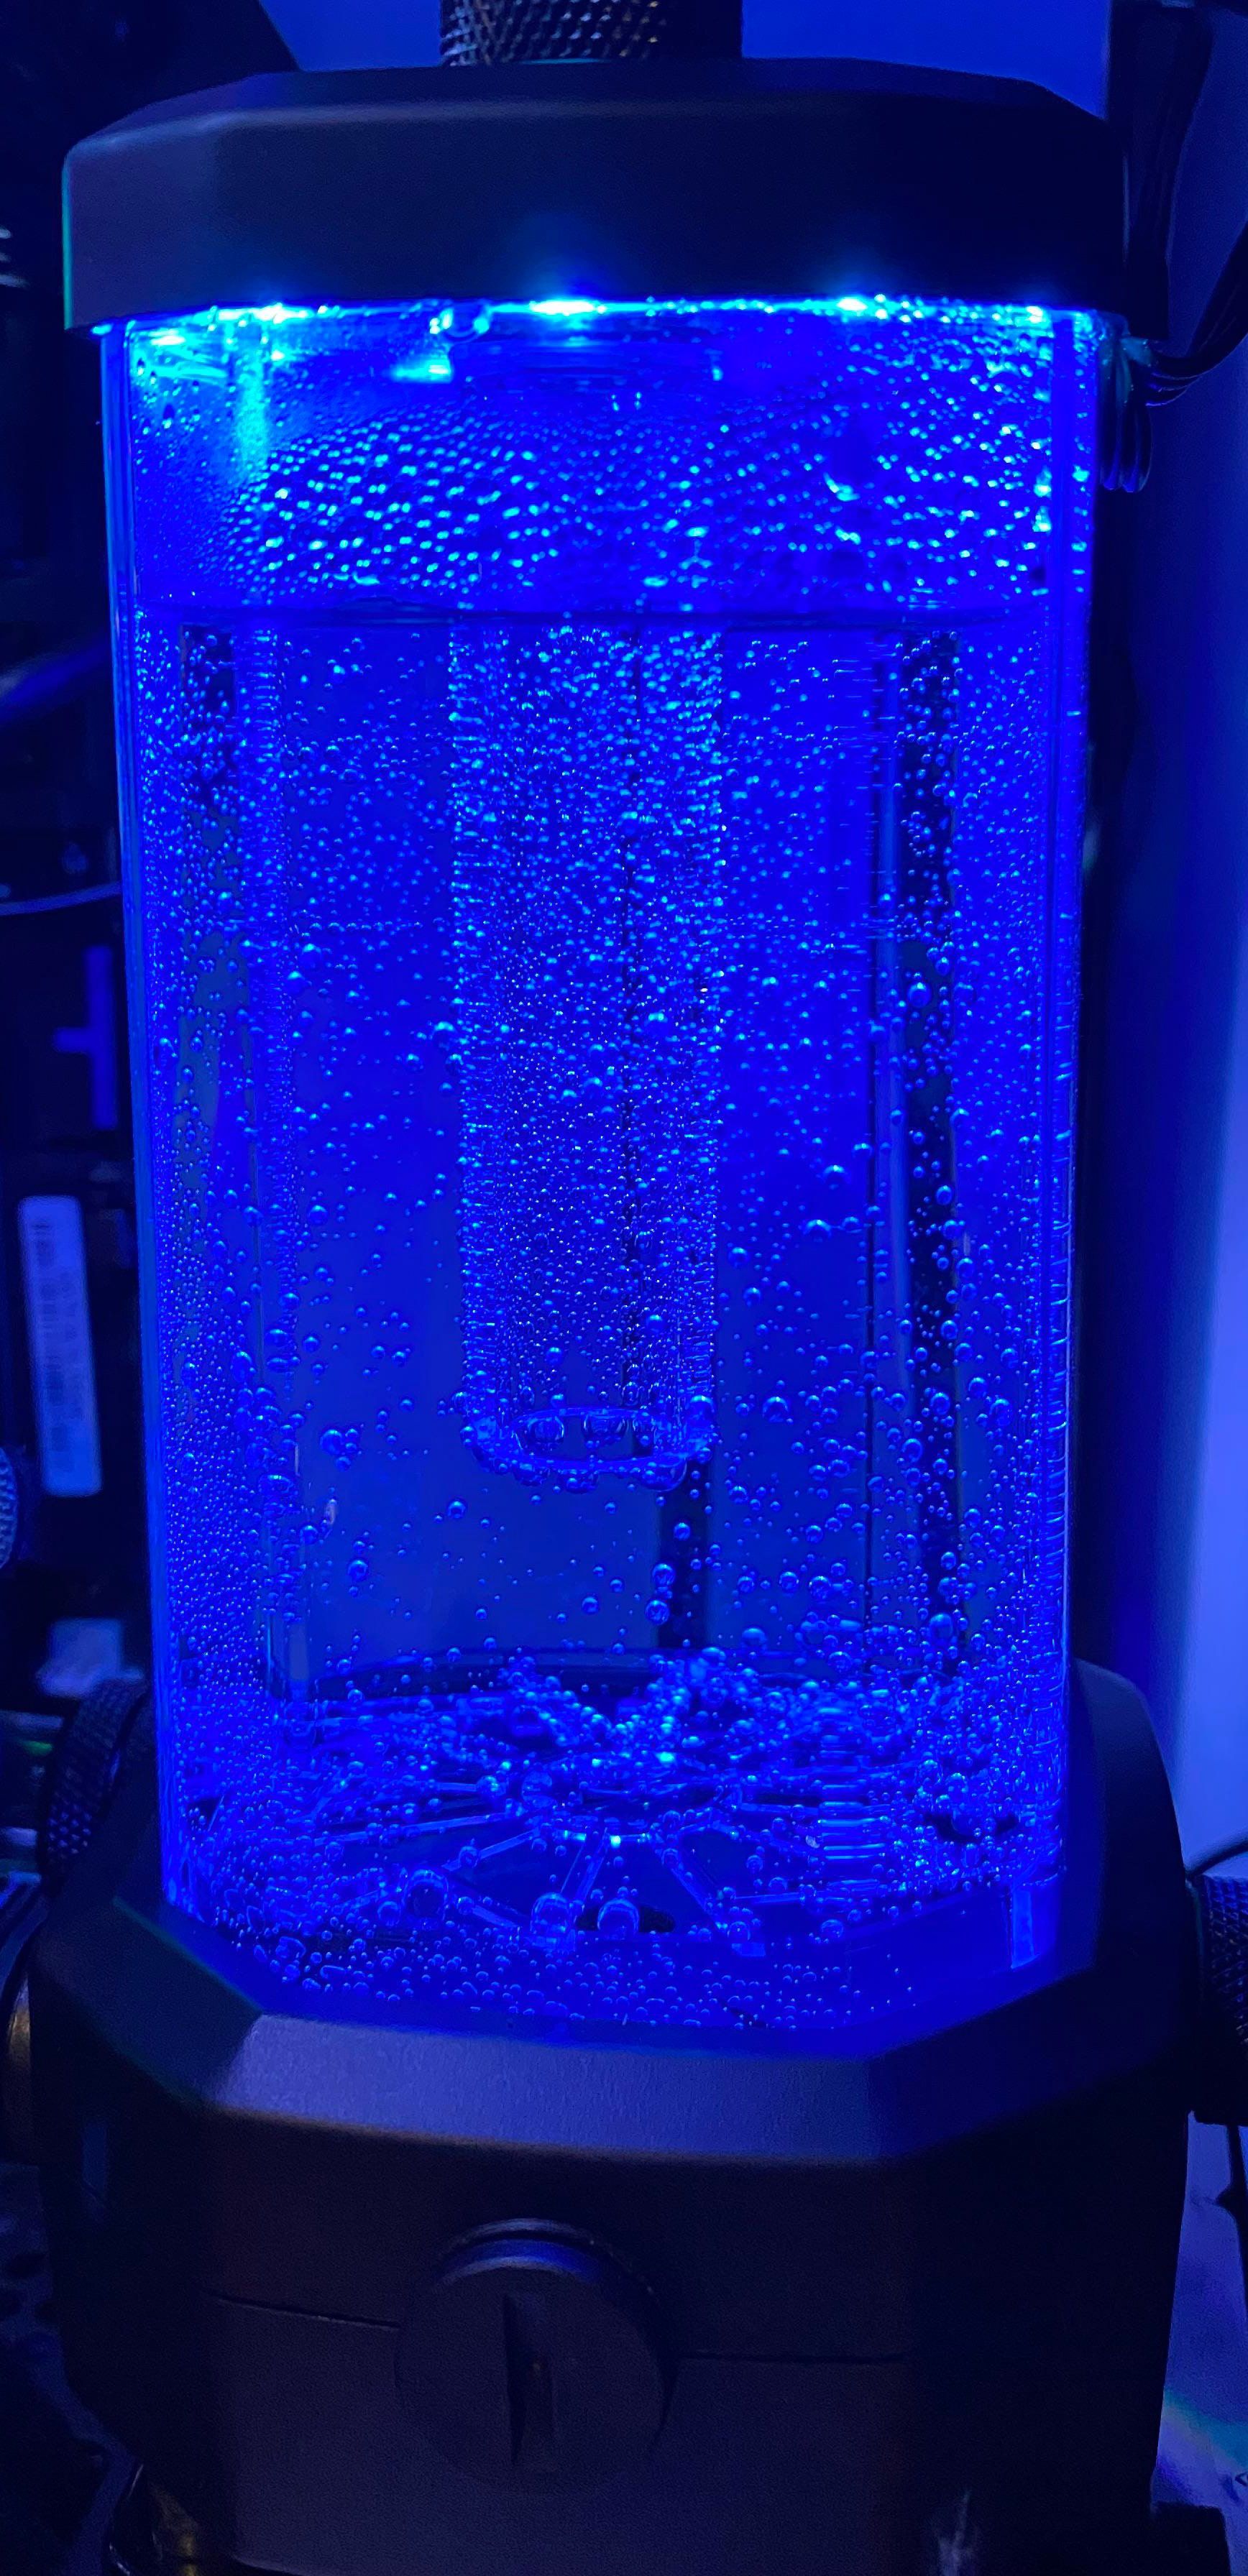
Image credit: /u/Goldeneye90210
As ugly as they are, these are normal and they’ll pass on their own. When we fill a liquid cooling loop, air is forced out of some very small spaces – cooling microfins and radiator tubes for example.
The air leaves these small spaces as very small bubbles, and there are LOTS of them. Over time though, they find their way to the reservoir where they’re trapped in that upper air pocket you left.
Note – If you’re using a pump/reservoir combo with both inlet and outlet both at the bottom of the unit (like I am with the Heatkiller Tube 200 DDC), some of these tiny bubbles will be grabbed by the outlet flow of coolant and sucked back into the system before they can float to the air pocket.
It’s unavoidable with this kind of setup, and it takes longer to get the small initial bubbles worked out but they’ll get there.
The tiny bubbles are actually the easiest kind to fix – they’ll fix themselves. Depending on your components, it’s fairly common for larger air pockets to appear in various places like water blocks or even the corners of hard tubing runs.
These bubbles *should* clear themselves up over time also, but sometimes the system needs a little help.
If you look at a larger air bubble in a water cooling loop with the water flowing, you’re looking at the interaction of gravity and inertia.

Gravity is trying to pull the bubble straight up. The fluid is more dense than the air so that’s what it does. (There are more forces at work here but that’s the TLDR version.)
The fluid flowing around the bubble is trying to get it to move. Again, its density helps here and it has a lot more density than the air.
In some setups those two forces (along with pressure differentials, friction, and other less interesting factors) will fight each other, resulting in an ugly air pocket inside your system.
The best way to get rid of these is to help gravity do it.
Gravity wants to pull the air pocket straight up. That direction is an absolute regardless of the orientation of your PC.
Take a look at the bubble and see which direction it needs to go to start flowing downstream. Tilt your case to make that direction UP. If you’re looking at the PC from the left side panel and you need the bubble to move to the right, lift the front of the case. That makes the right side of the bubble-trapping area higher than the left and makes gravity and the flow of the water work together to move it.
In a complex system you may have to chase some of these bubbles a long way like this, coaxing them gently through your system by changing the orientation of UP until they get to your reservoir (or other bleeding area, like the manual vent valve I mentioned earlier).

What’s that sound??
Air pockets can form in a lot of different places in a water cooling system. Most of them will be visible in your tubing, water blocks, flow indicators etc.
Some of them can be hidden. Radiators mounted with their ports downward are a good example. In that orientation, the end tank without the ports becomes an air trap – one that’s especially hard to escape since the coolant has to flow straight downward through very narrow tubes.
If you hear gurgling sounds when your system is running, you likely have a hidden air pocket.
Though these CAN be chased out the same way as visible air pockets, these can be the hardest to remove since you can’t be sure where they are.
Trial and error in your tilting are really the only way to determine where these bubbles are so you can chase them out of your loop.
The bubbles forming in the end tank of an inverted radiator like I described are honestly a sound nuisance only – their impact on cooling is negligible if any. If that mountain stream gurgling noise is more than you can bear though – you can get rid of it with patience and lots of tilting.

Air is in our water loops when we build them – without assembling them in a vacuum chamber it’s unavoidable.
While getting the air out and coolant in is critical to the performance of our systems, there are ways to make it easier.
Got any good stories about filling or bleeding your loop? Any suggestions or tips to add? Let us know in the comments!
Recent Posts