2-Day Expedited Shipping Only $14.95 - See Restrictions
How To Flush A PC Radiator
February 10, 2021
Custom PC water cooling is a rewarding hobby that provides many benefits, including lower noise level and greater performance. As any experienced water cooler can attest though, it’s not without its upkeep. Maintenance is required to keep a custom water cooling loop looking and working at peak level. Thankfully, the biggest part of water cooling maintenance is simple cleaning.
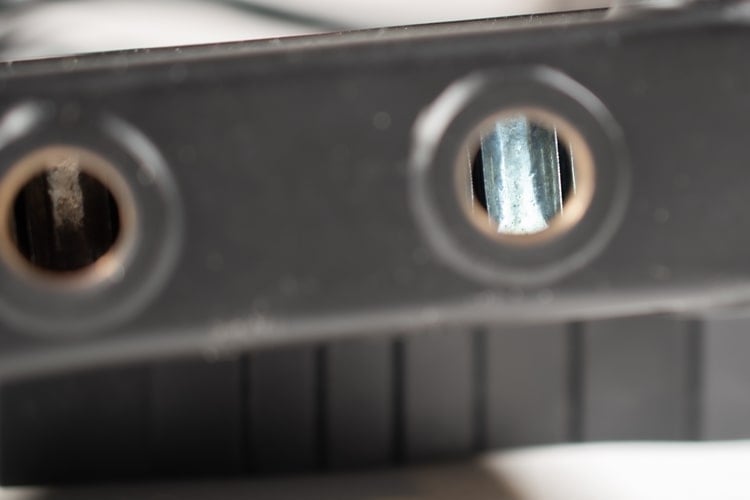
PC water blocks, reservoirs and pumps are all either transparent or are made to be disassembled, so visual inspection is possible when cleaning to ensure it’s done properly. PC radiators are a different story. Aside from a cursory examination of the area immediately inside the ports, the insides of the radiator are forever hidden from our eyes. So how do we clean a radiator with confidence that the cleaning was done well?
Corrosion in radiators can be anything from surface oxidation to deeper chemical problems. These can result in debris and foreign material migration from your radiator into the rest of your water cooling loop, potentially clogging water blocks and other restrictive areas.
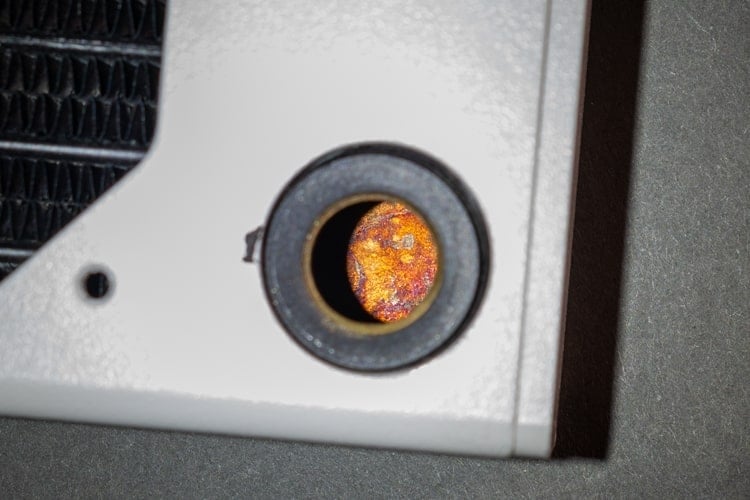
A clean radiator chamber. The uniform color and texture mean that the visible internal portion of this radiator is pristine. Note that even here it’s still possible for corrosion or flux to be present in other places in the radiator.
While cleaning the radiator isn’t an enormous undertaking, it will involve removing the radiator from the liquid cooling system. That means at a minimum some of the coolant will have to be drained and two connections removed. In some complex systems, especially those with hardline tubing, it could be much more involved to remove it. Before we get into the procedure of cleaning your radiator, we should look at some of the reasons to do it and reasons not to.
Why Clean Your Radiator?
Routine maintenance. It’s advisable to do a maintenance cleaning to your loop every year, more often for some cooling fluids. Thankfully, unless you’ve noticed other issues like reduced cooling performance, a simple maintenance flush cleaning should do the job. Cleaning the outside of the radiator should be included here as well. Dust buildup in the fins will block airflow and limit the unit’s cooling capacity. The fins can normally be cleaned with compressed air. A soft brush can also be used, being careful not to bend the delicate fin structures. If buildup can’t be removed with this simple method, it will be necessary to remove the radiator from the system, and that turns the routine flushing maintenance into a draining and disassembly job. At that point you should plan on cleaning the inside of the radiator as well.
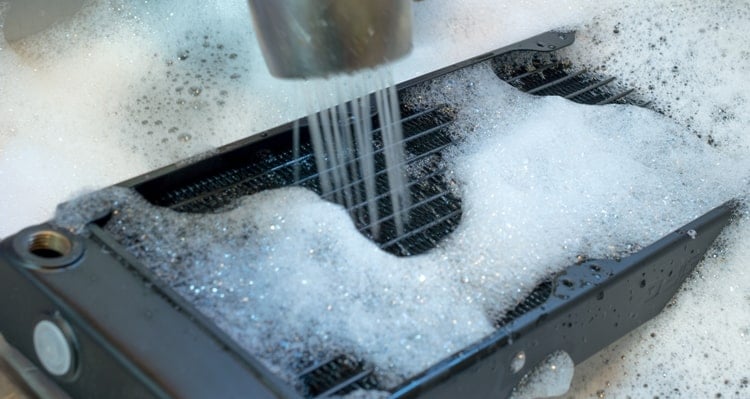
Dish soap and water are excellent for cleaning out the fins of your radiator. These fins are delicate so be sure to keep water pressure low to avoid damage.
New Purchase
It’s fairly obvious that any radiator purchased on the used market would need to be cleaned out simply because the buyer has no idea what’s been run through the radiator previously. Less obvious is the need to clean brand new radiators.
The process of manufacturing a radiator is lengthy and not the cleanest. It’s very easy for flux and debris from the radiator to be left behind during its manufacturing. Manufacturers have been moving to a water-based flux for some time now which helps the end product come out cleaner, but even these new radiators are an unknown. It’s entirely possible that the coolant flowing through the tiny tubes in the radiator will pick up any leftover material and carry it into the rest of the loop. At best this can make your otherwise perfect tubing and reservoir look bad. At worst it can damage your pump and block the cooling fins in the water blocks – the most restrictive part of any custom water loop. Blocked cooling fins restrict coolant flow and lower cooling capacity, potentially to dangerous levels. It’s always a good idea to clean anything you can’t see before putting it into your custom loop.
Changing Fluids
If you decide to change the type or color of the fluid you’re using in your water cooling loop, a radiator cleaning is a good idea. The size of the tubes on a radiator make it difficult to drain all of the coolant out of them, and a thorough cleaning is the only way to be certain that you will not be mixing coolant types.
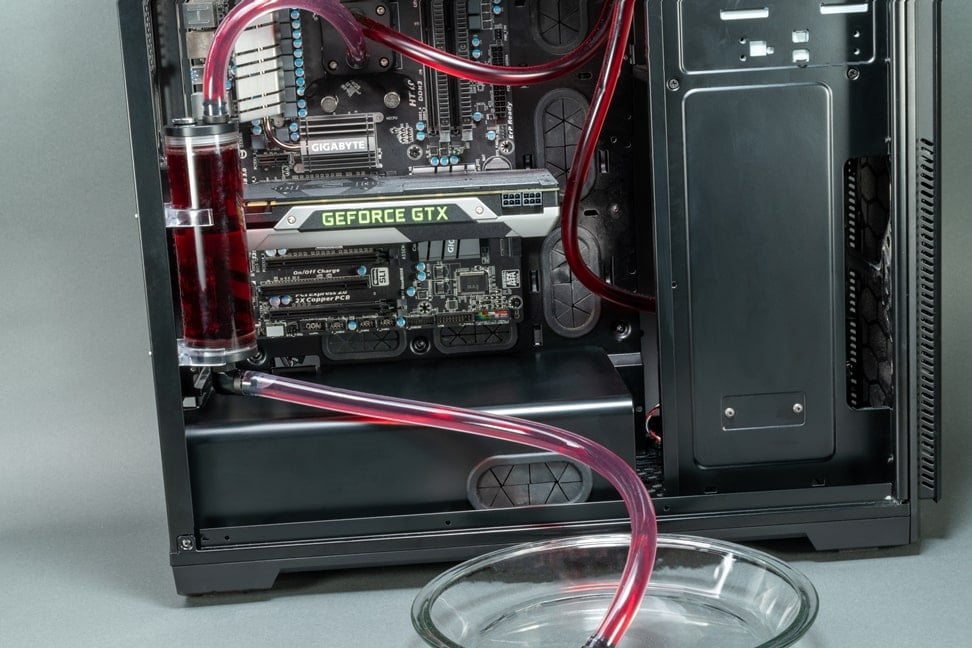
Preparing to drain dyed coolant from a water loop. When changing coolants, especially colored or suspension versions, flushing the entire loop is good practice.
Contamination.
This can be anything from the type of debris mentioned earlier to algae or even corrosion – basically, anything that’s in your loop that shouldn’t be. Since the coolant is in motion all the time, by the time you see something in a specific spot, it’s likely everywhere in the water cooling loop. While the cooling fins on the water blocks are the most restrictive point in the system, the tubes in the radiators are second and there are a lot of them. Since visual inspection is out, a thorough cleaning is needed in these cases.
The process - basic cleaning
Note that this part of the process can be done with any radiator regardless of material composition. Once you’ve decided that a thorough radiator cleaning is needed and the radiator is removed, take it to the sink. Cleaning the outside of the radiator is the easiest and fastest part of the job. Plug the radiator’s ports and submerge it in warm soapy water for a few minutes. Clean out the fins with warm running tap water and a soft brush if desired, again being gentle – they bend easily. Once clean, leave the radiator to air dry overnight and it will be ready for service.
For an internal cleaning, you’ll want a container of some sort to empty the radiator into during the cleaning process, preferably something white. A white bowl works well but if you don’t have any white containers placing a couple of folded white paper towels in the bottom of any container you have will do. This will allow you to examine the fluid coming out of the radiator to see if the previous step produced any debris or discoloration. The condition of the water exiting the radiator is what tells you if the radiator is clean.
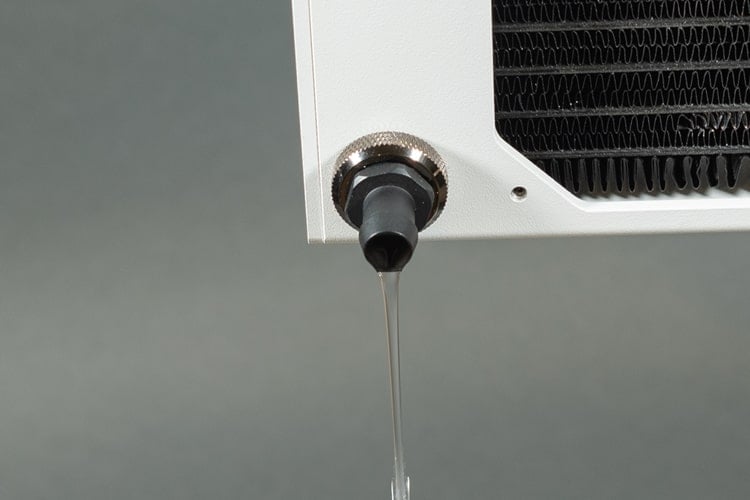
Clean water coming out of your radiator is a good sign. Be sure to drain the fluid onto a bright surface so you can spot particles or other contaminants that would be otherwise invisible. When your bright surface is clean after a flushing your radiator is ready to put in service.
- With two ports open to avoid vapor lock, fill the radiator about half full of hot tap water. (You can use heated distilled water for these steps also to skip the end flush needed if tap water is used.)
- Plug both ports and shake the radiator vigorously for 3-4 minutes.
- Remove the plugs and drain it into your container.
- Examine the exit fluid. If there is any debris, discoloration or any foreign material present repeat the process.
- Continue this process until the exit fluid is clean and nothing comes out of the radiator. Each successive shaking will break up more of anything that may need to come out so successive drainings may show more contaminants than the previous.
- Once the tap water fill drains out clean, repeat the process with distilled water at least twice to remove any sediment or minerals that were present in the tap water.
For a more thorough cleaning, such as with a used radiator or changing from a short term use coolant (show coolant like Mayhems Aurora), add 2 tablespoons of distilled white vinegar to the radiator before adding the water.
The process - deep cleaning
If these steps aren’t sufficient to clean your radiator fully, a more aggressive cleaning will be needed. At that point a chemical additive will be needed, and the selection of that additive will depend on the materials in your radiator. The tubes and chambers in your radiator will be copper, copper/brass mix, or aluminum.
If your radiator has aluminum tubes and/or chambers, your selection of cleaning aids is very limited. Aluminum is not only soft but highly reactive with many elements and chemical compounds. The only purpose-made cleaner currently on the market that states that it is safe for aluminum is a product from Barrow called Barrow Cleaning Agent. While it is possible to use a product designed to clean automotive aluminum radiators, the amount and strength needed will be large unknowns. Add to that the cost involved and a new radiator may be a better option.
If your radiator is the more common copper or copper/brass combination, there are other options available. The above-mentioned Barrow Cleaning Agent is also acceptable for copper radiators, as is Mayhems Blitz.
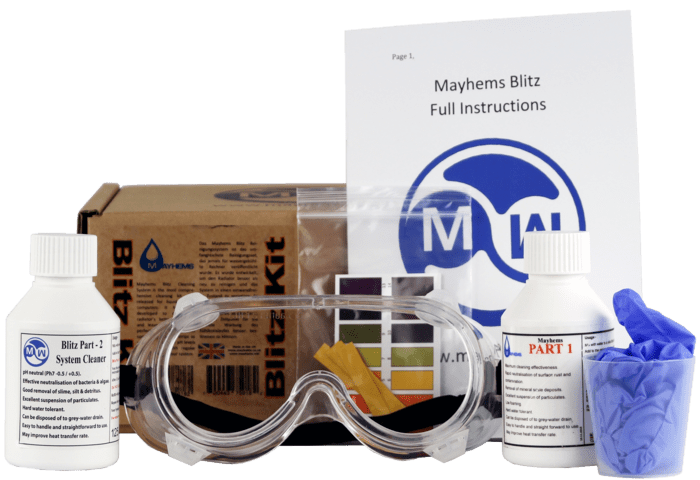
Mayhems Blitz is a well-known and effective deep-cleaning radiator product. Be sure to use Part 1 for your radiator only. Image credit: Mayhems Cooling
The Mayhems Blitz Kit is likely the best known of these solutions, and certainly the strongest. We mentioned the use of Mayhems Blitz part 2 in our System Flushing article. Part 1 of the Mayhems Blitz system is made for copper and copper/brass radiators only – no other component should come in contact with it.
Note: Any time a commercial cleaning additive is used be certain to read and follow the included instructions on storage, use and disposal. Many cleaning chemicals are acidic and require special procedures.
If you follow the procedures above you can put your radiator back to work in your PC with confidence that it’s clean, contamination free and performing at its best.
Recent Posts