2-Day Expedited Shipping Only $14.95 - See Restrictions
Water Cooling Components - Fans
May 17, 2021
Welcome back to the Component Series. We hope to help builders both new and old to understand their options when it comes to the components in their custom water cooling loops. Today we’re taking a look at the workhorses at the end of the cooling cycle: fans.
Believe it or not, water cooling is in fact air cooling. Water cools the parts, air cools the water, lather-rinse-repeat. Once the pump has gotten the coolant (and the heat with it) to the radiator, it’s up to the fans to put enough air flow across the cooling fins to move the heat to the surrounding air.
Fans are fans – right?
Not even close.
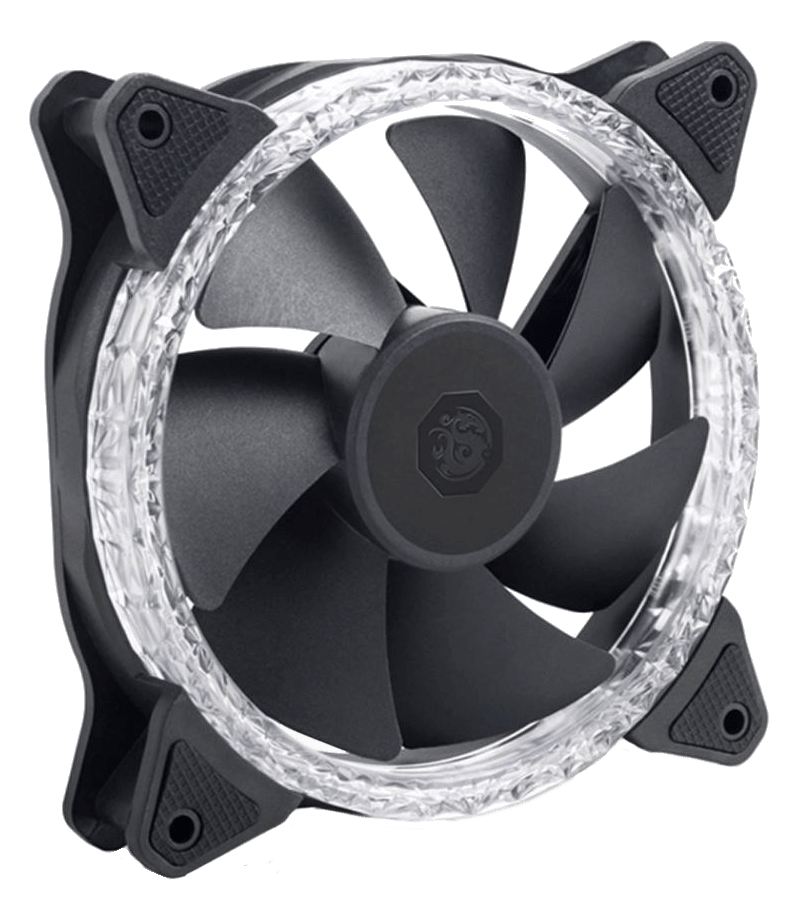
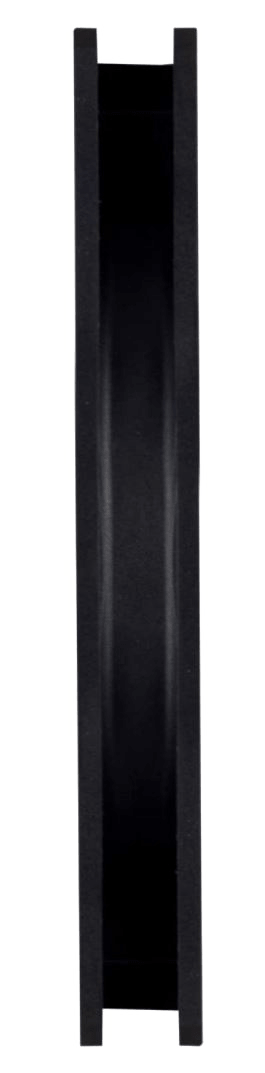
Examples of different styles of PC cooling fans.
The Science – How They Work
The fans we use in our PCs are almost exclusively axial fans. They’re called this because they move air along their axis of rotation – the center of the fan. Their design is not only deceptively simple and very efficient, but it allows for a wide range of design options that make a fan perform differently for different applications.

How the pitch of a fan’s fins moves air through it.
Fan design is an exercise in balance. Performance and noise level are the key parts of a fan’s design that a consumer looks at, and to date no one has managed to make a fan that’s perfect in both ways.
The key to an axial fan’s effectiveness are the blades. Blade length, number, pitch and shape work together to make up a fan’s performance profile. The science of blade geometry is surprisingly involved and beyond the scope of this article, but if you’re into the deep science and mathematics you can learn more about it here.
Considerations
Just like radiators, water blocks and all the other parts of your custom water cooling loop, fans have different aspects to know about and consider to be sure you get the results you want.
Size and Fit
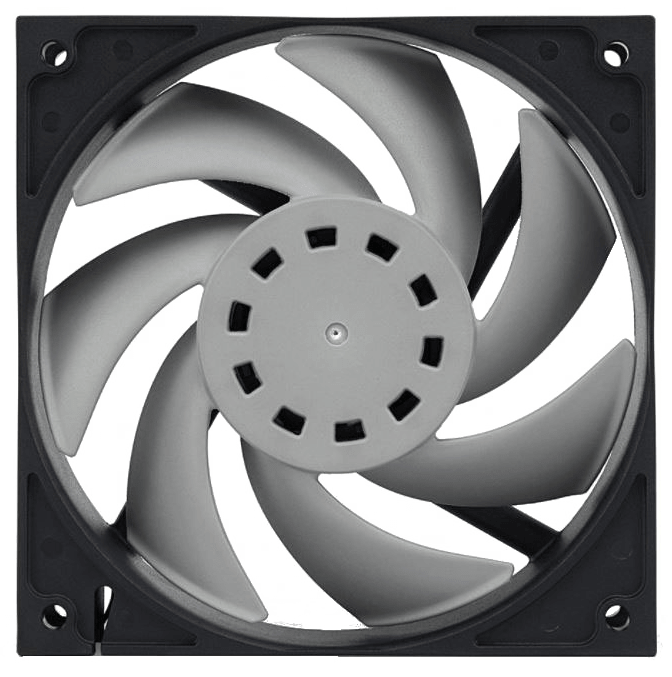
Fans come in standard sizes, with 120mm case fans being the most common in use today. That 120mm measurement is the distance from one side of the fan’s body to the other. The actual blade diameter on a typical 120mm fan is 110mm, and the mounting holes are 105mm apart. 140mm case fans are also popular and getting more so. Every major radiator manufacturer makes products for both sizes.
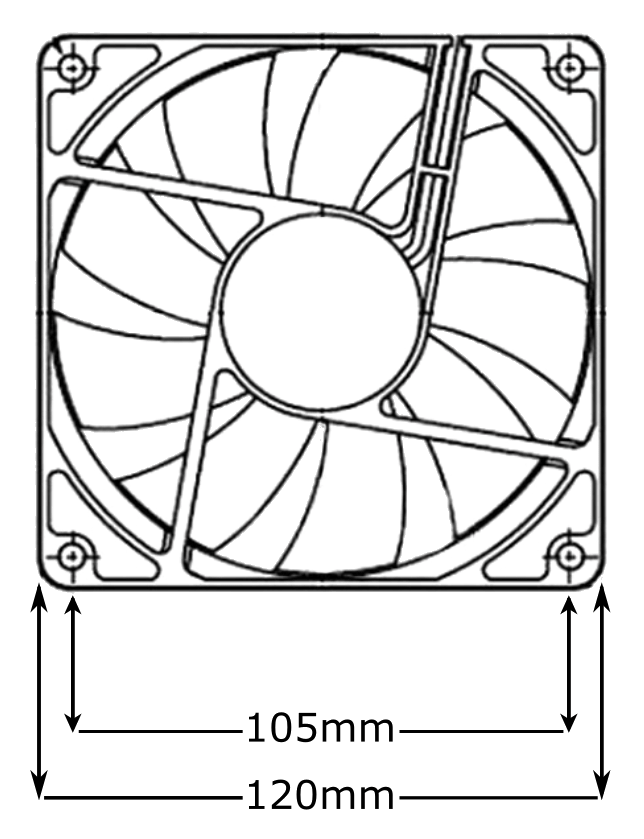
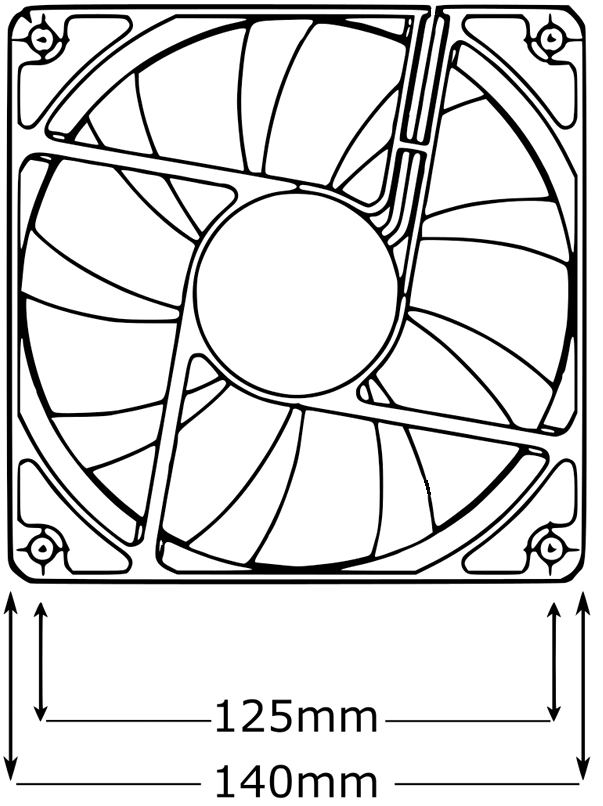
Dimensions of typical 120mm and 140mm fans.
Just like radiators, that number only describes two of its dimensions and completely omits thickness.
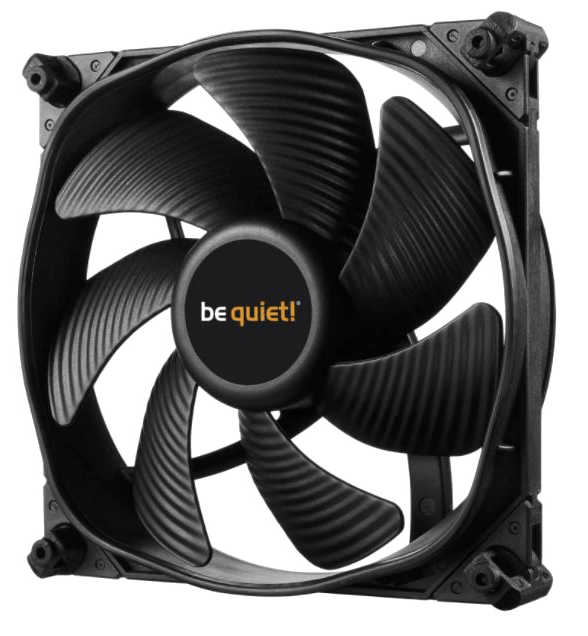
The standard thickness of most fans used in PC cooling is 25mm. This holds true for sizes as small as 80mm and as large as 200mm. Outside that range the thicknesses vary too much to name a standard.
The standard 25mm thickness is hardly all that’s available though. 120mm can be found in thicknesses from 12mm to 38mm, and other fan sizes can be had in different thicknesses also.
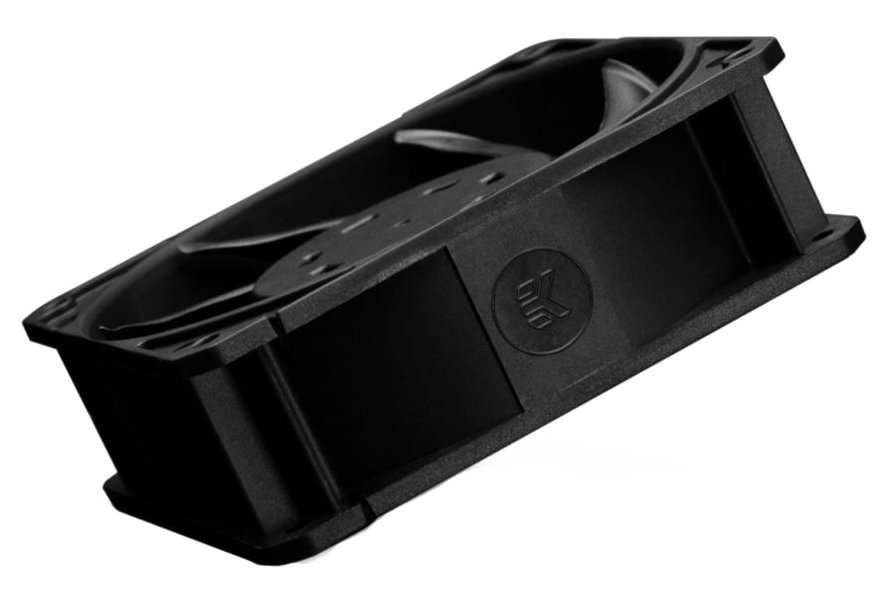
Examples of fans that are different thicknesses than the standard.
So why the differences?
Thinner fans are made for lower-clearance applications, like small form factor PCs. Thicker fans are typically made for more industrial applications.
As a rule, the thinner a fan is the quieter it is but the less air flow it creates. The geometry involved in a thinner fan limits the pitch that its blades can have, which directly affects air movement. Fans that are thicker than standard are made to provide superior air flow with less regard to noise level.
Be sure to account for thickness when checking for its fit in your design.
Connection Types
Fans come in two common connection types: 3-pin and 4-pin. The connector is very similar, with the 4-pin being only slightly wider.


Left: 3-pin voltage-controlled fan connector. Right: 4-pin PWM-controlled fan connector.
3-pin fans are controlled by voltage – the lower the voltage supplied the slower the fan turns. The three pins are for power, ground and speed signal.
4-pin fans are known as PWM fans – this stands for Pulse Width Modulation and describes how speed control is obtained. The addition pin on PWM fans is for this control signal.
There are advantages to both types, but the primary consideration is how we want to control the fan. Our hardware usually determines that.
It’s worth noting that either of these types will work on a connection meant for the other: 3-pin fans will work with a 4-pin connector and vice-versa.
Connecting a 3-pin fan to a 4-pin connector will have one of two outcomes. If the source offers speed control through voltage it will work like normal. If the source is strictly designed for PWM control (which uses a constant 12 volts) then the 3-pin fan will spin at full speed at all times.
Interestingly, connecting a 4-pin fan to a 3-pin connector has exactly the same effect. If the source offers voltage control it will control it normally. If not, the fan will run at full speed since it’s missing its PWM signal.
Also of note: PWM fans are capable of lower speeds than voltage-controlled fans. All 3-pin fans will have what’s known as a stall voltage. At voltage levels below that the fan can fail to turn. Typical limits are around 40% of rated maximum speed, whereas as PWM fan can reach 20% or less.
Design – Air Flow or Static Pressure
There are two different categories of physical design in the fans used in PCs. One is designed to move air freely (air flow) and the other is designed to move air against resistance (static pressure).
Standard PC fans move air without consideration for blockages. The air flow is measured in CFM (cubic feet per minute) or less commonly in m3/h (cubic meters per hour). These units should be available for any fan you’re considering.
Be aware though when looking at these numbers – these are measured air flow with no restrictions.
Static pressure fans are designed to overcome resistance by creating more pressure behind the air they move. They achieve that by using a different blade design.


Left: A fan made for air flow against no resistance. Right: A fan designed for static pressure.
The blades on a static pressure fan will be either larger or there will be more of them. The goal is the minimize the space between the blades to keep the air from flowing back between them when it meets resistance.
Static pressure fans are better to use for radiators, heat sinks and filtered intake vents, as those present resistance of some kind to air flow.
While static pressure fans typically offer lower unobstructed air flow rates than standard air flow fans, they will work well in unobstructed areas also.
Noise
Another statistic to keep in mind when researching fans is their noise rating. This is measured in dB (decibels) and can range from a silent 15dB to an ear-splitting 65dB or more.

Air flow and noise level are always a tradeoff – part of that balance I mentioned earlier. Advances in blade design, materials and motor electronics have given us some amazing examples of quiet air flow, but be sure to balance both factors in your fan research.
Longevity – Bearing Types
With the materials and electronics used in today’s fans, their service life is almost always determined by their bearings. This is the point where moving material turns against unmoving material, and it’s the only true wear point present.
There are four types of bearings found in today’s PC fans: sleeve bearings, ball bearings, fluid bearings and magnetic bearings.
Sleeve bearings are the most basic and most common type of bearing in PC fans. They’re simple to manufacture, making sleeve bearing fans typically the least expensive option. They offer a MTBF (mean time before failure) of around 50,000 hours.
Note that mounting a sleeve-bearing fan vertically will reduce its lifespan significantly due to the uneven load on the upper portion of the bearing. These fans are best used in a horizontal application.

Sleeve bearing – an oil-impregnated bronze sleeve supports the fan shaft.
Ball bearings are a step above sleeve bearings in both technology and life expectancy, offering a rated MTBF of around 75,000 hours. This is of course reflected in the cost.

Ball bearing – the fan shaft is supported by roller ball bearings.
Fluid bearings are typically the bearing of choice in high-end fans. They’re both quieter and more durable than either sleeve or ball bearings. Their rated MTBF is in the range of 100,000 hours.

Fluid bearing – the fan shaft spins inside of a sealed fluid chamber.
Magnetic bearings are the current pinnacle in fan bearing design. They provide a nearly frictionless environment, leading to very low noise and an expected lifespan of 200,000 hours.

Magnetic bearing – the fan shaft is supported by magnetic levitation and spins in empty air.
A note on the numbers: MTBF on nearly any long-use product is an extrapolated number, meaning that testing was done for a period of time, failures were recorded and expected failures over a longer period of time were predicted from that. They are honestly only useful in a comparison example like we have here.
If you’re anything like me, even the lowly sleeve-bearing fan will work perfectly well for as long as you have it. Given the cost of PC fans, they’re honestly a marvel of durability.
Lighting
If you’re into lighting in your PC, there are hundreds of choices out there for your fans in a wide range of colors and styles. PC fans were the first components to show up with their own built-in lighting years ago and they’ve kept pace with the trends.
Single-color illumination is still a thing, and fans are available in any color you could want. RGB is solidly entrenched in PC building though, and RGB fans are everywhere. Standard RGB and digital addressable RGB fans are easy to find and inexpensive. The differences really lie in the lighting placement on the fans and the diffusers used.


Like any choice on something as aesthetic as lighting, make your own call.
One interesting development came to market in 2017. Phanteks introduced their Halo series of RGB fan frames. Designed to mount to an existing fan, halo frames let you make any fan you want an RGB fan. This is great news for RGB enthusiasts, as many RGB fans focus on that aspect and not on performance. Halos offer the best of both.
Accessories
Once you’ve found the perfect fans for your PC, there are accessories to go with them. Offering advantages in silence, performance and appearance, some of these might find a home with your new fans.
Silencers
Some fans that are quiet when running in your hand can be loud when mounted. Vibrations from the fan can run through your case, causing high-pitched noise. Fan silencers are made to stop that noise by blocking or absorbing those vibrations.
One form of fan silencer is the mounting gasket. These are usually rubber or silicone and made to the shape of the fan. They mount between the fan and your case to prevent fan vibrations from reaching it.


Rubber mounting pins are another example of a fan silencer. They take the place of your mounting screws, offering both isolation (the fan isn’t in contact with the case) and vibration absorption.
Shrouds
Fan shrouds are simple spacers that are placed between the fan and whatever it is that it’s cooling. The air flow pattern of an axial fan has a “dead spot” at the point of origin as the air leaves the fan. This is a kind of airflow shadow caused by the fan’s hub, which obviously moves no air.
The dead spot vanishes a short distance from the fan as the air in motion joins together. A shroud provides a space for this to happen before the air contacts whatever it is that it’s supposed to be cooling.

Grills
Fan grills serve to keep things out of a spinning fan that shouldn’t be in it and are also often part of the look of a custom PC. Available in nearly any shape and design you can imagine, fan grills can offer a truly custom aspect.

Be aware though – fan grills can and will change the noise characteristics of your fan. By adding a grill of any kind you’re changing the air flow patterns and that will change the sound.
Splitters
If you have multiple fans that you need to operate from one source like a motherboard fan header, you’ll need a splitter.
Splitters simply multiply the number of circuits that a power source can service. A 4-way splitter will have a single connector for power input and four connectors for fans.
Always be sure that whatever power source you’re using offers enough current to power all the loads you add to it. Motherboard fan headers are often limited to one amp of current.

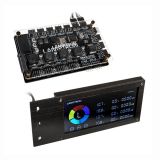
Controllers
If you’ve got several fans in your system you may not have enough fan headers on your motherboard to offer the typical software control of fan speeds. If that’s the case you may want to look into a fan controller.
Fan controllers come in sizes from tiny single-fan models to huge dual-bay setups that can control a dozen fans or more. They can be manual, automatic or both and some can also control lights or pump speed.
Manual fan controllers will have a single control for a single output header. These can be knobs, sliders or simple toggle switches. Each control changes the speeds for that single header and any fans connected to it.


Automatic fan controllers can be as simple as a thermally-controlled on/off switch that turns fans on at a specified temperature and off at another, or as complex as a fully-featured motherboard will offer. Fan curves set for noise control, maximum performance or even custom curves made by the user are possible with automatic fan controllers.
Hubs
Another option for controlling multiple fans is a fan hub. A fan hub can send a single control signal to several fans simultaneously. Some have separate power input via SATA or 4-pin (Molex) connection also.

If you have fans with addressable RGB lighting (ARGB), you can also get fan hubs that will control that lighting on multiple fans. A control signal is plugged into the hub and the hub sends that signal to all fans connected to it, effectively expanding your RGB control.
Generic ARGB fan hubs are available, but proprietary systems like Corsair’s iCue Commander Pro will often have more to offer in the way of software and accessories.
Filters
No one likes dust inside their PC. Even with a positive air pressure setup, dust can and will find its way in and clog air-cooling fins in both air and water-cooling setups. Proper filtration of incoming air can stop it.
Air filters for your custom PC are made in sizes to fit standard single fans as well as the more common radiator sizes. Manufacturers like DEMCiflex even make case filters carefully sized and shaped to fit the factory openings on specific PC cases.
Air filters can me mounted with screws (typically being mounted with the fan itself using its mounting screws), magnets or double-sided tape. A few filter setups have a frame that screws to the fan and a cover for that that holds the filter and snaps on and off by hand, making removal for cleaning easy. Ease of maintenance is important in a filter, since they have to be removed and cleaned periodically.


Filters for your PC are made from different materials and come with different levels of restriction. The smaller the holes in the material, the better it will filter but the more it will restrict air flow. Try to find a happy medium somewhere in the middle.
I Have My Fans – Now What?
So you’ve picked out the perfect fans for your custom PC. You’ve got high static pressure fans for your radiators/coolers and intake vents, high volume air flow fans for your exhaust vents, vibration dampeners, RGB fan frames and some awesome fan grills to go with them. What do you with them?
You’ll need to decide what the optimal air flow setup is for your case, your hardware and your cooling solutions. Looking at the PC as a whole, you’ll want steady air flow through the system. This means air has to come into the case (intake) and come out of the case (exhaust)
You’ll hear people say that exhaust fans should always be at the top of the case because heat rises. Heat rises due to convection. Convection is an extremely weak force, and the instant that any mechanically forced air movement is introduced to an area, convection ceases to matter.
Mount your fans on the top, on the bottom, on the sides – the air will go where the fans make it go.
Air flow on a PC case will create either positive or negative pressure depending on your fans.
Air pressure within the case is controlled by the amount of air being drawn into the case and the amount of air being expelled. You can use the air flow ratings of your fans to give you a very rough calculation for your intake and exhaust air flow, but remember that those numbers indicate how much air the fan will more without obstruction. Any impediment to air flow like radiators and filters will drop that number, sometimes dramatically.
Positive air pressure means that there is more air coming into the case than there is going out, causing a net gain in pressure over the ambient air. This is beneficial in keeping dust out of your PC, as that positive air pressure will be forcing its way out of all the openings it can find.

Positive-pressure case air flow. All the fans are intake, so the air has to exhaust out of openings in the case.
Negative air pressure is the opposite – more air being exhausted from the case than brought into it. This causes ambient air from the room to be drawn into the case through passive openings and expelled with the exhaust. Dust and other foreign material can easily be brought into the case with this air.

Negative-pressure case air flow. All the fans are exhaust, so air is drawn in thorough openings in the case.
Ideally you’ll want to set your system up so that it has slight positive air pressure. While any positive air pressure will help to keep your PC clean inside, too much positive pressure forces all your fans to work harder than necessary.

Slight positive-pressure case air flow. Balanced air flow maximizes cooling and minimizes dust.
Like any other piece of your custom PC, fans give you a lot to consider when choosing the right one. Just keep in mind your needs and how the different factors of fan performance work together and you’ll end up with just the right airflow setup for your PC.
Stay tuned to our Components series for all the info on radiators and pumps!
Recent Posts