2-Day Expedited Shipping Only $14.95 - See Restrictions
PC Guides - Loop Planning
October 25, 2021
Laying the Groundwork – Loop Planning
Building a custom water cooling system for your PC can be a rewarding process. Watching it all come together has always been one of my favorite parts – seeing it change from idea to reality. Having it running along silently beside me with all of its parts working together to keep my hardware cool is a daily exercise in satisfaction.
Building a custom water cooling system for your PC can also be an exercise in frustration and can really bring home the advantages of air cooling.
What can you as a builder do to make sure your next water cooling project ends up being like the first and not like the second? The single most important step is loop planning.
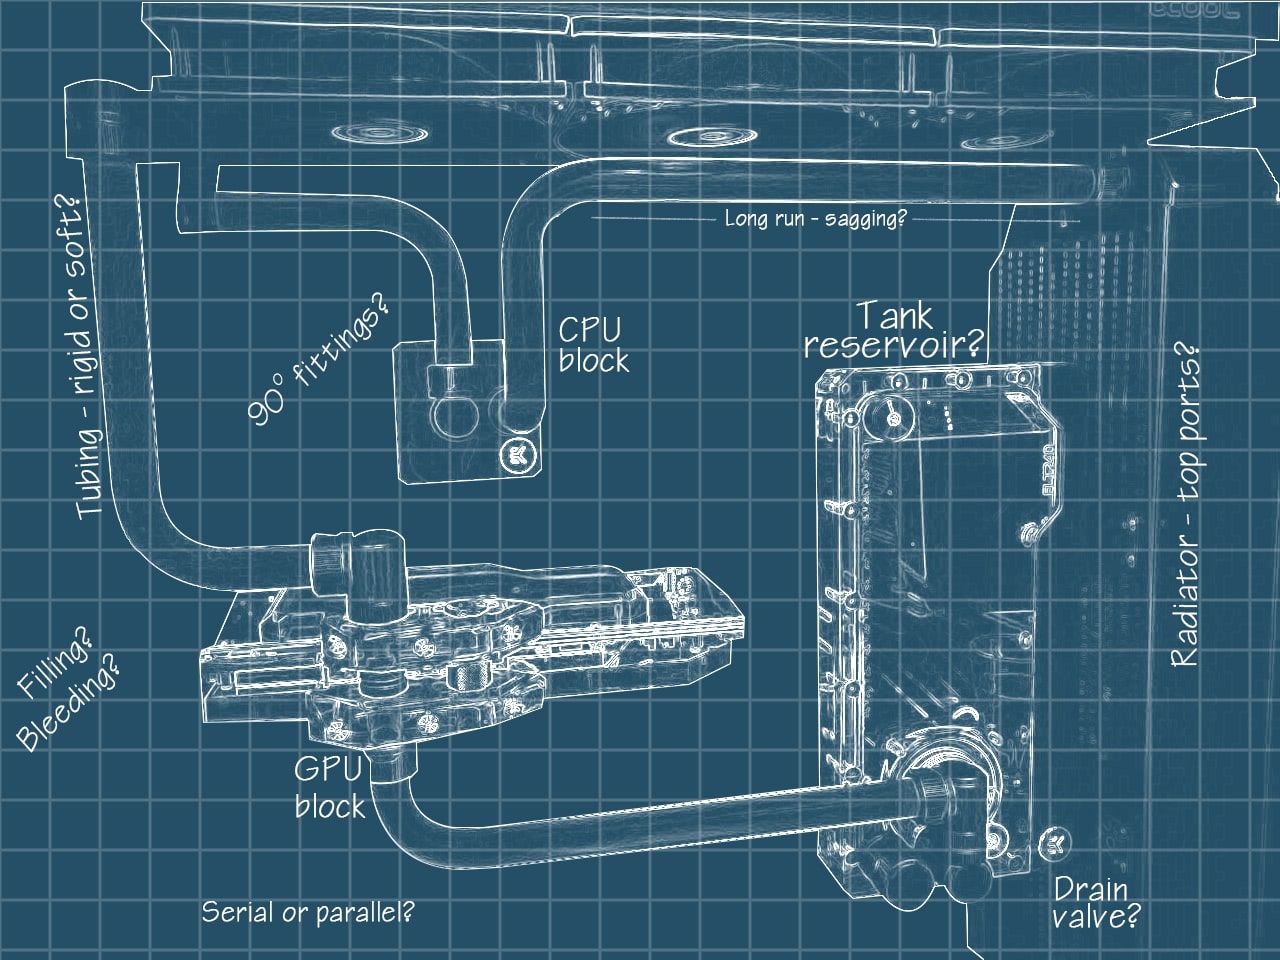
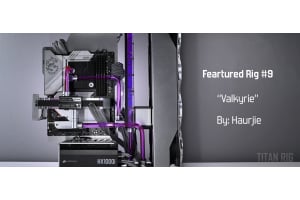
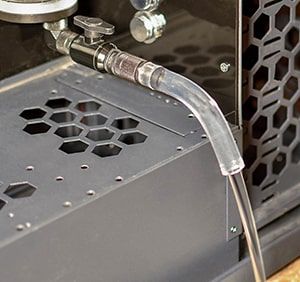
Image source: Redditor u/Xtian8419
Planning It Out
When you’re planning your next water cooling loop there are decisions that have to be made at every step along the way. Let’s look at each of them in turn.
Core Components
Choosing the primary parts of your water loop is an involved process all by itself. Our previous guides have covered all of the major components in detail to help you decide which is best for your needs. It’s very easy to get bogged down in the specifics of each component you plan to use, but you don’t have to (and shouldn’t) make those decisions yet. There are some basic general choices that should be made first.
Cooling the Heat
Your first step is to decide which parts you’re going to cool. This choice will impact everything else. Today’s water cooling hardware will let you cool just about anything. Is your loop going to include only the CPU or will it also cool your graphics card? Will you have a water block on your RAM? Are you going over the top with it and water cooling your SSDs, VRMs, chipset and mechanical hard drives?
Make a list of the parts you want to cool. For the purpose of this guide I’m assuming you’ve already chosen your PC parts, so you know where each piece you plan to cool will be located inside your PC. That’s all we need at this point.
How Hard Is It?
Next up is whether you want to use rigid tubing or flexible tubing.
This may not seem like a decision that’s important enough to have to made this early on, but the nature of your tubing will affect other basic aspects of your cooling system like component placement and tube routing.
To help with the decision, let’s look at each option and how they might fit into your plan.
Range of Colors/Materials – Both types of tubing are available in lots of colors and materials.
For colors, flexible tube is the winner – colored rigid tubing used to be common but has gotten very hard to find, especially in metric sizes.
For more interesting finishes you can’t get in flexible tube, metal tubing can be found in copper, brass (both chrome plated and bare) and stainless steel. Metal tubing can also be found in different colors.
Final Appearance – Here again, both choices are capable in their own right. A well-planned and executed soft tube loop can look amazing. Honestly though, as counterintuitive as it sounds I think it’s more difficult to make an amazing-looking system with the easier-to-use soft tubing.
Ease of Use – This one is a simple choice. Flexible tube is exponentially easier to install than any rigid tube.
Cost – Though both kinds of tubing are affordable, metal tubing is more expensive than any other, and rigid-tube fittings on the whole cost more than fittings for flexible tube.
Maintenance / Upgrades – Rigid tubing is... rigid. It won’t bend out of your way to get to components underneath it. It’s also typically bent and placed for very specific hardware. Replacing or adding any part to your water loop means you’ll have to replace at least one tubing run also, more likely two.
Soft tubing can simply be disconnected at one end and moved out of the way for maintenance, and often can be shortened or even used at the same length for upgrades. Even if pieces have to be replaced, the process is simple.
Holding the Coolant
Once you’ve decided on the type of tubing you want to use, you’ll need to make the same decision for your reservoir. This is another choice that will affect other aspects of your loop design.
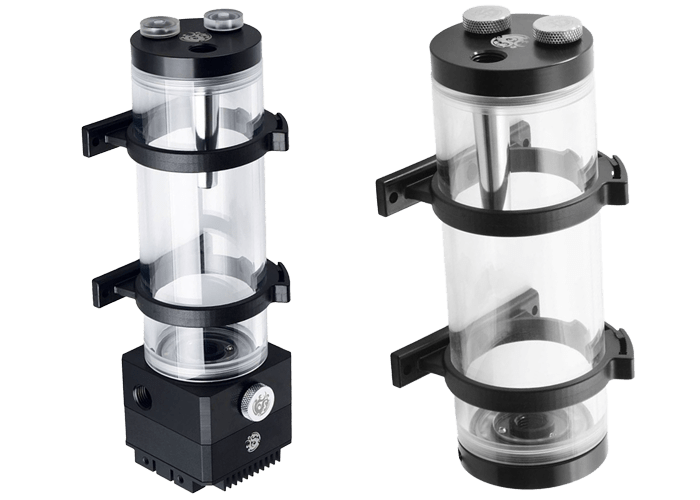
Reservoir or Pump/Reservoir Combo?
This fundamental decision will likely be decided by either appearance or space. Many smaller PC cases simply don’t have the room for a pump/reservoir combo unit, though several brands are coming out with smaller combo units to fill the need.
The advantages of a combo unit are fairly clear – since it eliminates the need for a tubing run between the two parts it takes up less room in total, makes tubing easier and insures that the pump is always fed directly from the reservoir.
Standalone reservoirs offer more options in space consumption and form factor – some of them are very small and some come in unique shapes that aren’t available in a combo unit.
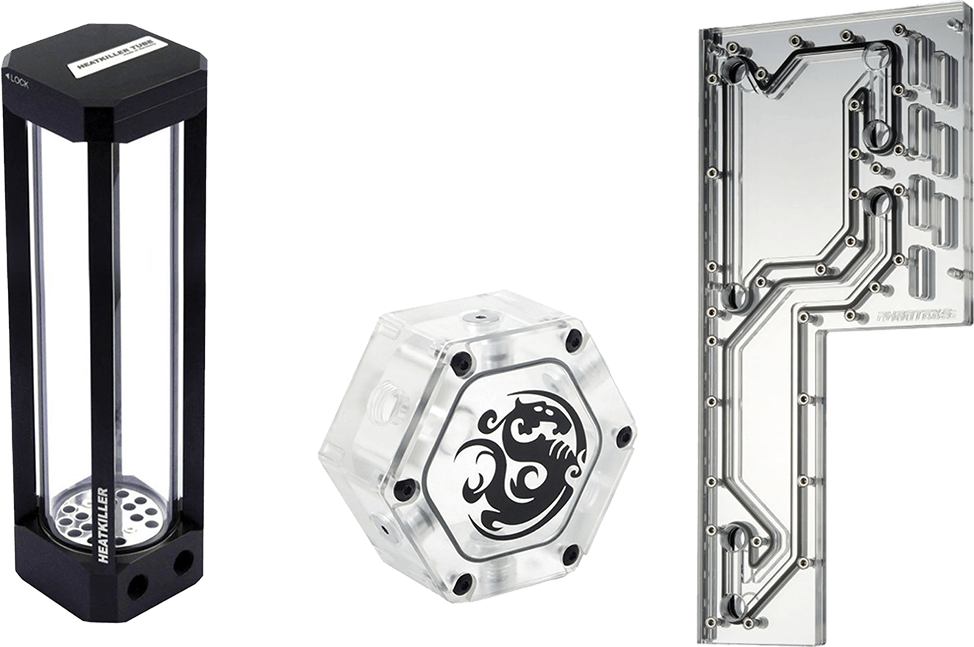
What KIND of Reservoir?
Both standalone and combo-unit reservoirs come in different shapes. Tube reservoirs are the best known, but tank reservoirs are becoming more popular and distribution plates serve the same function.
When choosing the type of reservoir you want, bear in mind that while most of them are available as combination units, there are some that are only standalone parts.
Once a type of reservoir is chosen you need to decide where you plan to mount it in your space. This choice may well be changed along the design process, but you need to come up with a good initial mounting spot.
Where To Go With It?
Our next step in planning out our shiny new water cooling system is to decide on an overall route for our tubing.
This isn’t a final detailed plan, it’s just a general idea of where we might want our tubing to run. Now that you know what you’re going to be cooling, and what kind of tubing and reservoir you’re going to use you can look at the space you’re working in and figure out the best way to move your coolant around.
This step is a combination step. Obviously your tube routing is affected by your components, but since we know how many components we want to cool, where they’re located and what kind of reservoir we plan to use we know where everything is. Almost.
This is the point where you need to narrow down your choices for one of your primary cooling parts: your radiators.
We covered radiators in their own guide, but radiator choice is intrinsically tied to tube routing. I’ll assume here that you’ve already decided the amount of radiator space you need and have an idea of where you want to place it / them.
Radiators come in two basic forms: dual-pass and crossflow. Dual-pass radiators are the most common by far, and have all of their input and outlet ports on one end. Crossflow radiators have their input ports on one end and their outlet ports on the other. This obviously impacts your tube routing.
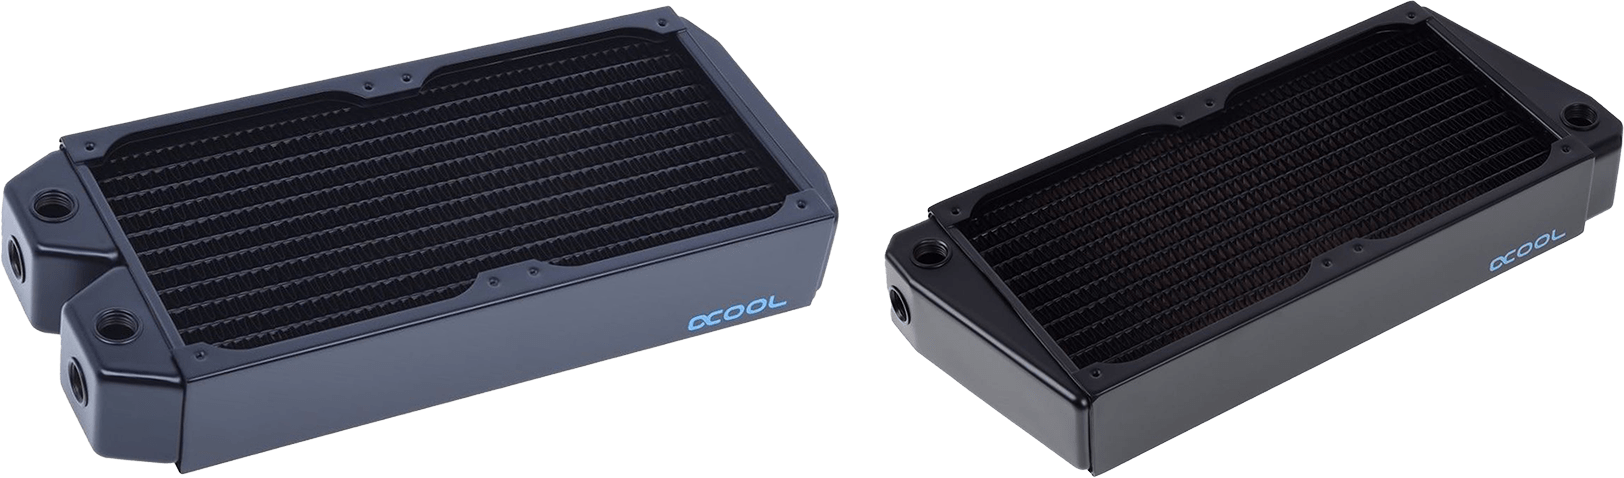
Considering both types of radiator in your tube routing will give you more options.
Remember: loop order doesn’t matter. It’s been proven several times – what order the coolant flows through your system will have little to no effect on your overall temperatures. That means that loop order shouldn’t be a consideration in your tube routing.
The one exception to that is the flow of coolant from your reservoir to your pump. PC water cooling pumps need coolant in them all the time. These little marvels of modern engineering are amazing pumps – but really REALLY bad fans. They move water with incredible efficiency and power but will not move air at all.
In order to keep your pump filled with water at all times, make sure that the pump comes directly after the reservoir in your loop planning.
Other Considerations
When planning your tube routing, there are a few points to keep in mind.
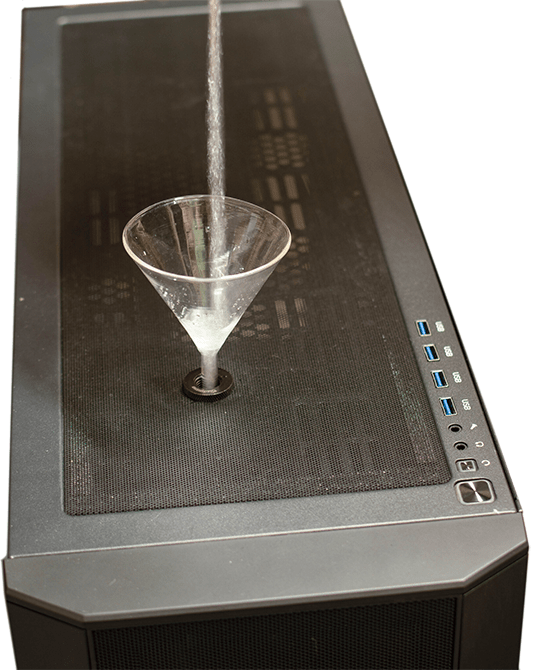
How will you fill it? You’ll need to fill your reservoir when it’s all said and done. Be sure to plan a way to do that. Fill ports are a clean way to integrate a filling solution to the outside of your case.
How will you drain it? A drain valve is a huge help in draining a water cooling system cleanly. In addition, a manual vent valve placed high in the system will make that drain a lot faster, letting air enter the system to replace the water you’re removing.
How will you bleed it?
Once the coolant is finally in your loop, you’ll have air in there also – that air has to be removed. That vent valve will also help with bleeding, by letting air escape. Keeping your bends as simple as possible and mounting your radiators with the ports facing up will minimize trapped air and make the flow stronger – helping to force the air into the reservoir, where it will be trapped at the top.
Bending
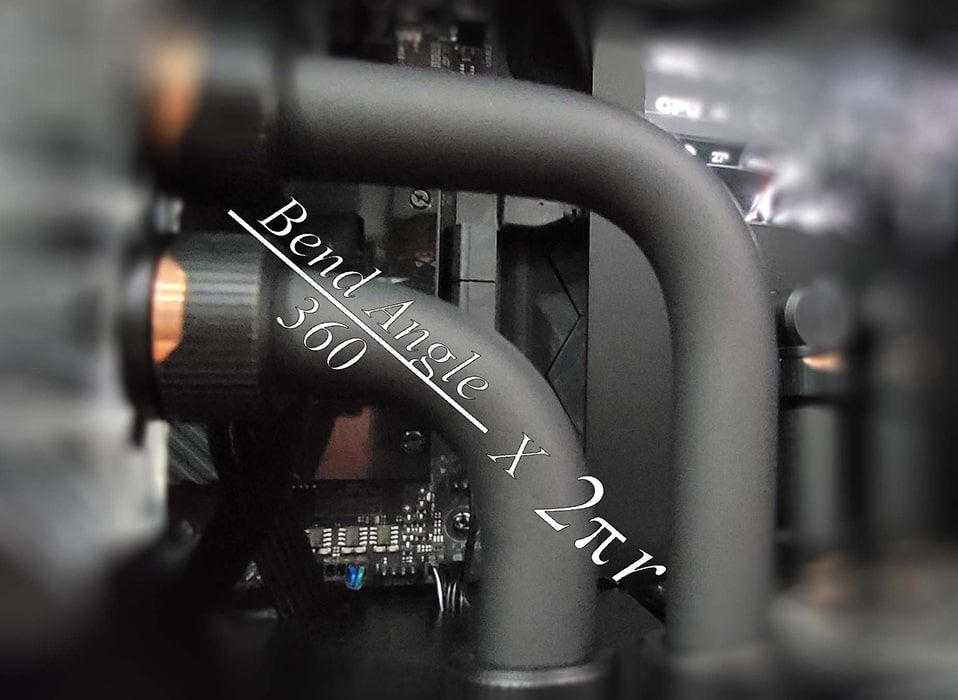
Regardless of what kind of tube you choose to use, it will have what’s known as a minimum bend radius. That radius is the sharpest corner that tube will make without collapsing or distorting.
The best way to figure out how tightly you can bend the tube you plan to use is to bend it. Get some of your tube of choice and play with it – bend it until it kinks or deforms and make note of how tight that bend is.
Parallel or Serial?

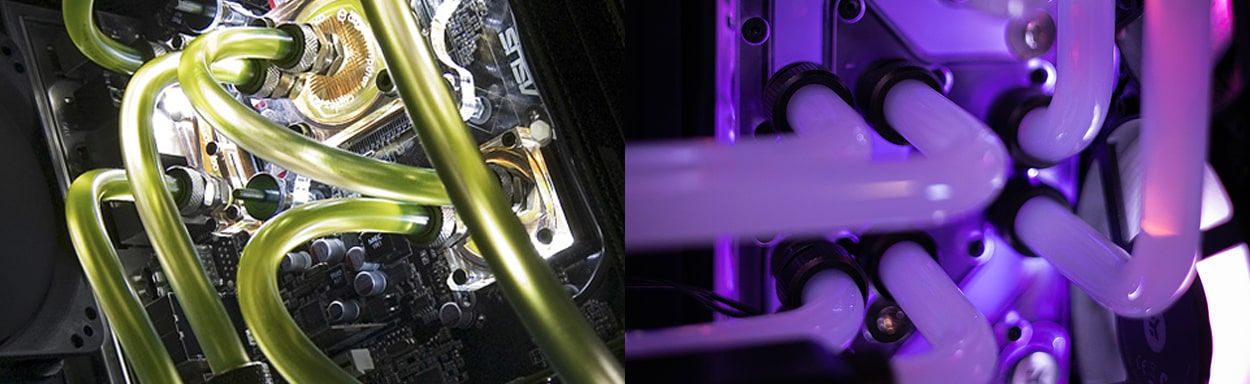
Parallel loop image credit: Redditor /u/fighterv
Another part of your tube routing process is deciding if you want to make a parallel loop or a serial loop.
A serial loop is what’s most commonly done, and what most people think of when they picture a water cooling system. The left-hand image above is a serial loop. In this type of loop, coolant flows from one component to another in series – reservoir to pump to water block to radiator etc. One at a time, start to finish.
A parallel loop splits the coolant flow in the middle of the loop. The image on the right above is a good example of a parallel loop. In that example, coolant flows to the GPU water block as you would expect, but then the flow is divided between the GPU block and the CPU block. Once it returns from both blocks it becomes a single flow pattern again.
Intuitively, this won’t work. The coolant coming into the GPU block should just flow right past the opening to the block and go straight to the CPU block. You would think that the coolant inside the GPU block would be at rest, kept in place by the pressure of the flow through those fittings.
You’d be wrong. I still don’t completely understand the hydraulics involved, but the coolant does flow through both blocks, and cooling is only slightly worse than a serial-cooling setup.
Disclaimer: Parallel loops work perfectly fine in most cases. If you introduce a water block with very high restriction to any part of the parallel part of the loop though, flow is affected as it will take the path of least resistance and could potentially function worse than expected.
Draw It Out
It’s a good idea to visualize your water loop somehow. It’s easy to miss something or forget something important doing the planning mentally, and visualization will give you a better idea of what the finished product will actually look like.
Something as simple as a pencil and a piece of paper will do.

If you want to get more advanced you can use software too. MS Paint is a great simple 2D program that can overlay lines onto a picture of your PC case if you have one.
There are CAD programs that you can use to render the entire system in three dimensions also – from simple basic shapes to a full-resolution color-accurate rendering.
Sketchup is an excellent option and offers a free online version.
Fusion 360 is a full-featured CAD program that will do pretty much anything you want in that area. The learning curve is steep though, and a few hoops have to be jumped through to get it for free.
What Do You Need?
At this point you have your basic loop planned out – components, type of tubing, type of reservoir, radiators and basic routing. You’ve got enough information now to put together a list of what you need to make it a reality.
Water blocks – One for every component you plan to cool.
Reservoir – Standalone or combination unit.
Pump – If it’s not part of the reservoir.
Radiators – As much space as you need for cooling your heat loads, and in whichever type you decided on.
Tube fittings – For the fittings that actually connect to your tube, make sure they’re the right type and size.
Other fittings – This will include angled fittings for places where you don’t plan to bend you tubing, drain valves, vent valves, plugs for any extra holes your parts may have, and at least one thing you forgot.
Tubing – Tubing is cheap: buy extra. If you’re new to bending rigid tubing, buy double what you need and use some of the extra to practice bends.
Planning aids
There are a few things on the market today that can help you plan your loop more effectively. While most are targeted toward the rigid tube user, they can benefit flexible-tube builds also.
Measuring – While any accurate ruler will do the job, there are measuring kits available that will let you make accurate measurements in three dimensions in real time. Monsoon and Alphacool both offer comprehensive kits whose rulers and angles actually mount together in different configurations to help you measure out your tubing runs before laying hands on any tubing.
Marking – Alphacool offers a unique planning aid for tubing runs with straight lines: a laser fitting.

This fitting is designed to screw into another fitting and projects a laser beam along the path that’s straight out of the center of that first fitting – showing where a straight tubing run would end up if taken from that spot.
Get It Done!
Planning out your next water cooling loop is a complex process, but taking it step by step will make it as simple as possible and will help you bring the water loop you’re imagining into reality.
Recent Posts