2-Day Expedited Shipping Only $14.95 - See Restrictions
Featured Rig #5 - "Wood Ridge" by Jeroen ter Horst
November 08, 2021 142
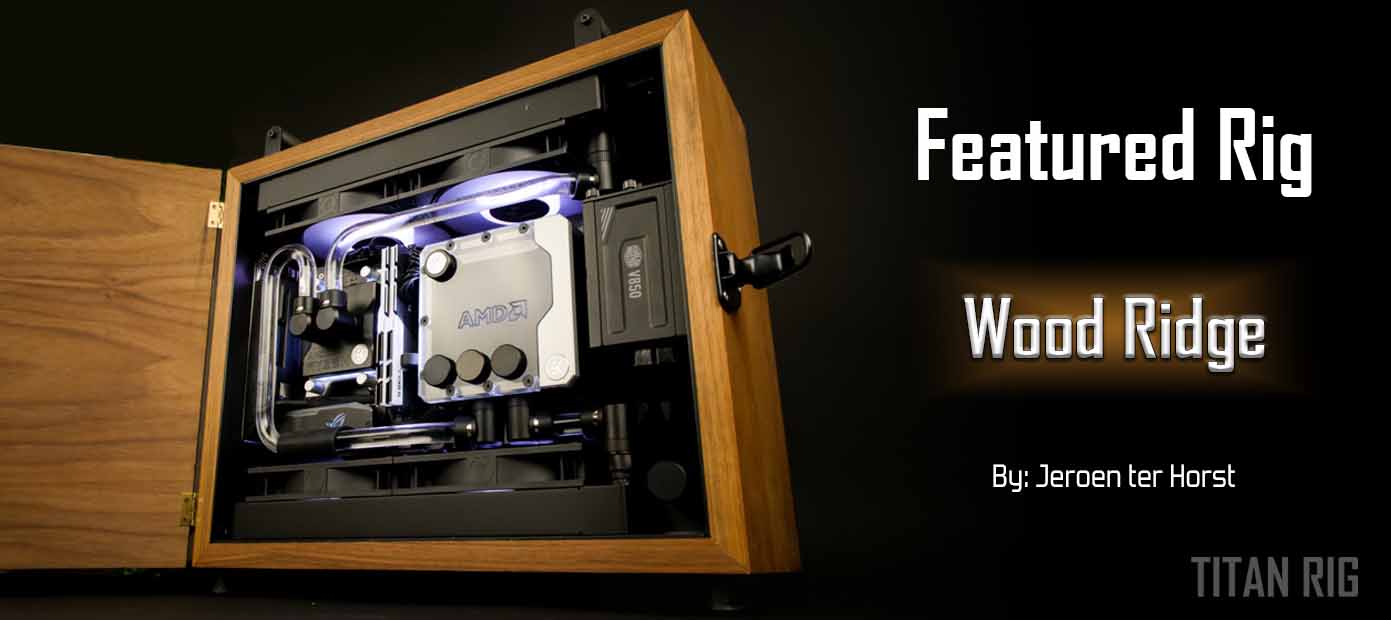
Featured Rig - Wood Ridge by Jeroen ter Horst
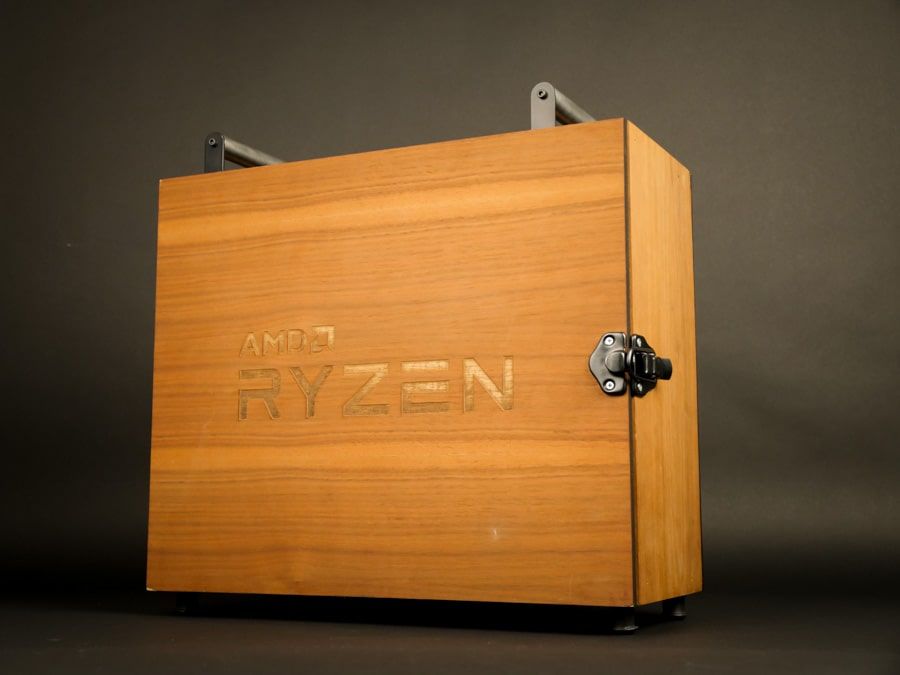
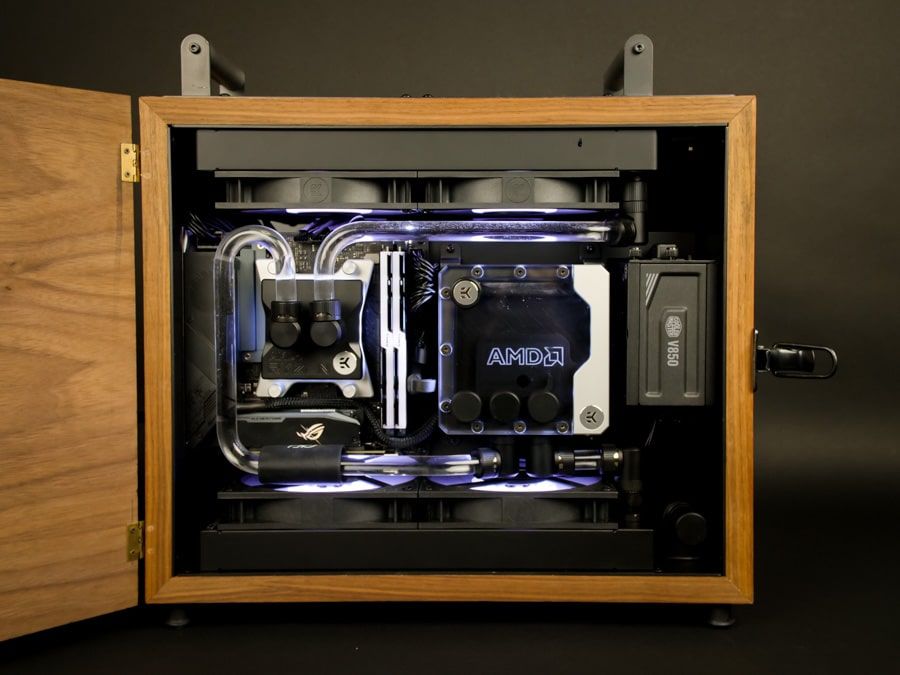
It’s time for another Featured Rig from Titan Rig! This one’s a piece of creative genius made by redditor Jeroen ter Horst (/u/HorstJt). After getting his hands on a rare wooden case used by AMD to send out review samples of the first-generation Ryzen processors to media outlets, Jeroen decided to build a full-on custom water-cooled PC in it. The results are amazing.
Builder: Jeroen ter Horst
Hardware List
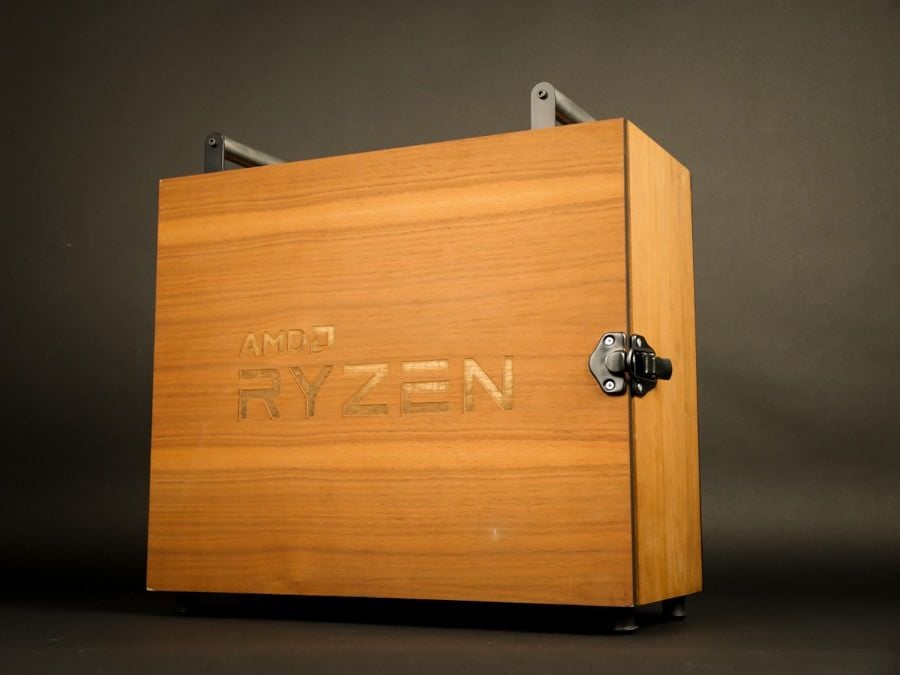
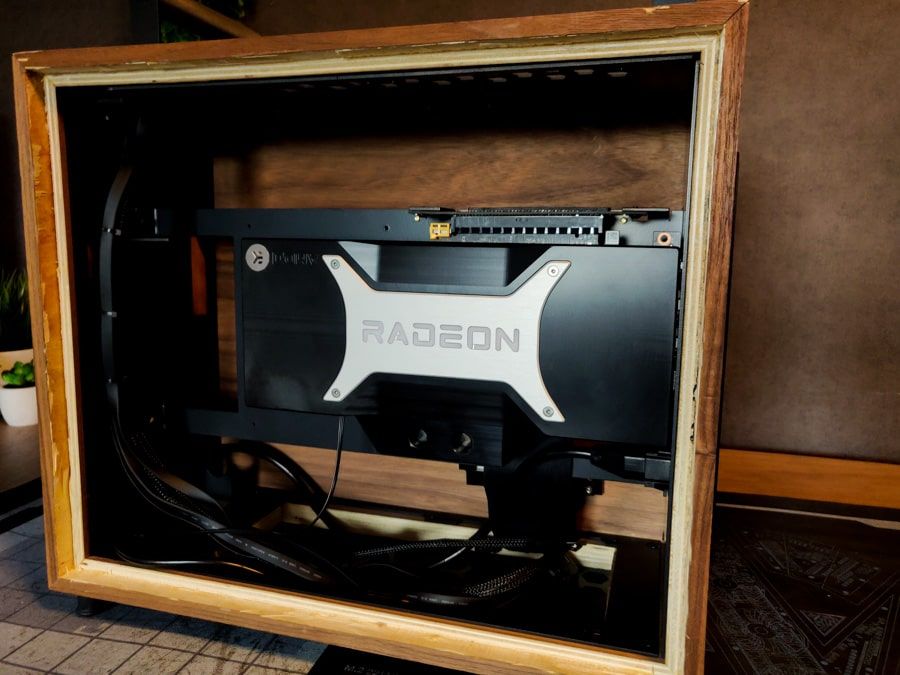
Case: AMD Ryzen review sample crate
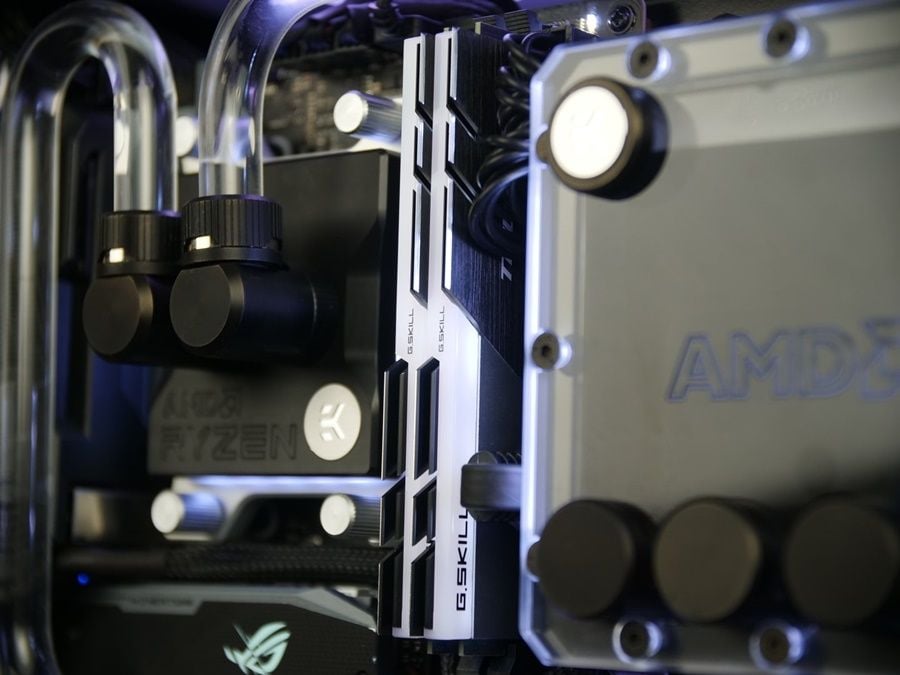
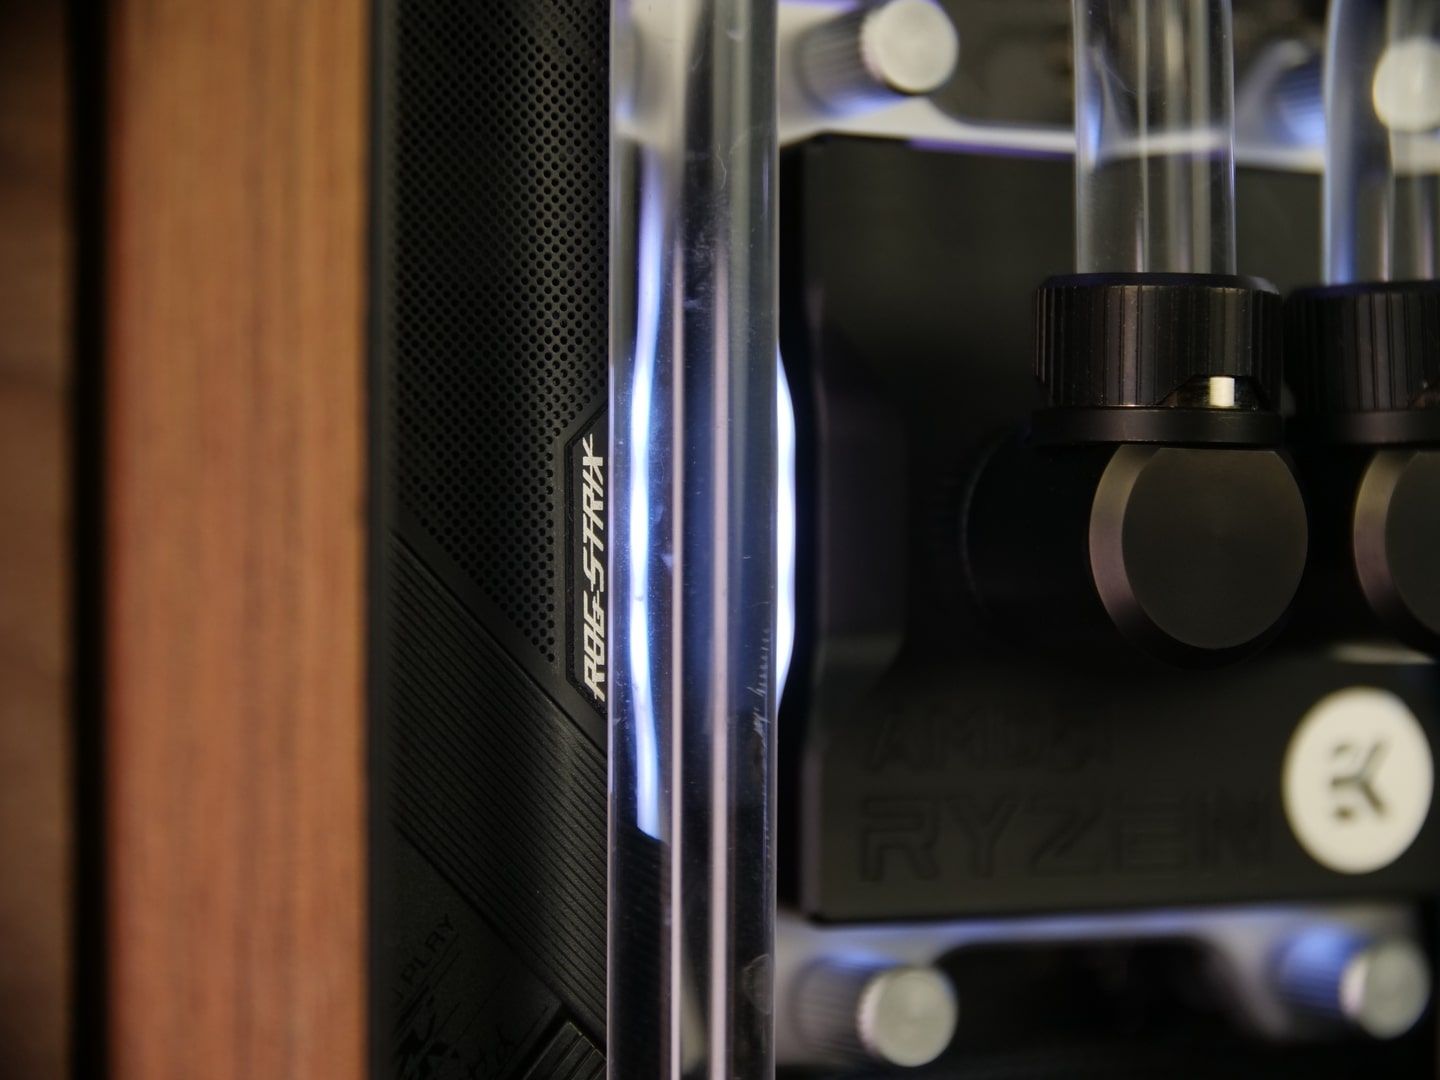
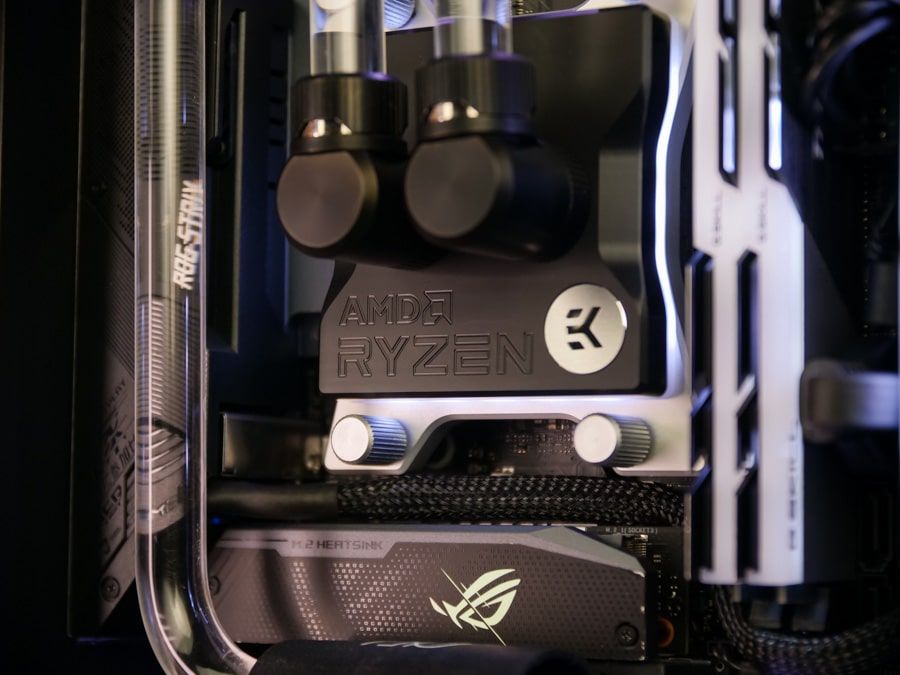
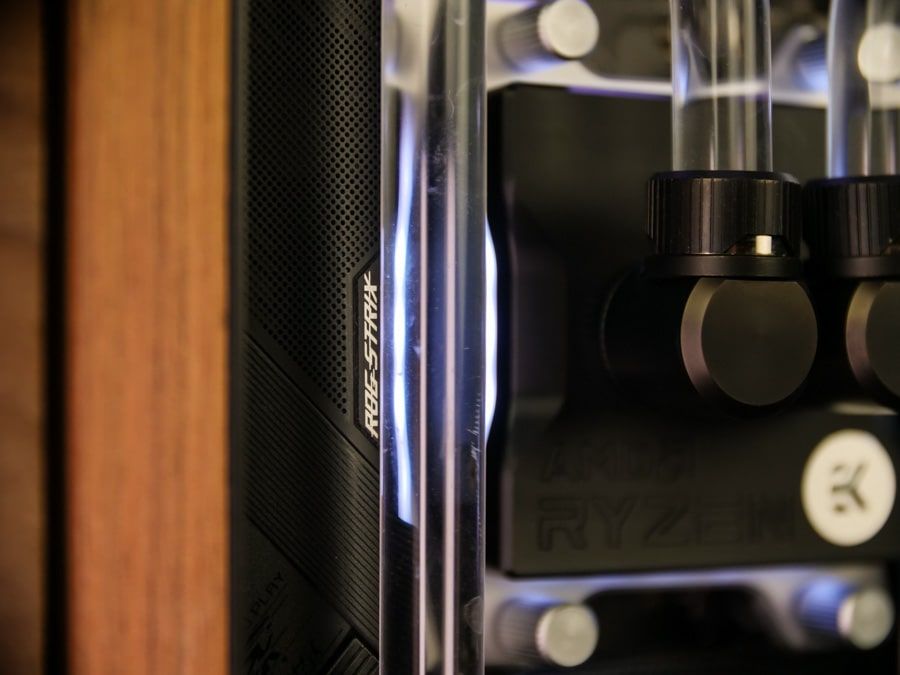
Mainboard: Asus ROG Strix B550i Gaming
CPU: AMD Ryzen 9 5900X (PBO2 all core +200MHz with curve optimizer at -15)
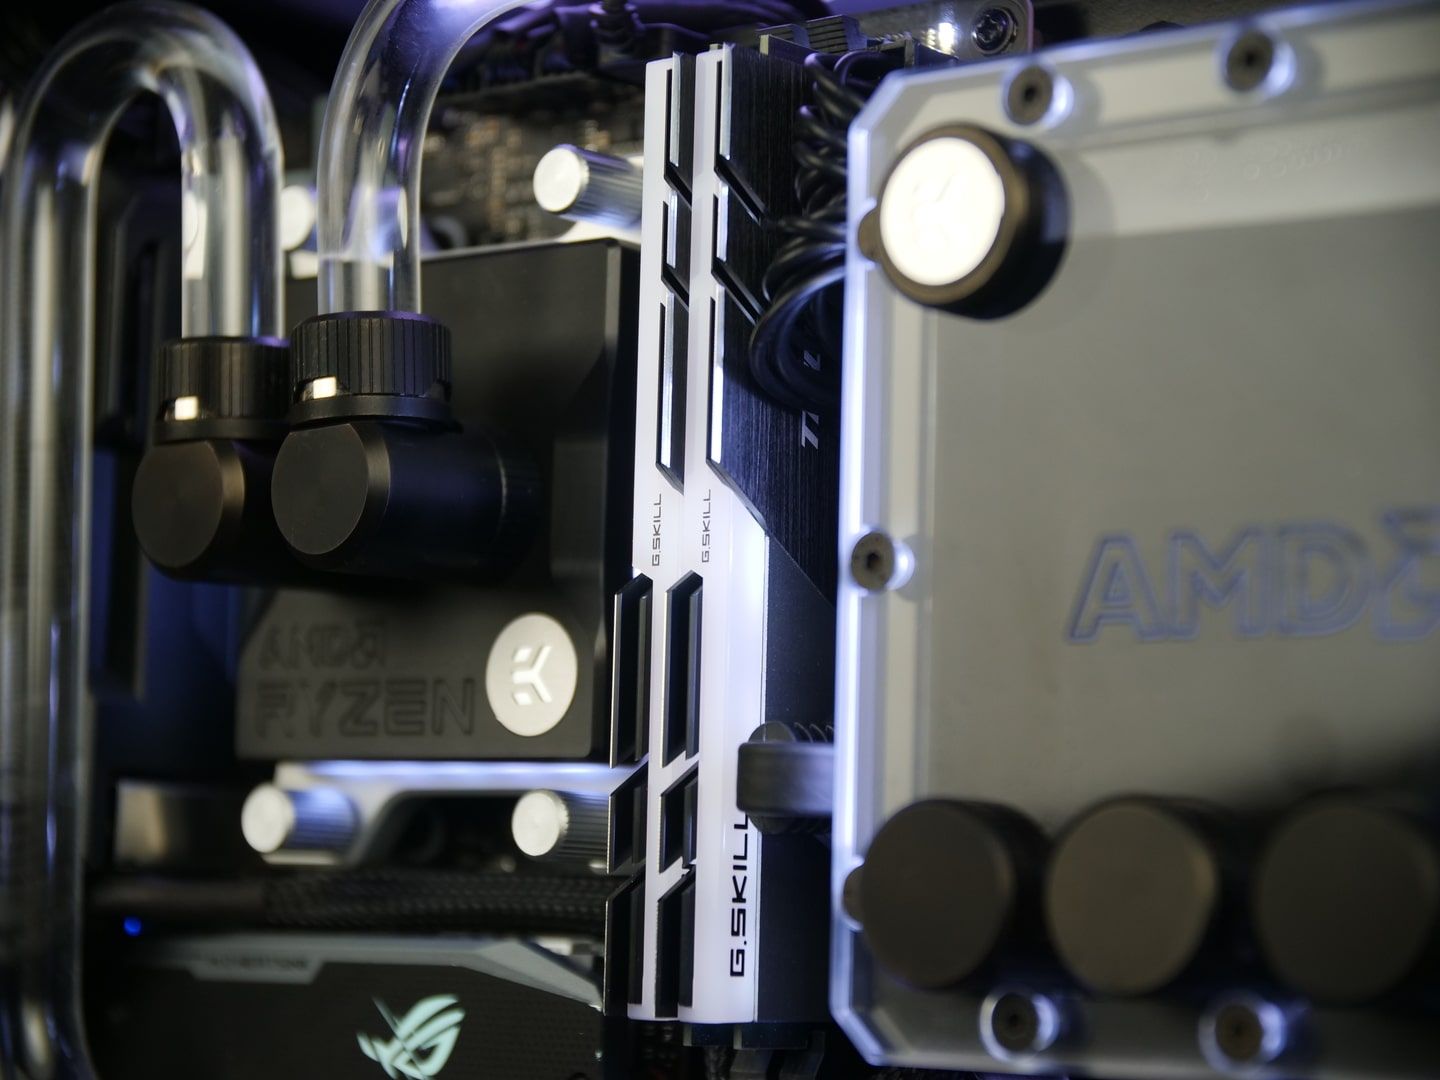
RAM: G.Skill Trident Z Neo 32GB 3600MHz CL14 (@3733mhz C14, FLCK limit CPU for 1:1:1 mode)
Storage: Samsung 980 Pro 1TB m.2
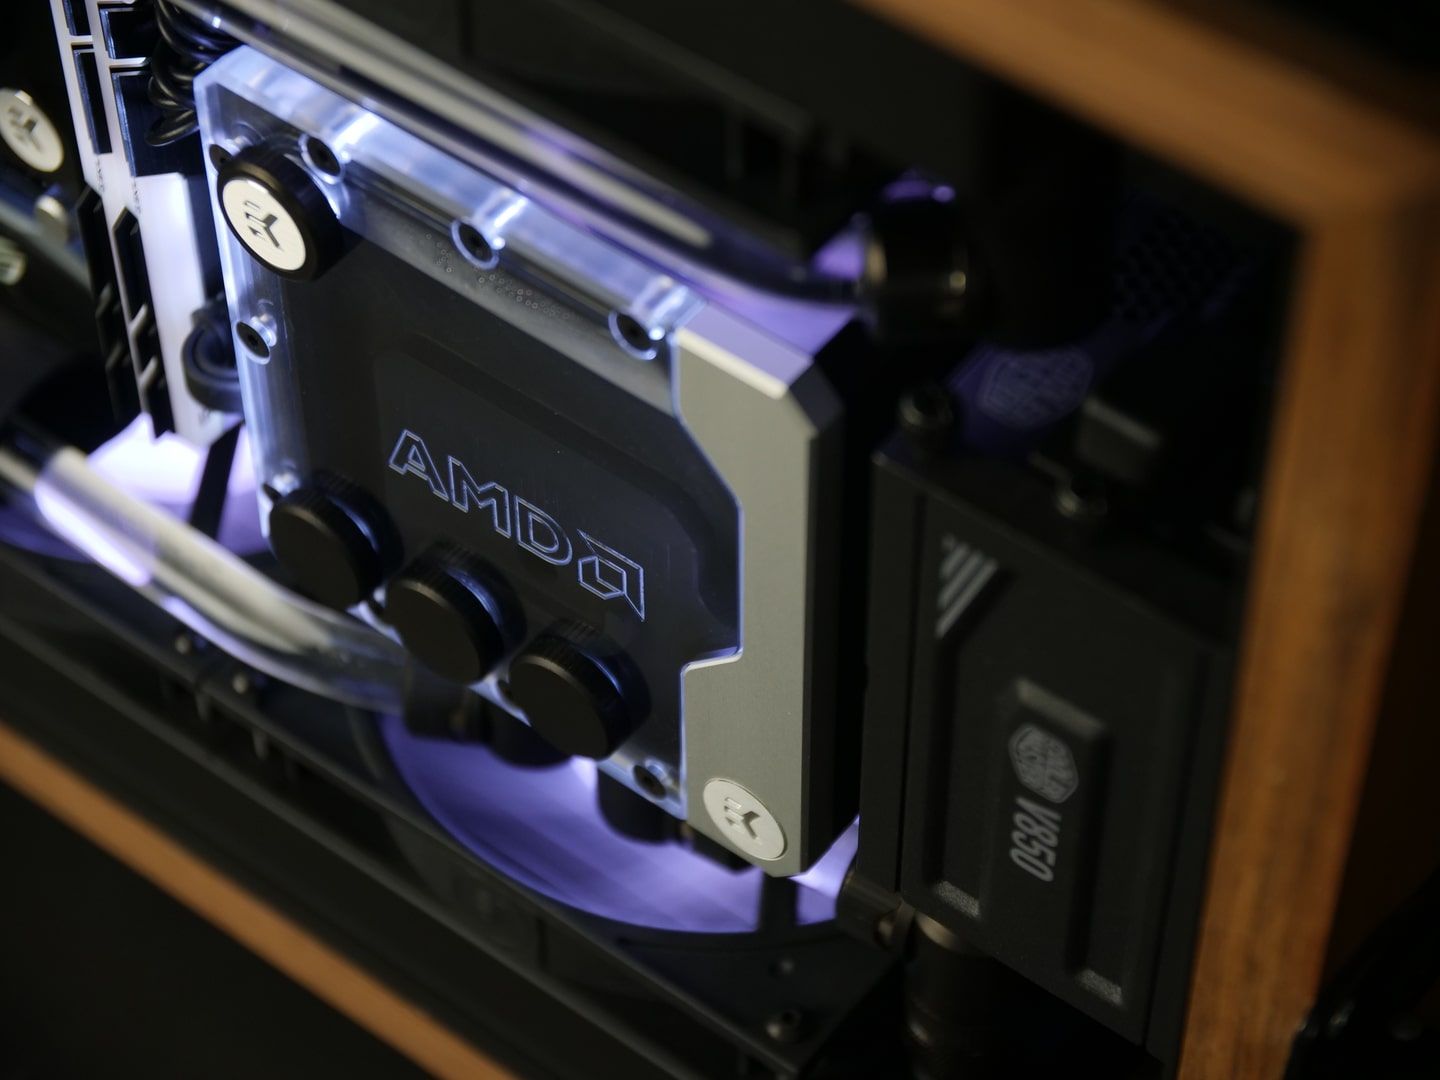
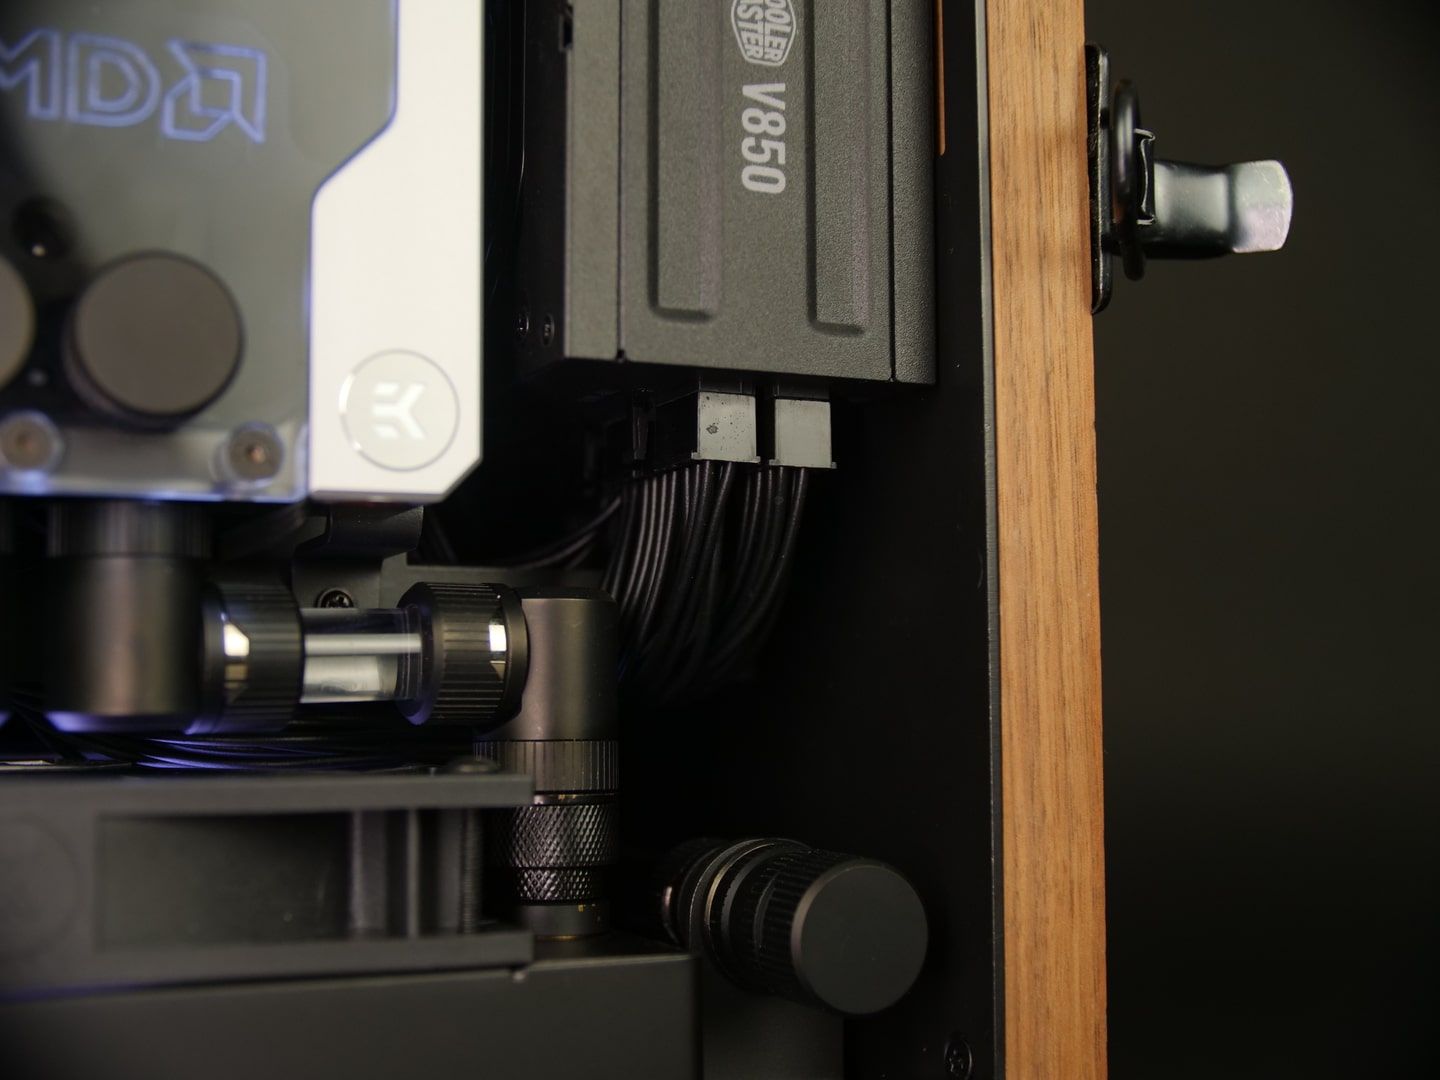
PSU: Cooler Master V850 Gold SFX v2
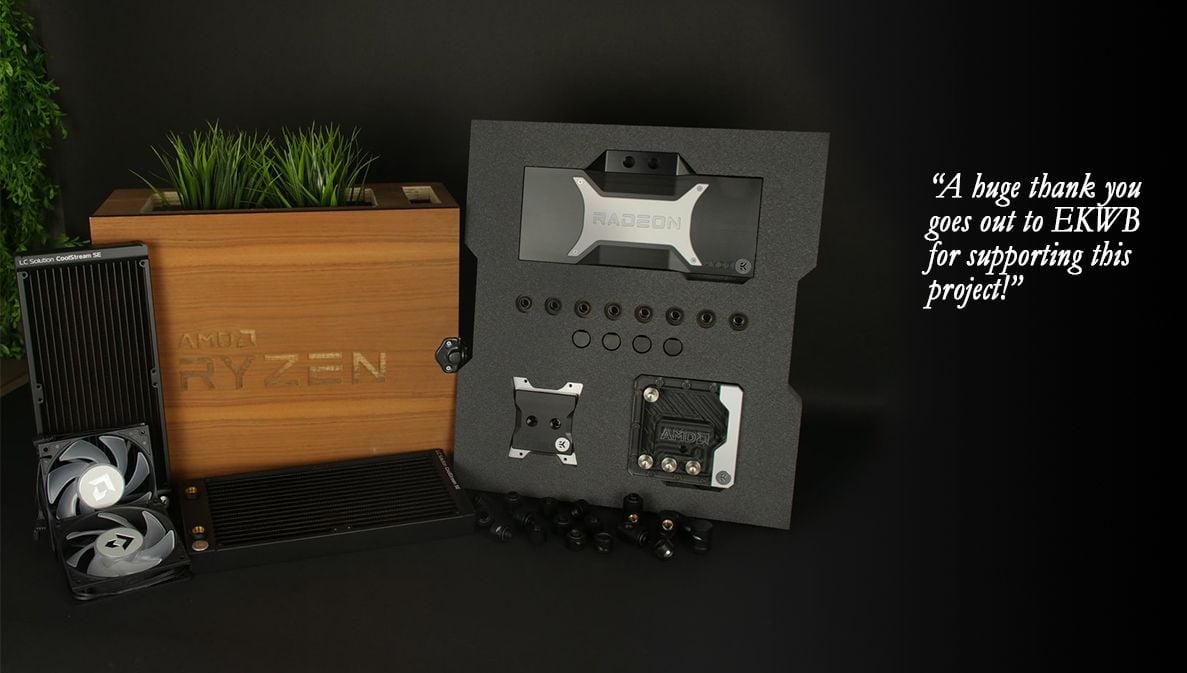
Watercooling Gear
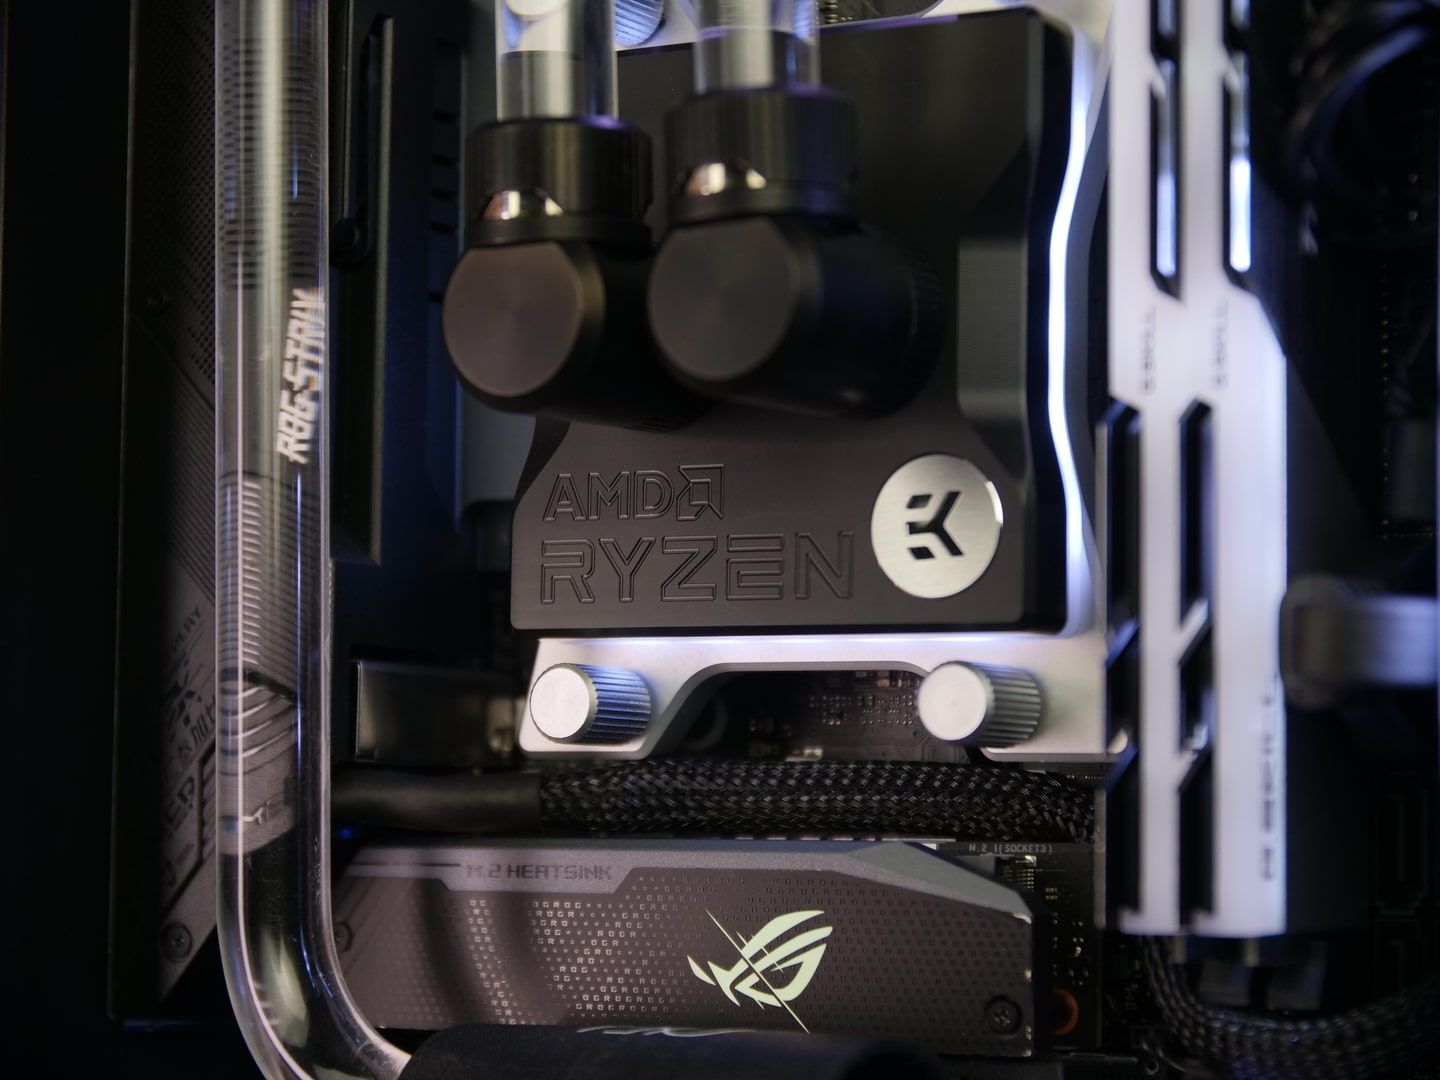
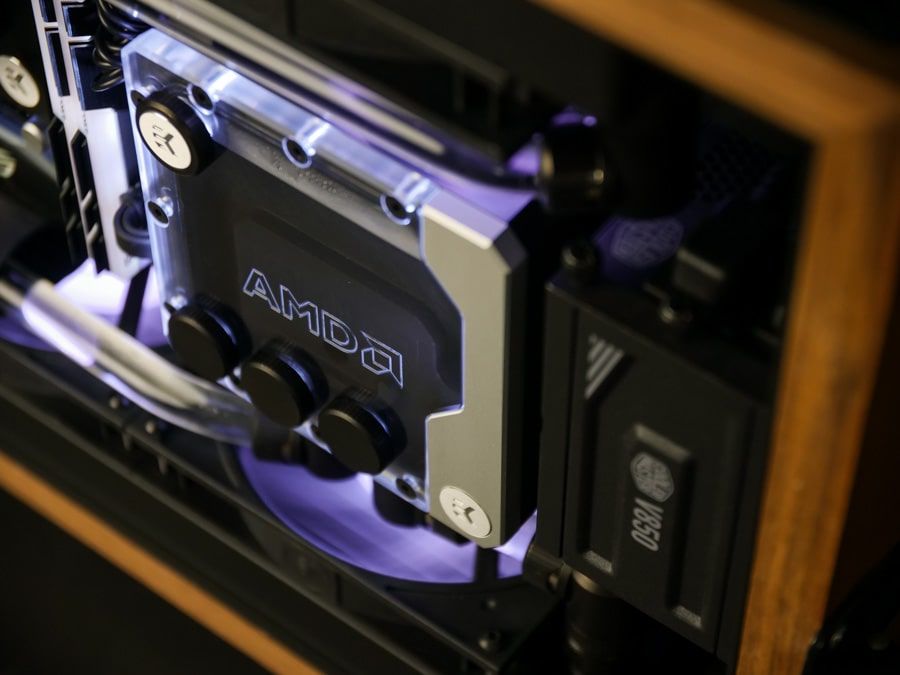
CPU Block: EK-Quantum Velocity D-RGB - AMD Ryzen
GPU Block: EK-Quantum Vector RX 6800/6900 D-RGB - AMD Radeon
Radiators: EK- CoolStream 280mm SE (x2)
Pump/Reservoir Combo: EK-Quantum Kinetic FLT 120 D5 PWM D-RGB – Special Edition
Fans: EK-Vardar EVO 140ER D-RGB (400-1600 rpm) (4x)
Tubing: EK-Loop Tube 10/14mm
Fittings: EK-Quantum Torque HDC 14 - Black (8x)
EK-Quantum Torque Rotary 90° (Black) (8x)
EK-Quantum Torque Extender Static MF 14 - Black (5x)
EK-Quantum Torque Extender Rotary MM 14 (Black) (4x)
EK-Quantum Torque Color Ring HDC 14 - Nickel (10x)
EK-Quantum Torque Drain Valve – Black
Coolant: EK-CryoFuel Clear (Premix 1000mL)

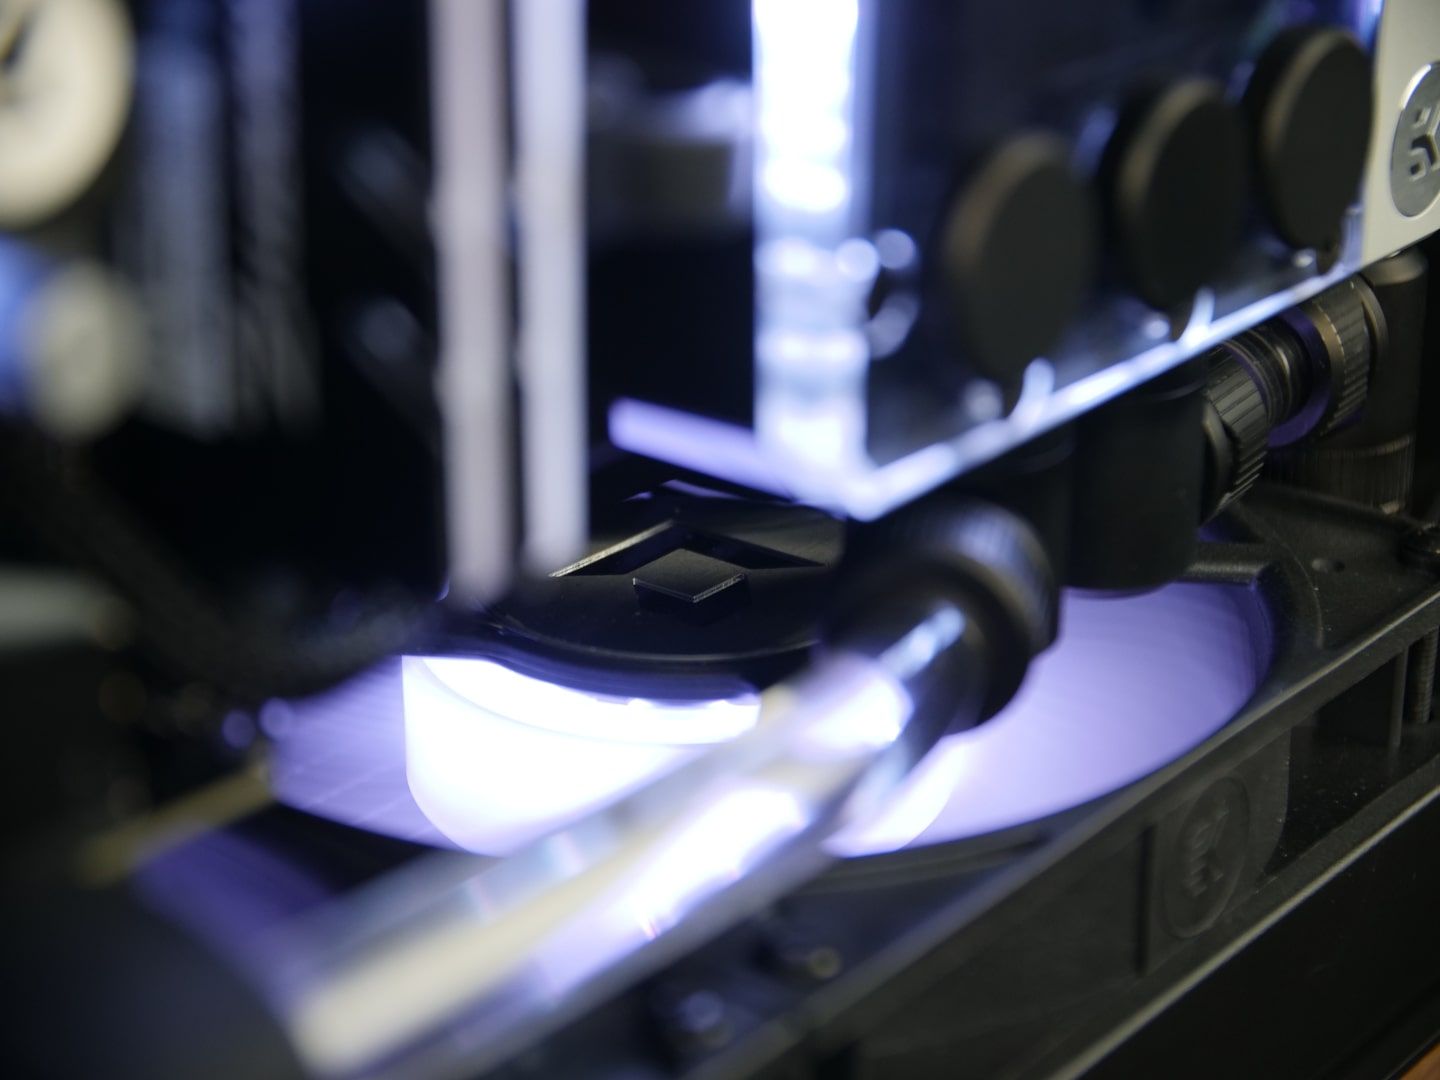
The build is amazing in the pictures, but there’s a lot going on in this rig behind the scenes too.
As always, we took some time to talk with the builder.
Big thanks to Jeroen for taking the time to tell us about his creation!
Does this project have a name?
Wood Ridge, it’s based on AMD’s naming scheme for their CPUs
How did you come up with the idea of using the media sample box for a PC?
There was an opportunity to get my hands on one of them via Dutch review site Tech Testers. Someone in their Discord community pitched the idea of doing a build in it.
The original owners and I really liked that idea and that is how this build came to life.
What do you primarily use the PC for?
Games, new project design in CAD and watching online content.
How long have you been building PCs?
6 years – I built my first PC at the end of 2015 and first modded my PC in the summer of 2018.
How many water cooled rigs have you made? What got you into water cooling?
This is my third water cooled rig. The ability to build unique looking systems that are near silent yet cool got me interested in liquid cooling.
How did you learn to build a custom water cooling loop?
Watching a lot of videos and reading loads of articles about it.
What were the deciding factors in your choice of brands/parts for this rig?
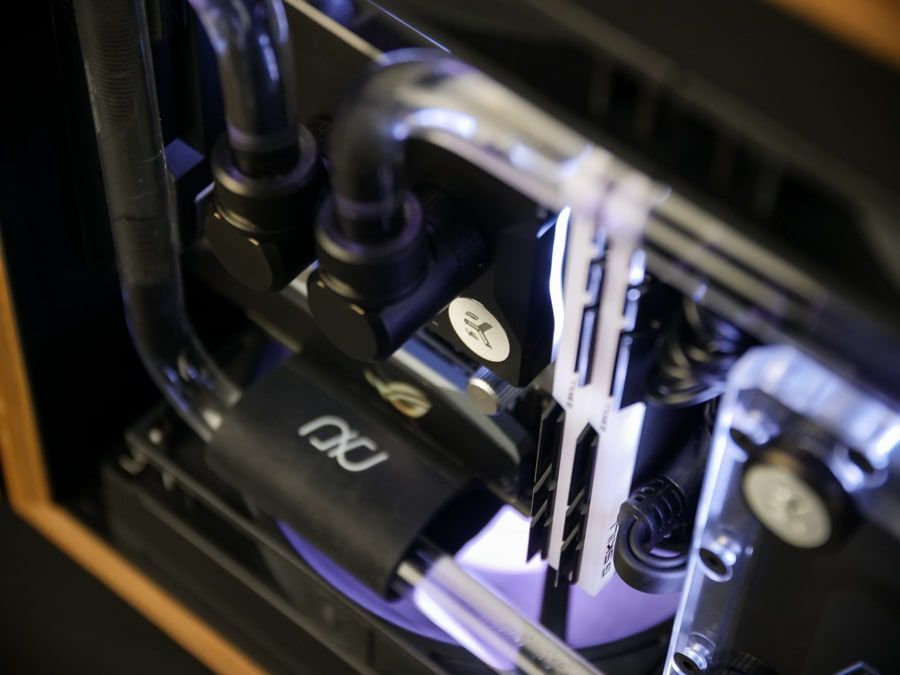
The CPU and GPU are obvious I think. The motherboard was based on the amount of fan headers it had since most ITX only have 2 - I wanted to be able to control both rads independent of each other and still have a separate header for the pump.
Liquid cooling gear was based on build theme: AMD. These special edition AMD blocks from EK are the perfect match.
The remaining parts were based on what I thought would be a good match for the rest without going fully overboard and spending way too much money.
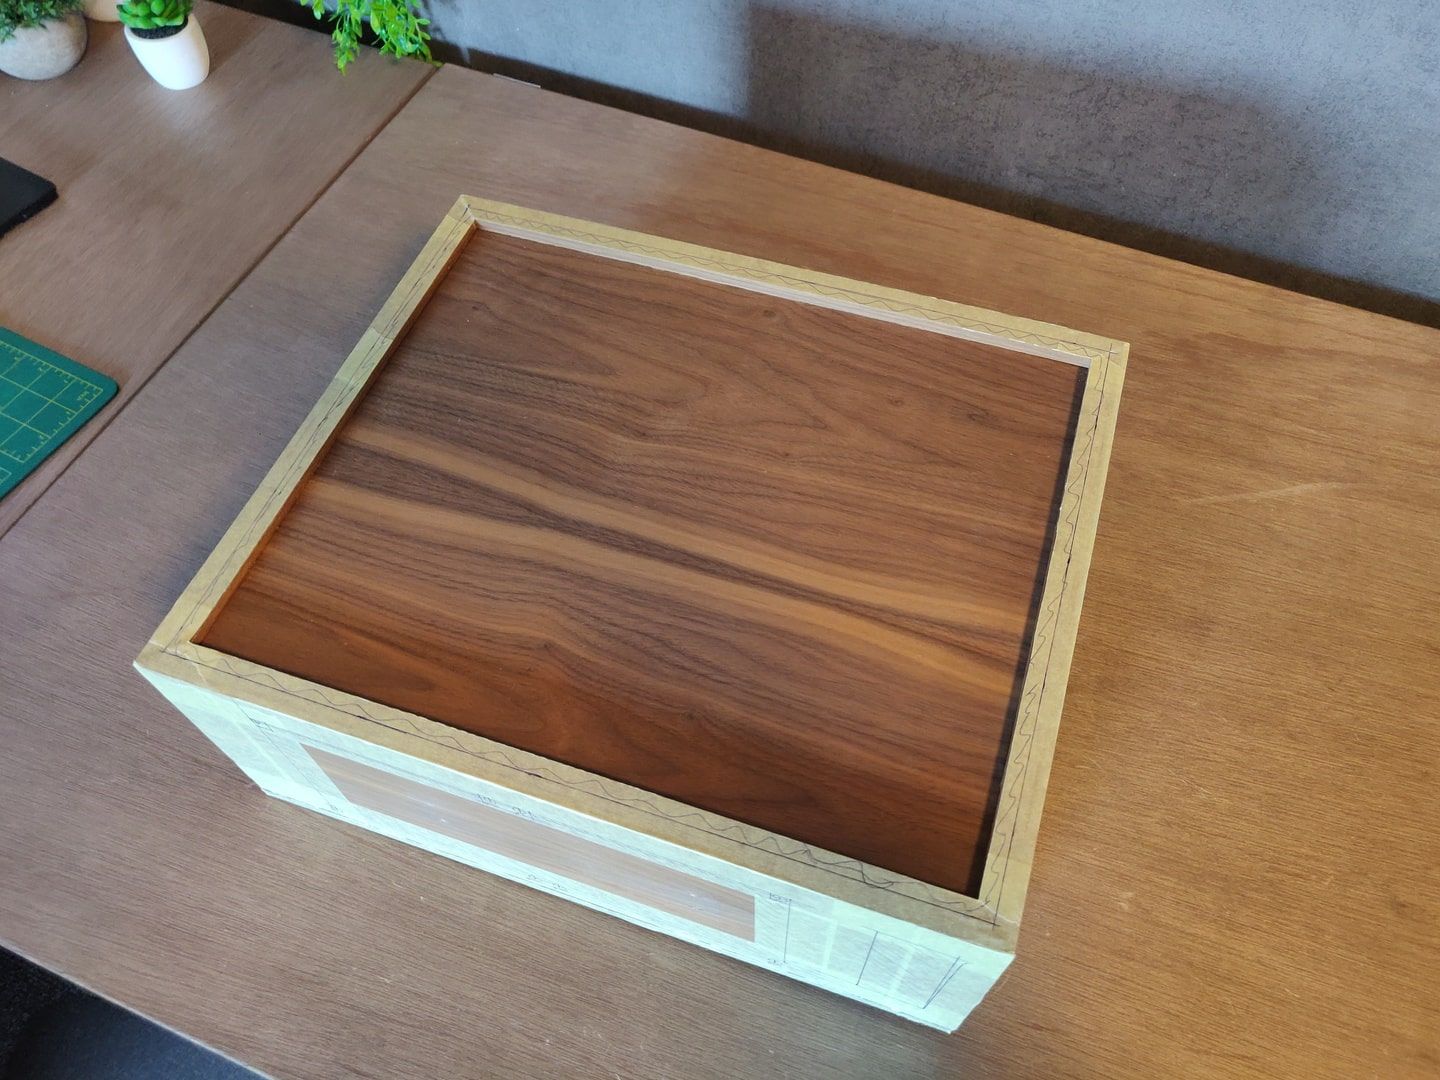
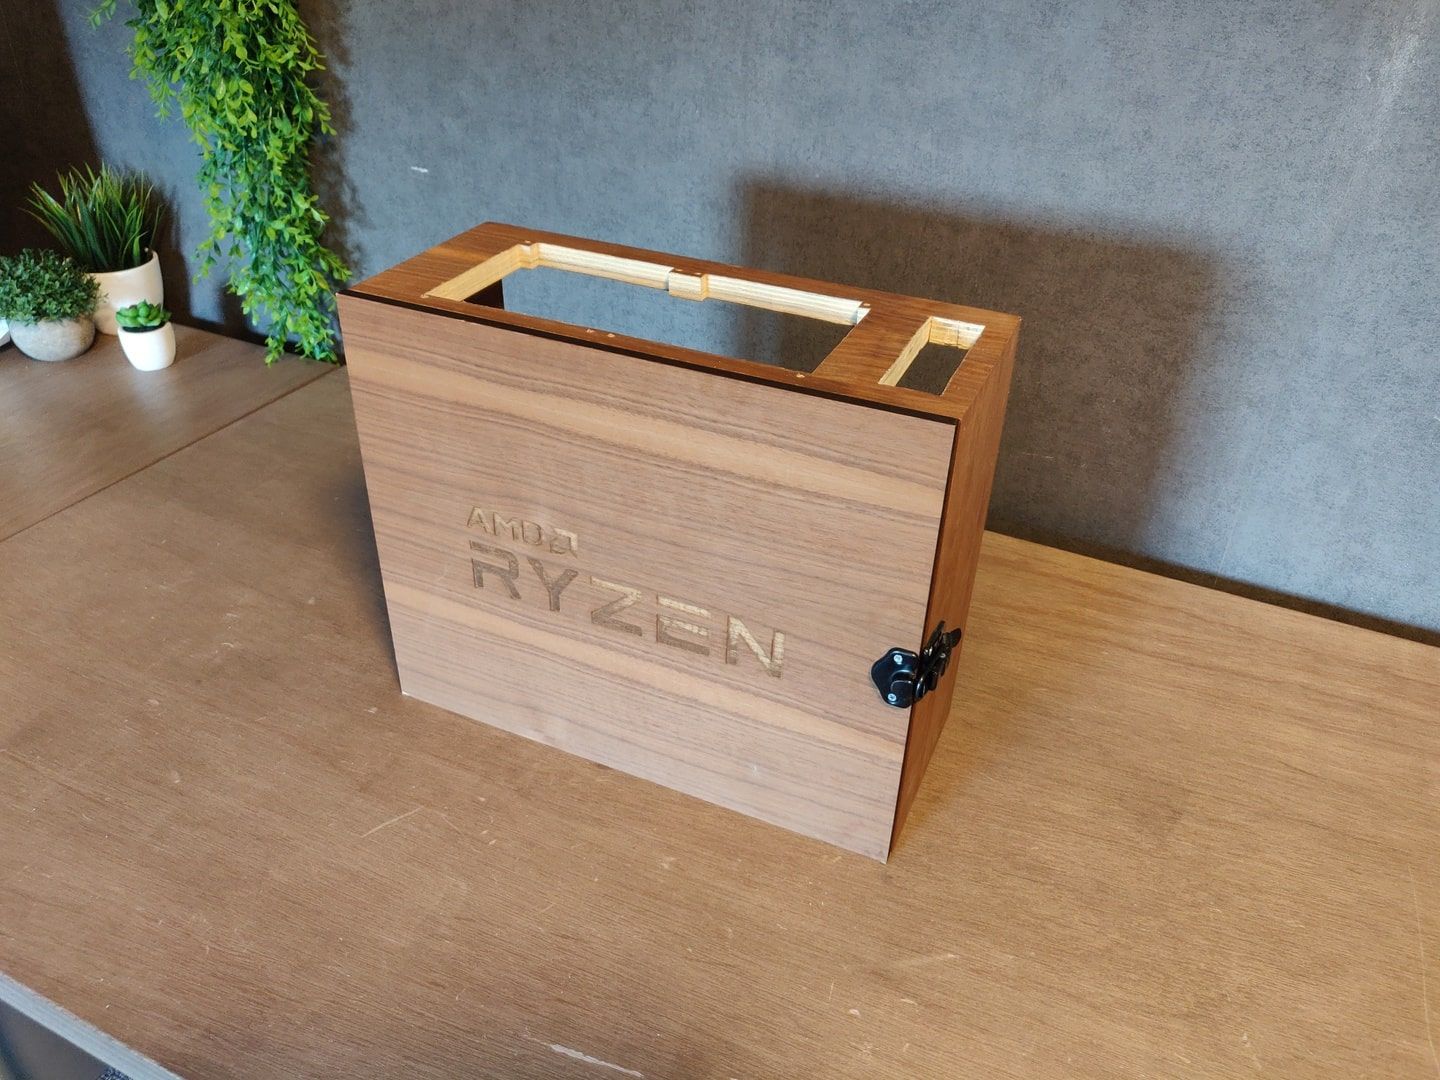
It’s hard to tell in the images without any context, how big is the box you built the PC in?
The outside dimensions of the original box were: 13 ¾” x 16 ½” x 7”. The room on the inside of the box was a bit less due to the ¾”-thick wood it’s made off. This left 12” x 15” x 6” to work with on the inside.
The final outside dimensions of the box with case feet and handles is 16 ½” x 16 ½” x 7”. This leaves about ¾ of an inch below the case for the intake fans to get fresh air and plenty of room on top for your hand to pick up the case by the handles.
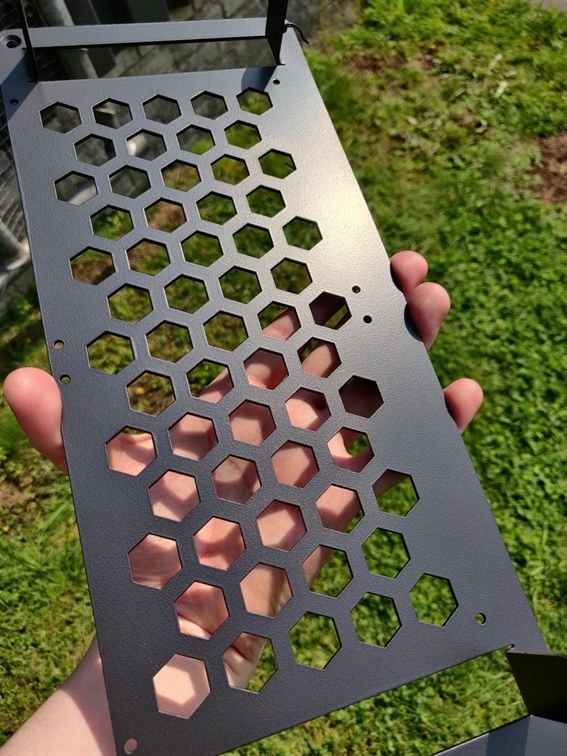
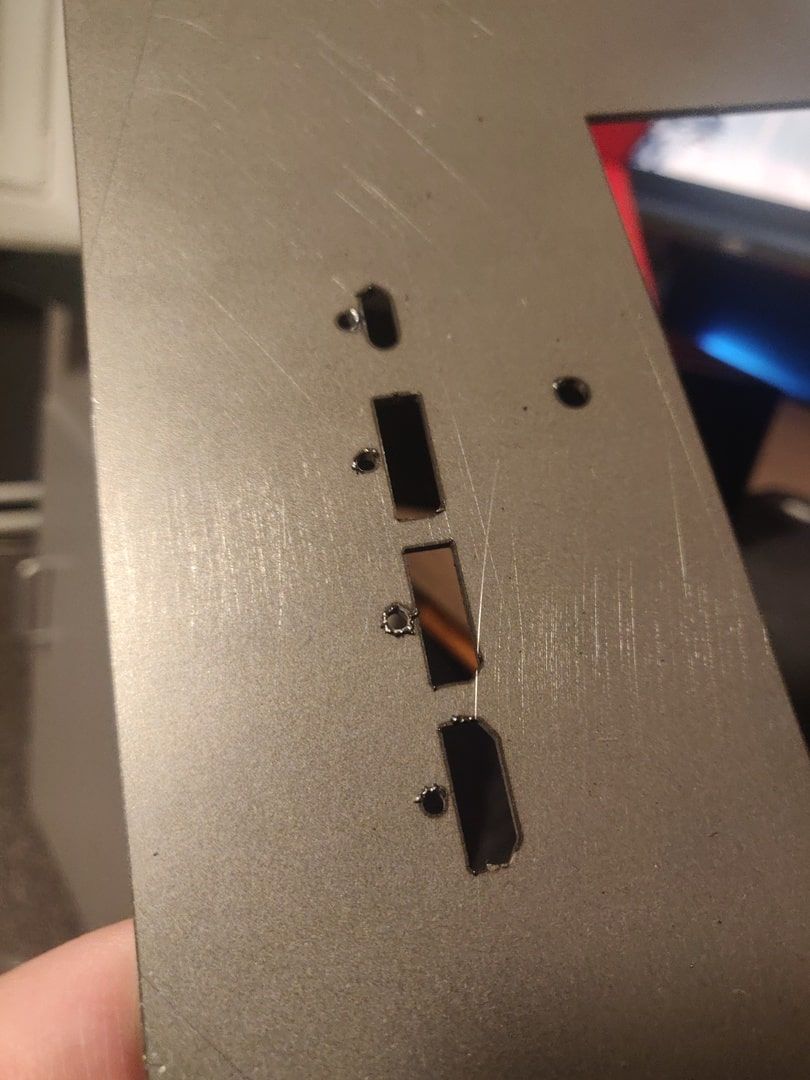
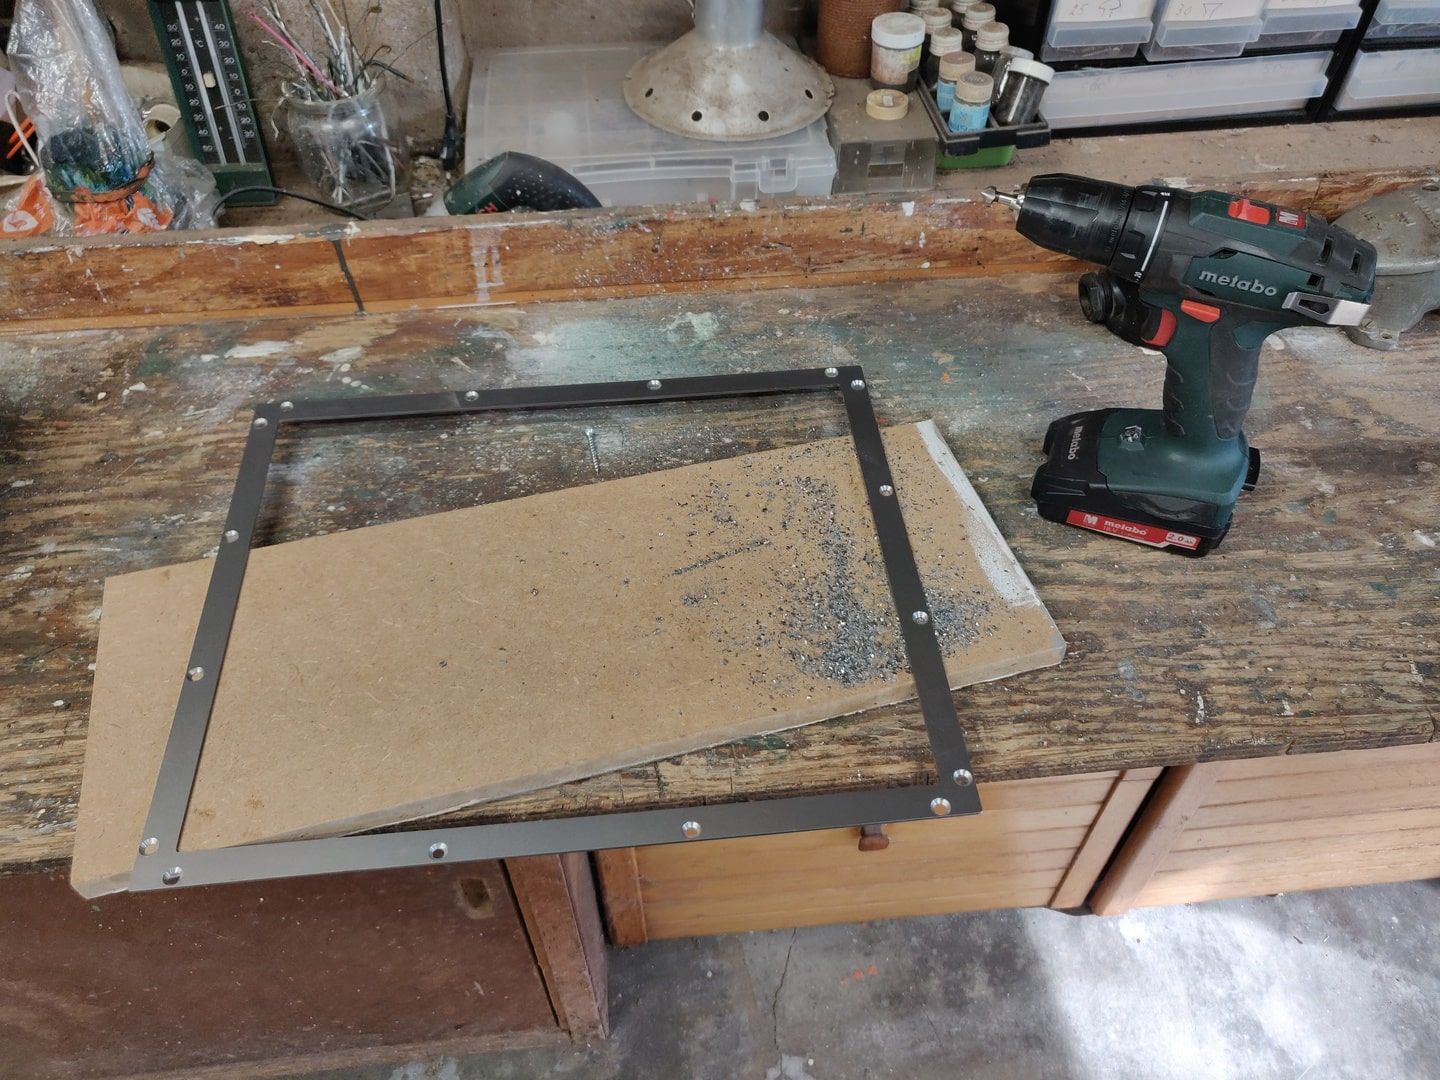
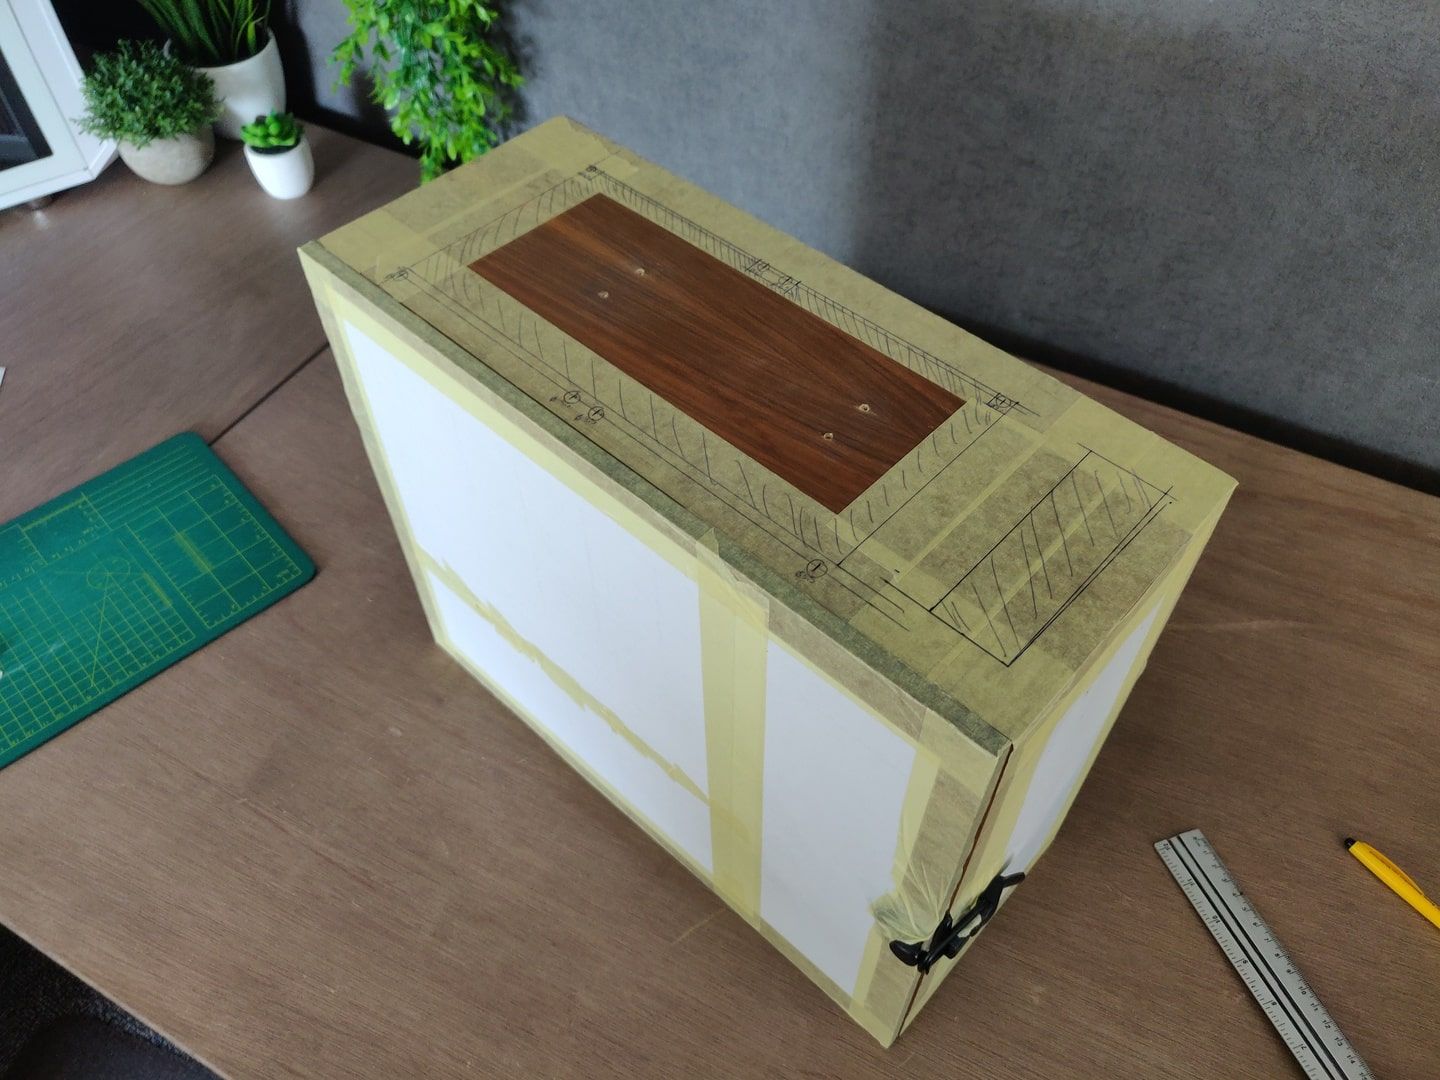
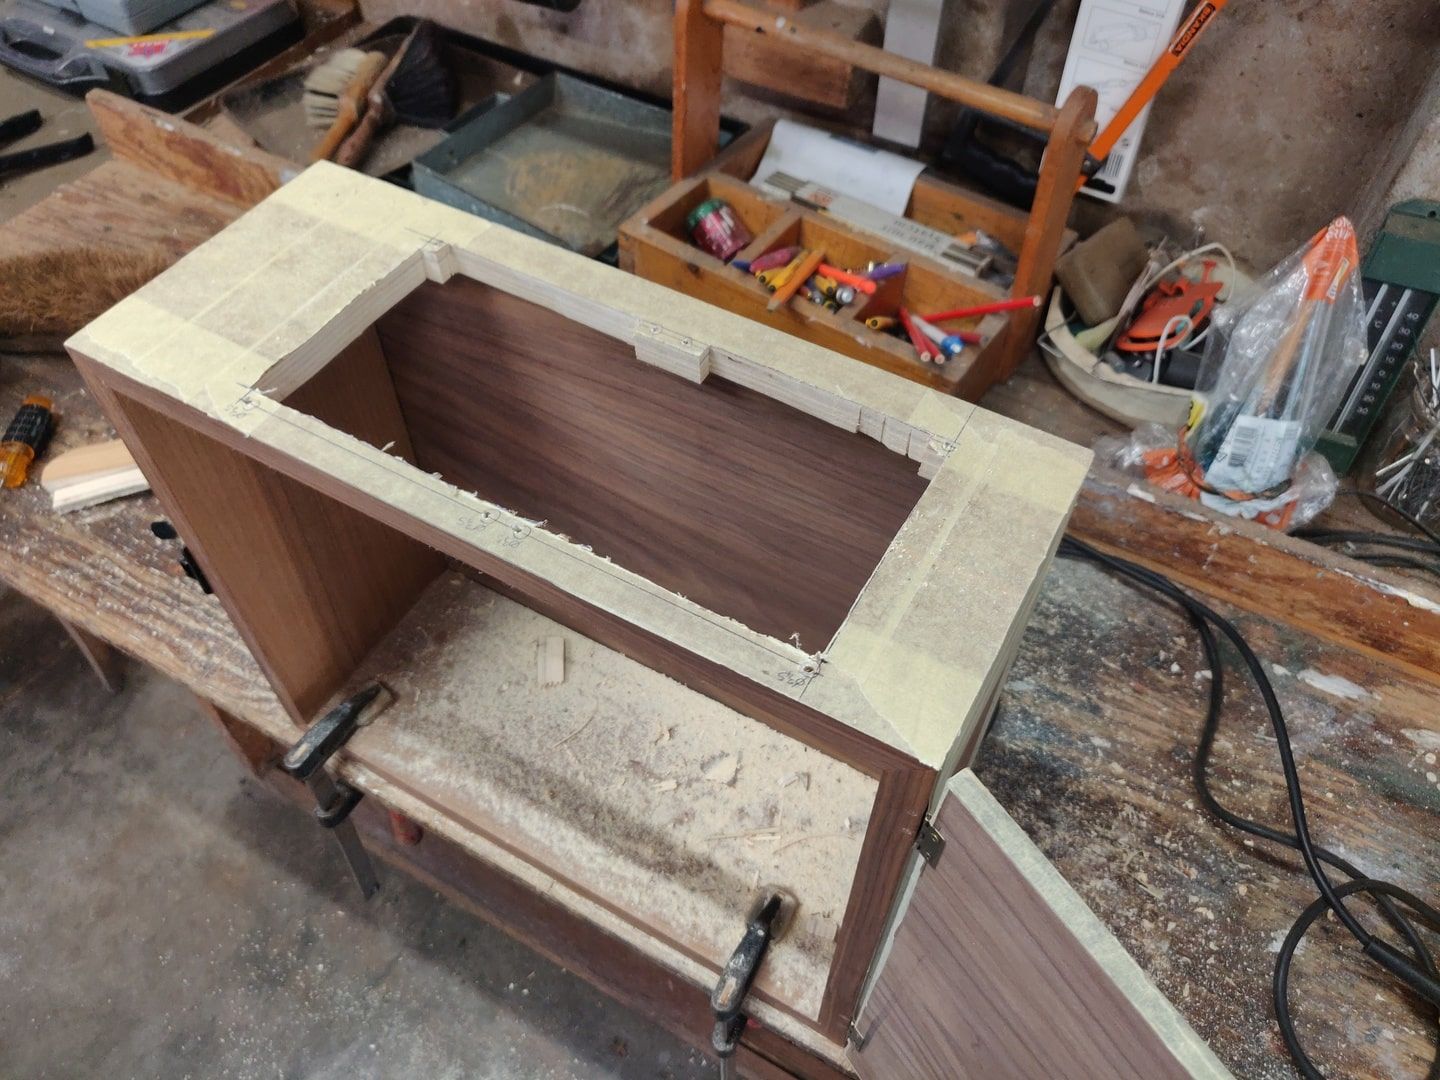
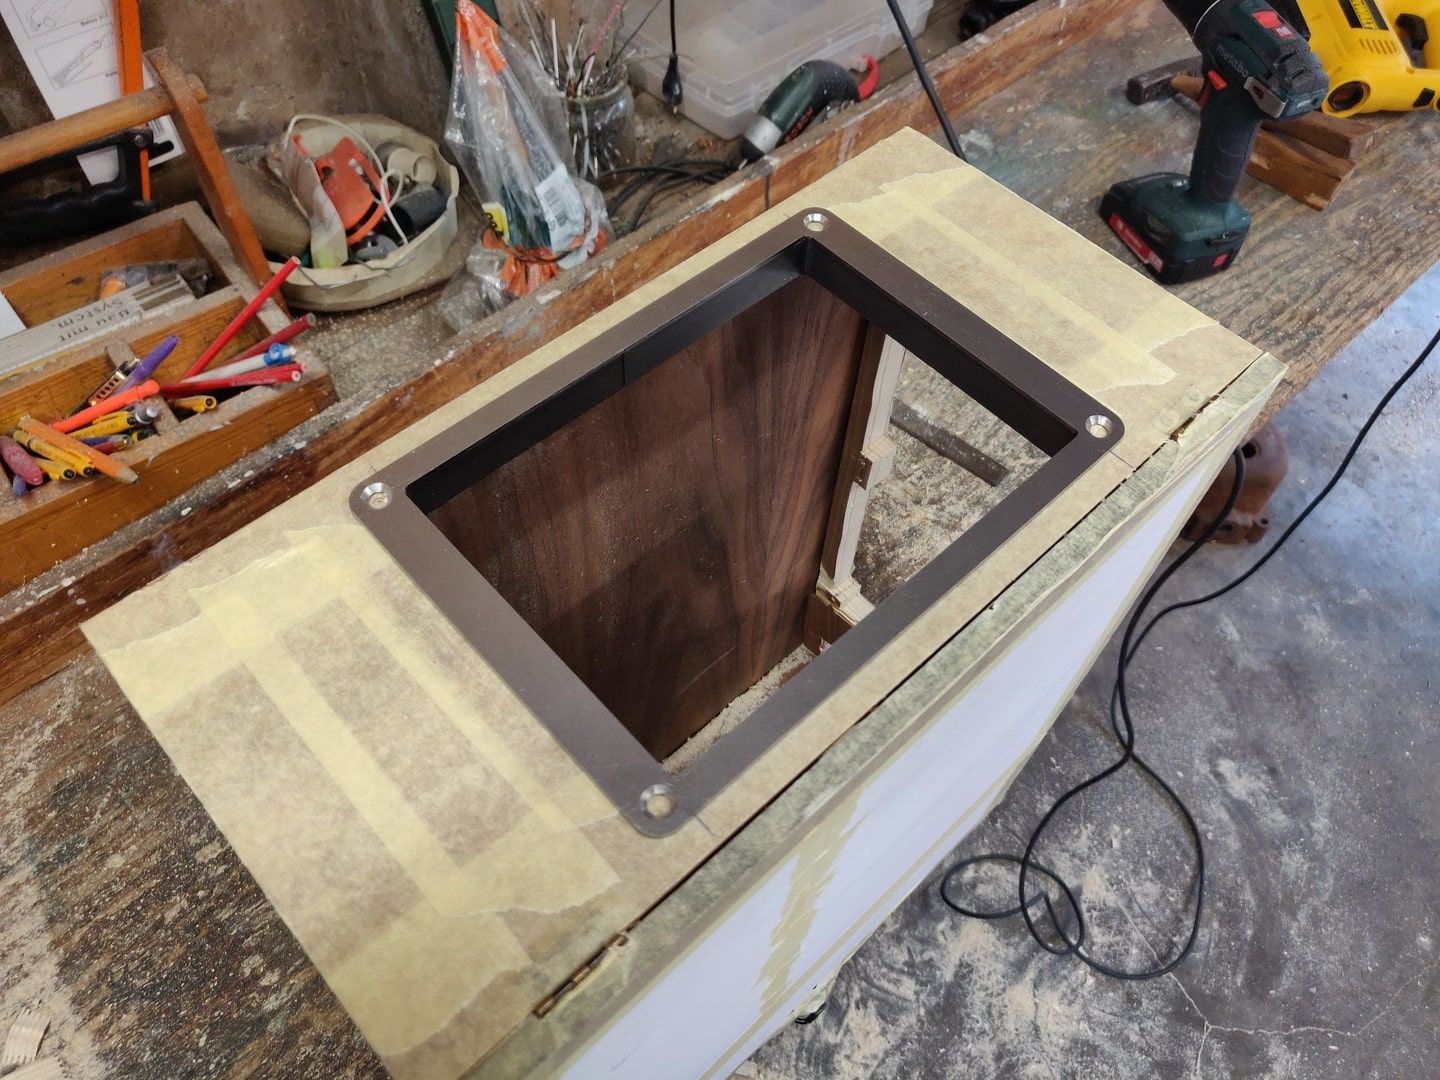
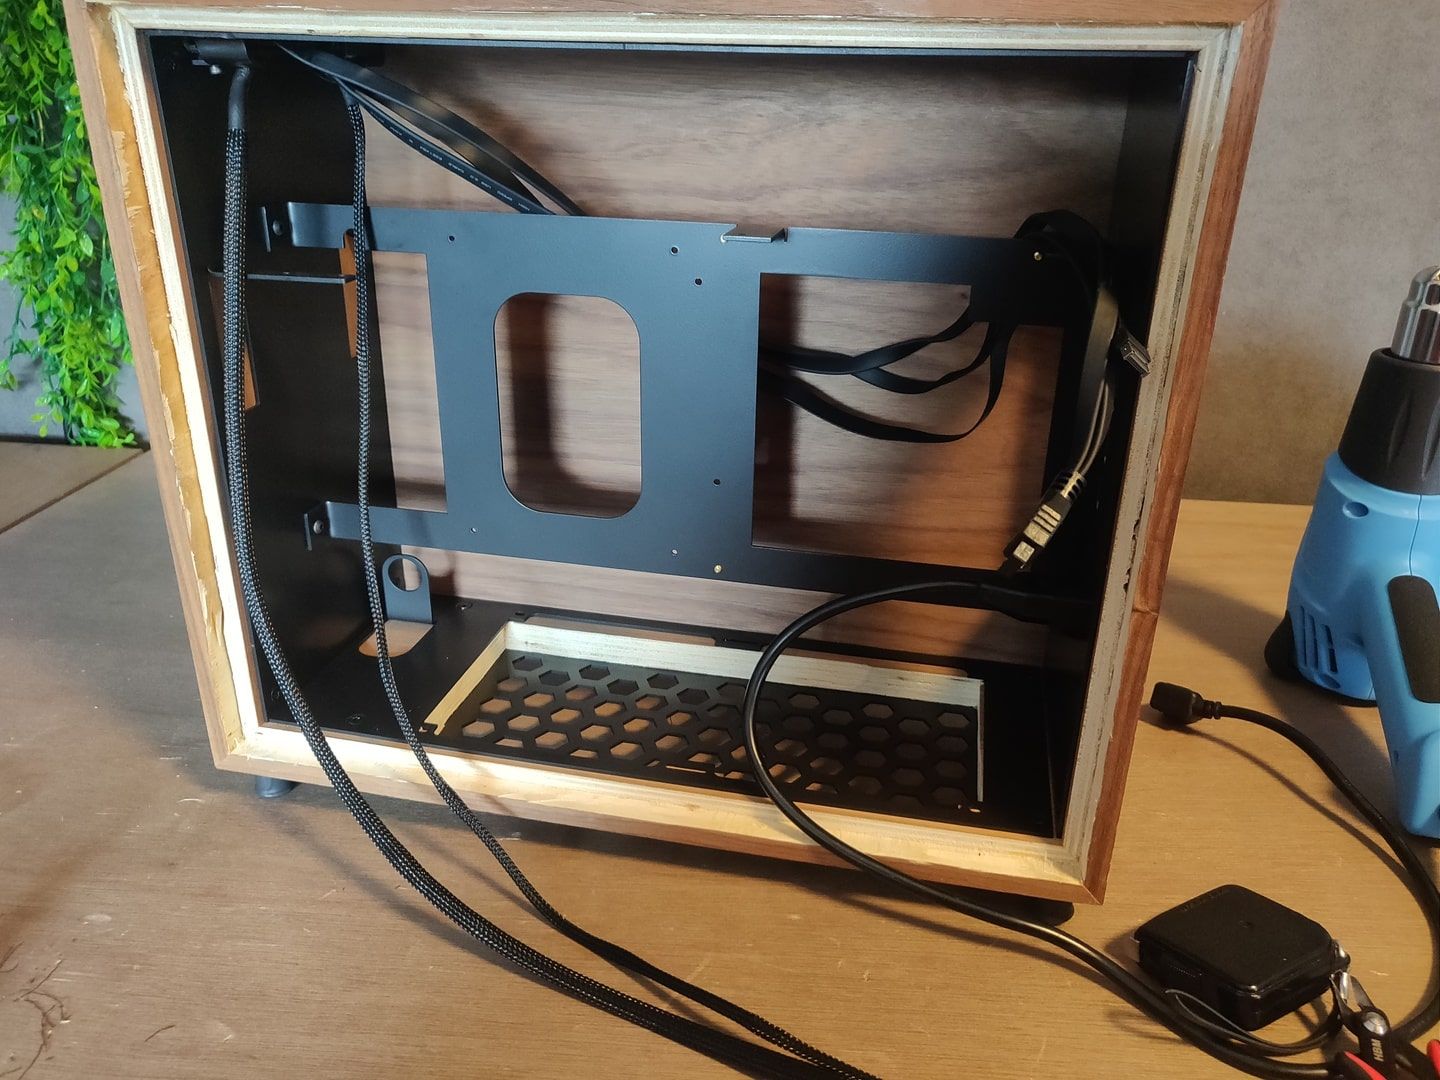
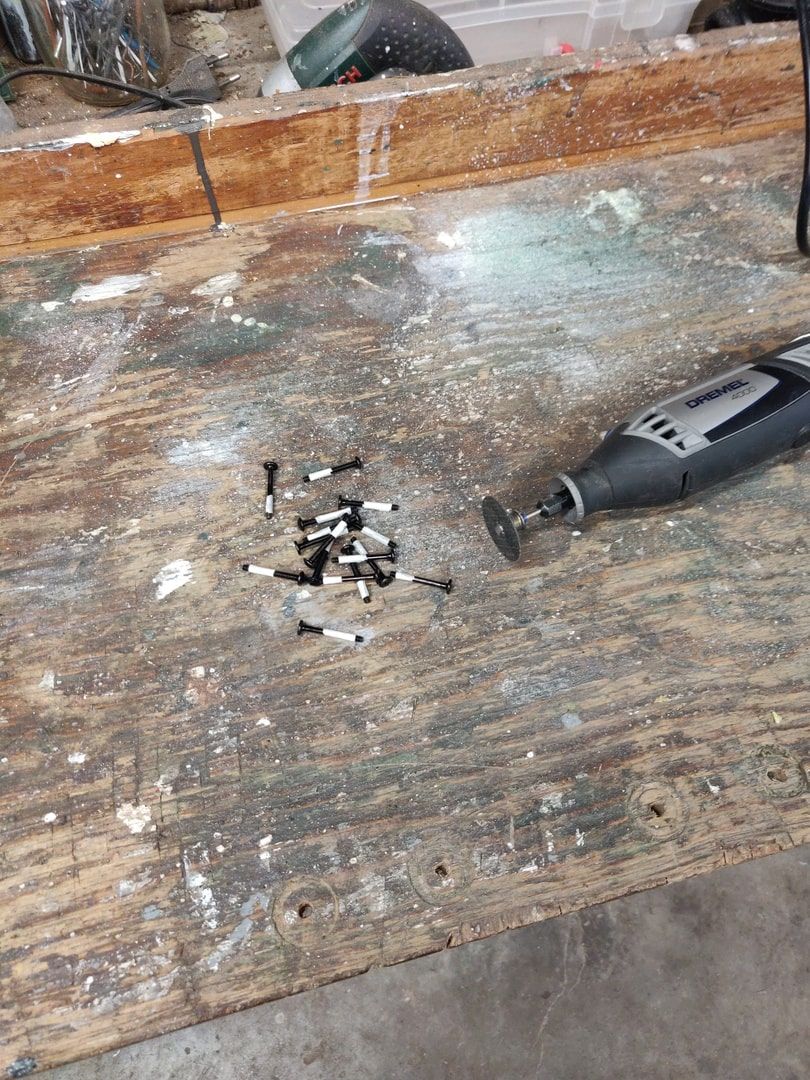
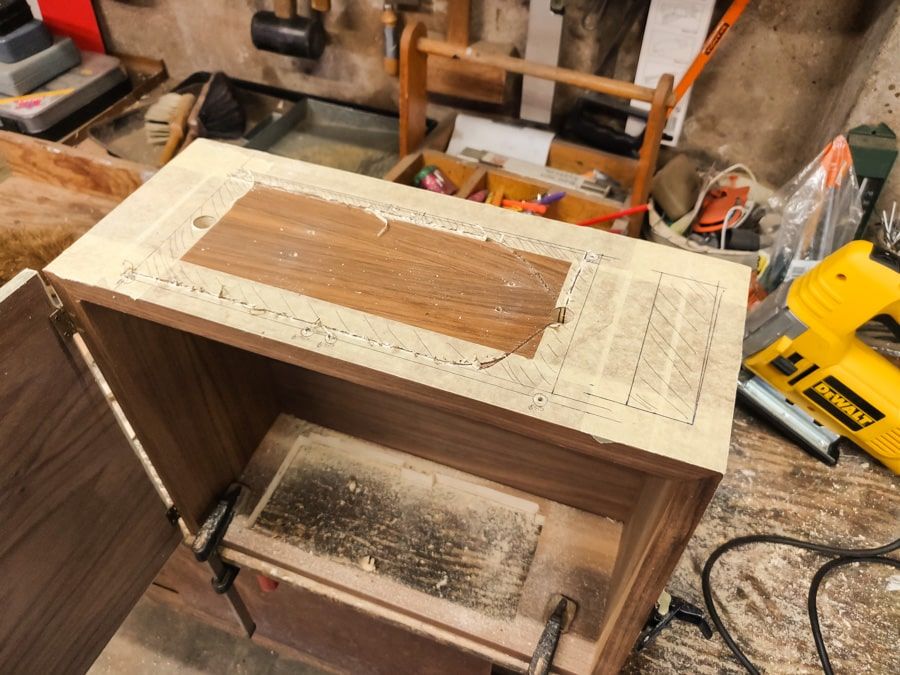
What kind of modding did you have to do to the box itself to get this amazing result?
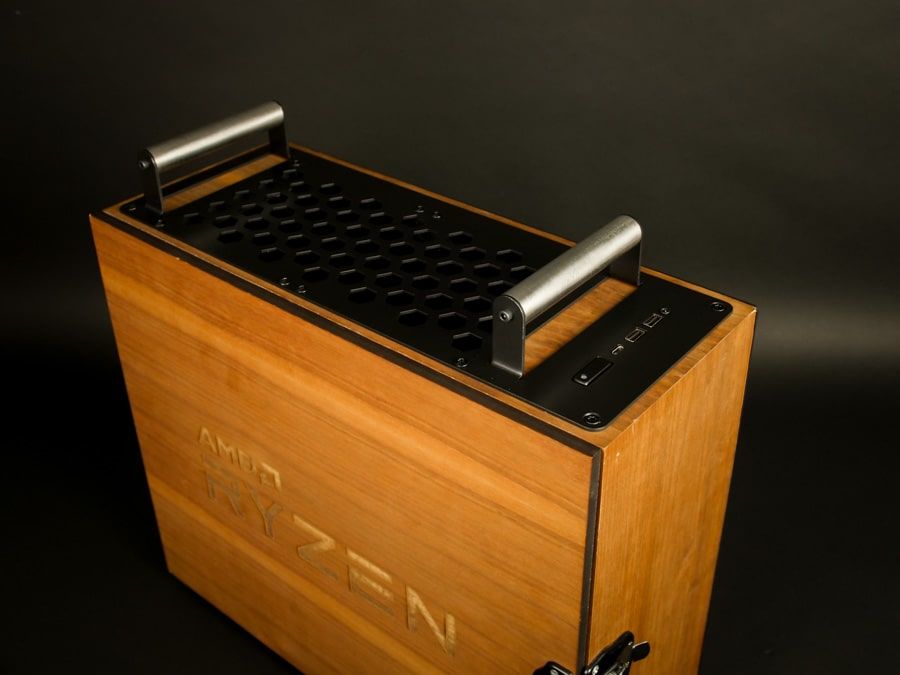
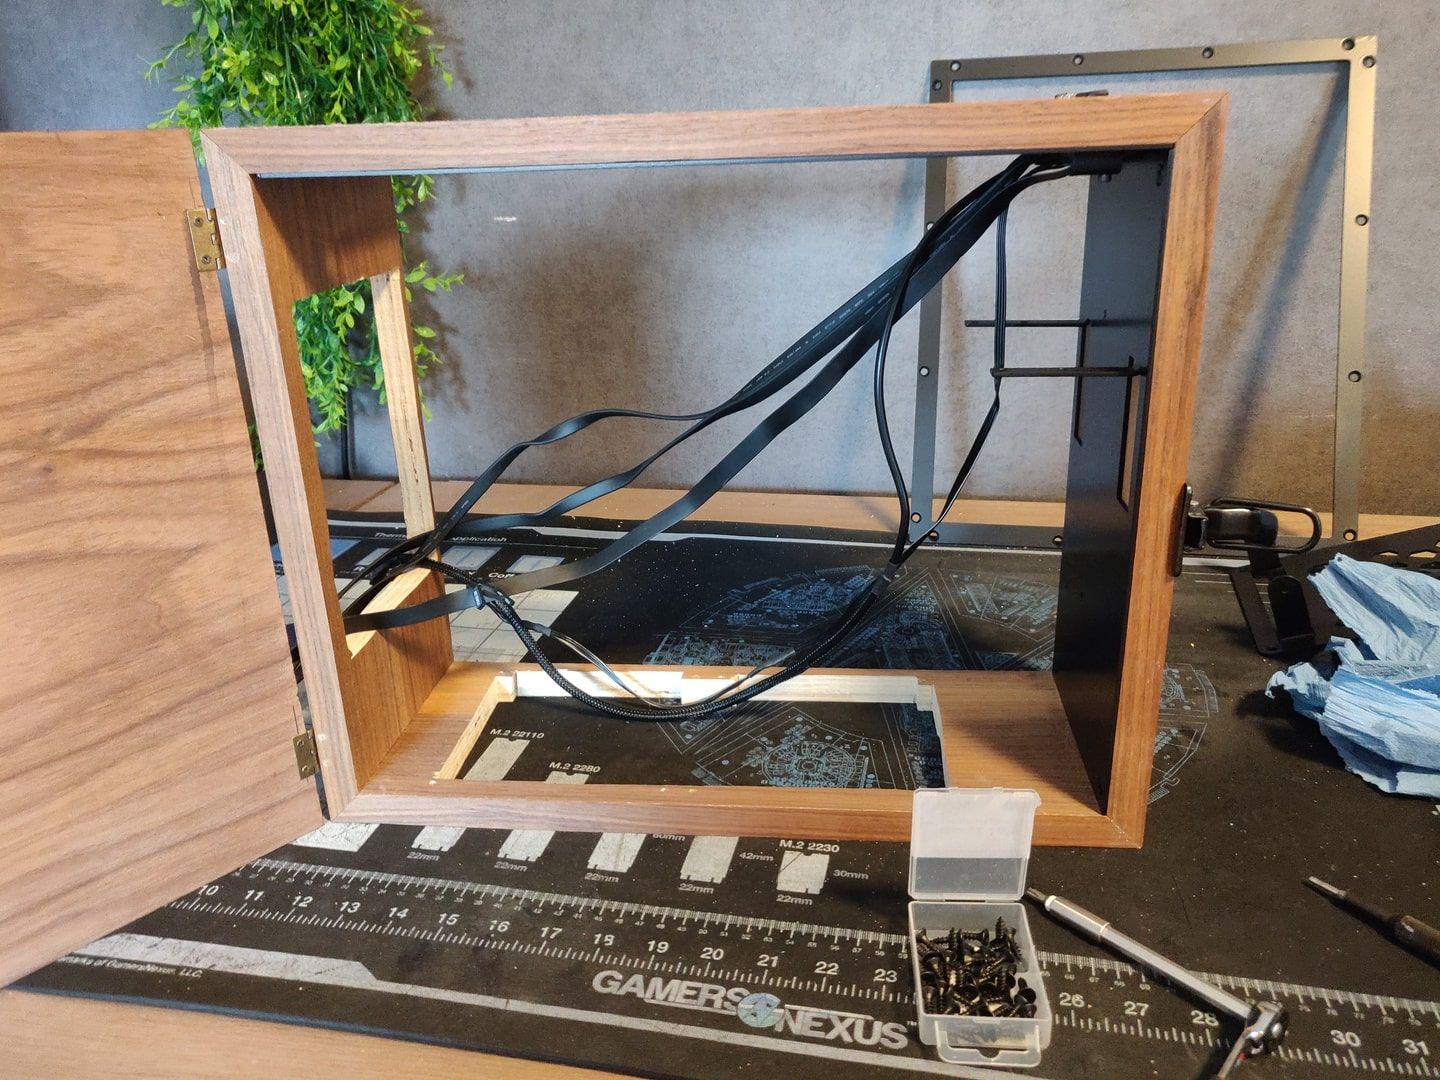
The mods to the box itself were mostly cutting since there were no holes in it originally.
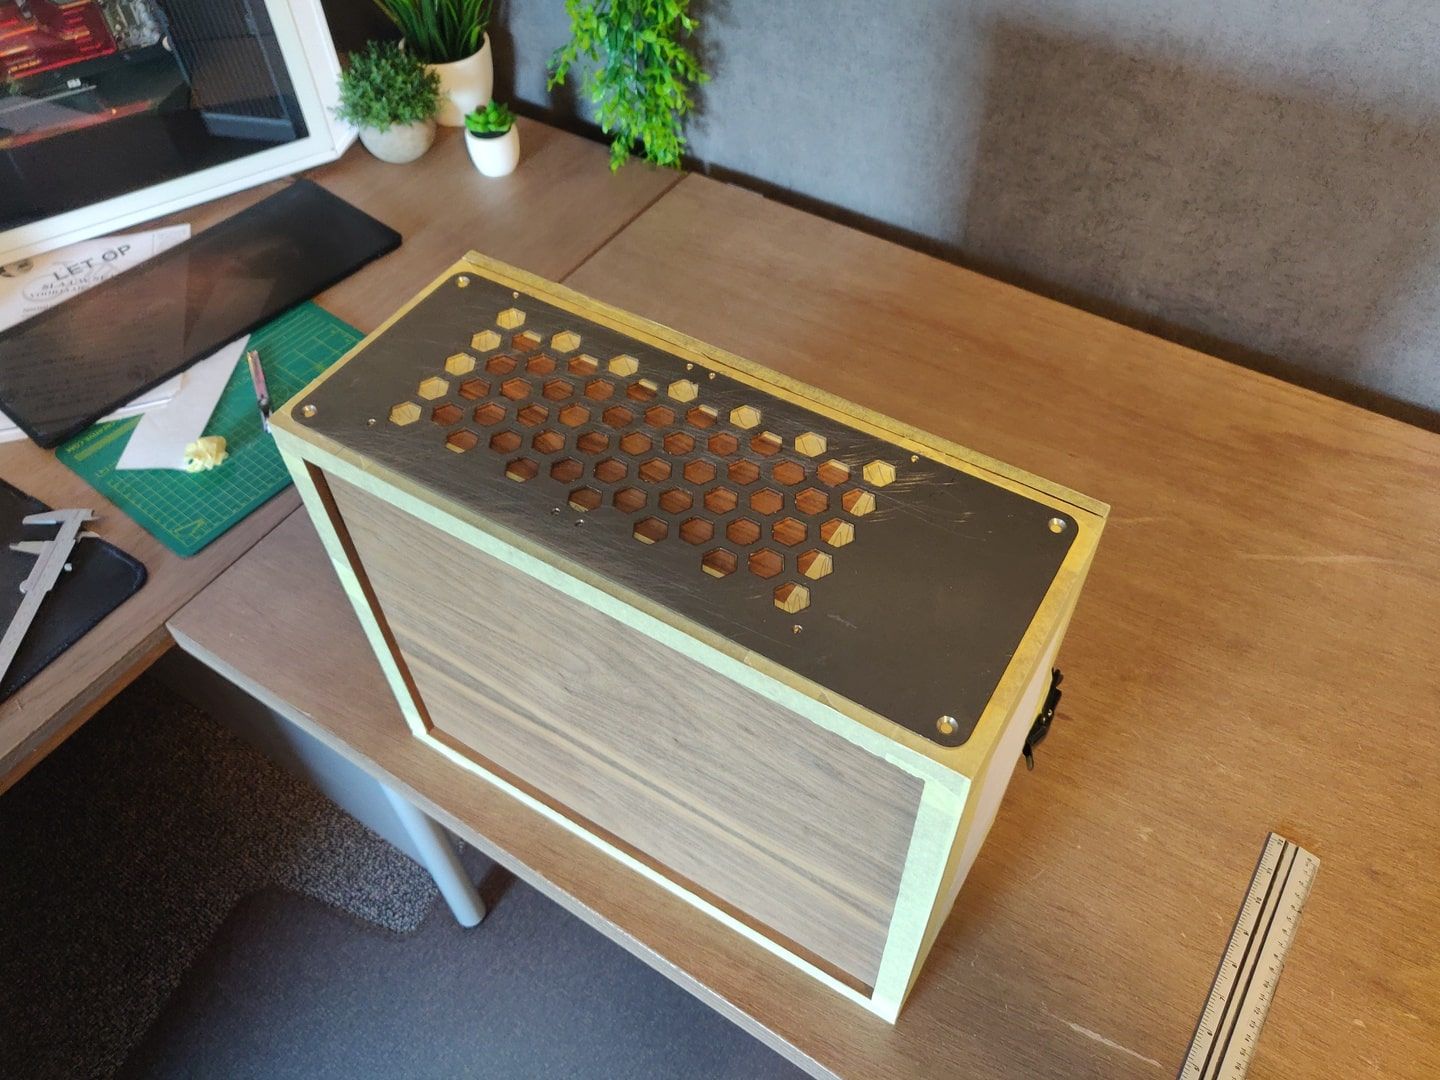
There was material removed from the top and bottom for the radiators’ intake/exhaust, top IO and from the back for the rear IO.
All these modifications were done with a drill (for a starter hole), jigsaw and file to clean up the edges. Everything that needed cutting was marked beforehand on the box based on the CAD model of the build.
What software do you use for your 3D modeling, and what software would you recommend for someone just starting out with it?
I always like to do create a 3D model since it gives a lot of creative freedom to try things out before making a commitment to a modification.
To create the model I used SolidWorks. It’s a program I learned to model with 8 years ago at school and have been using it ever since. Most hardware parts were drawn based on the specs form the manufacturers product page, while GrabCad provided a great base to find the liquid cooling parts.
If I were new to 3D modeling I most likely would go for Fusion 360 as the drawing software. This because there a lot of tutorials online that give a great starting to base.
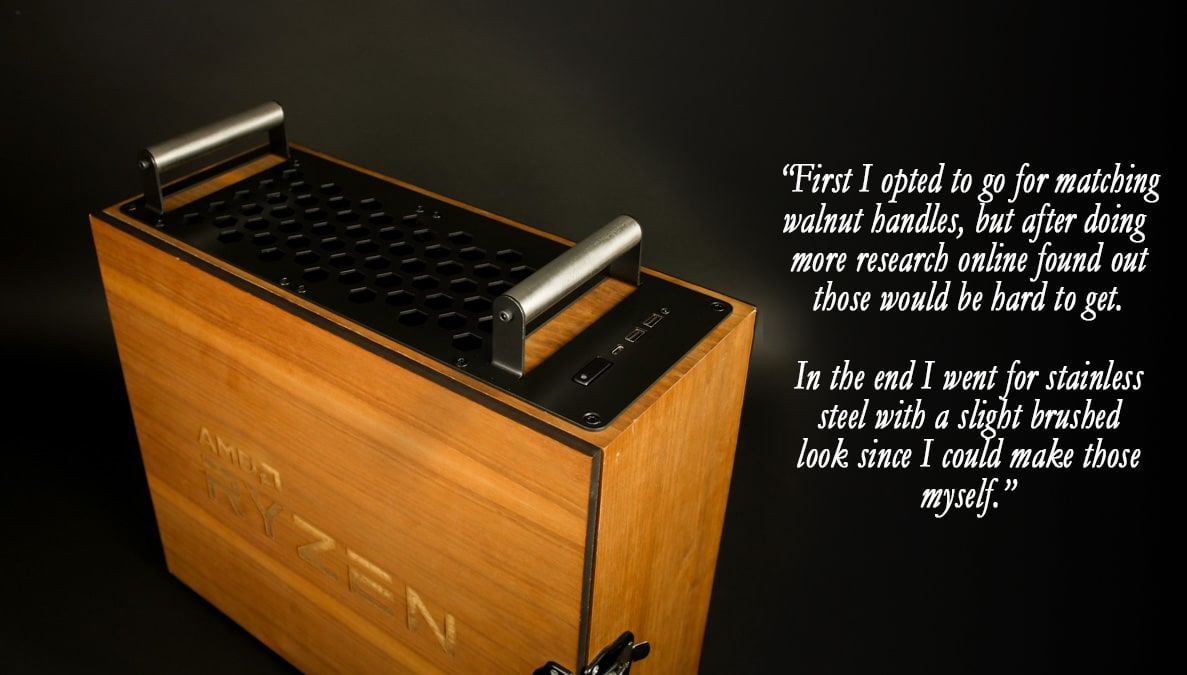
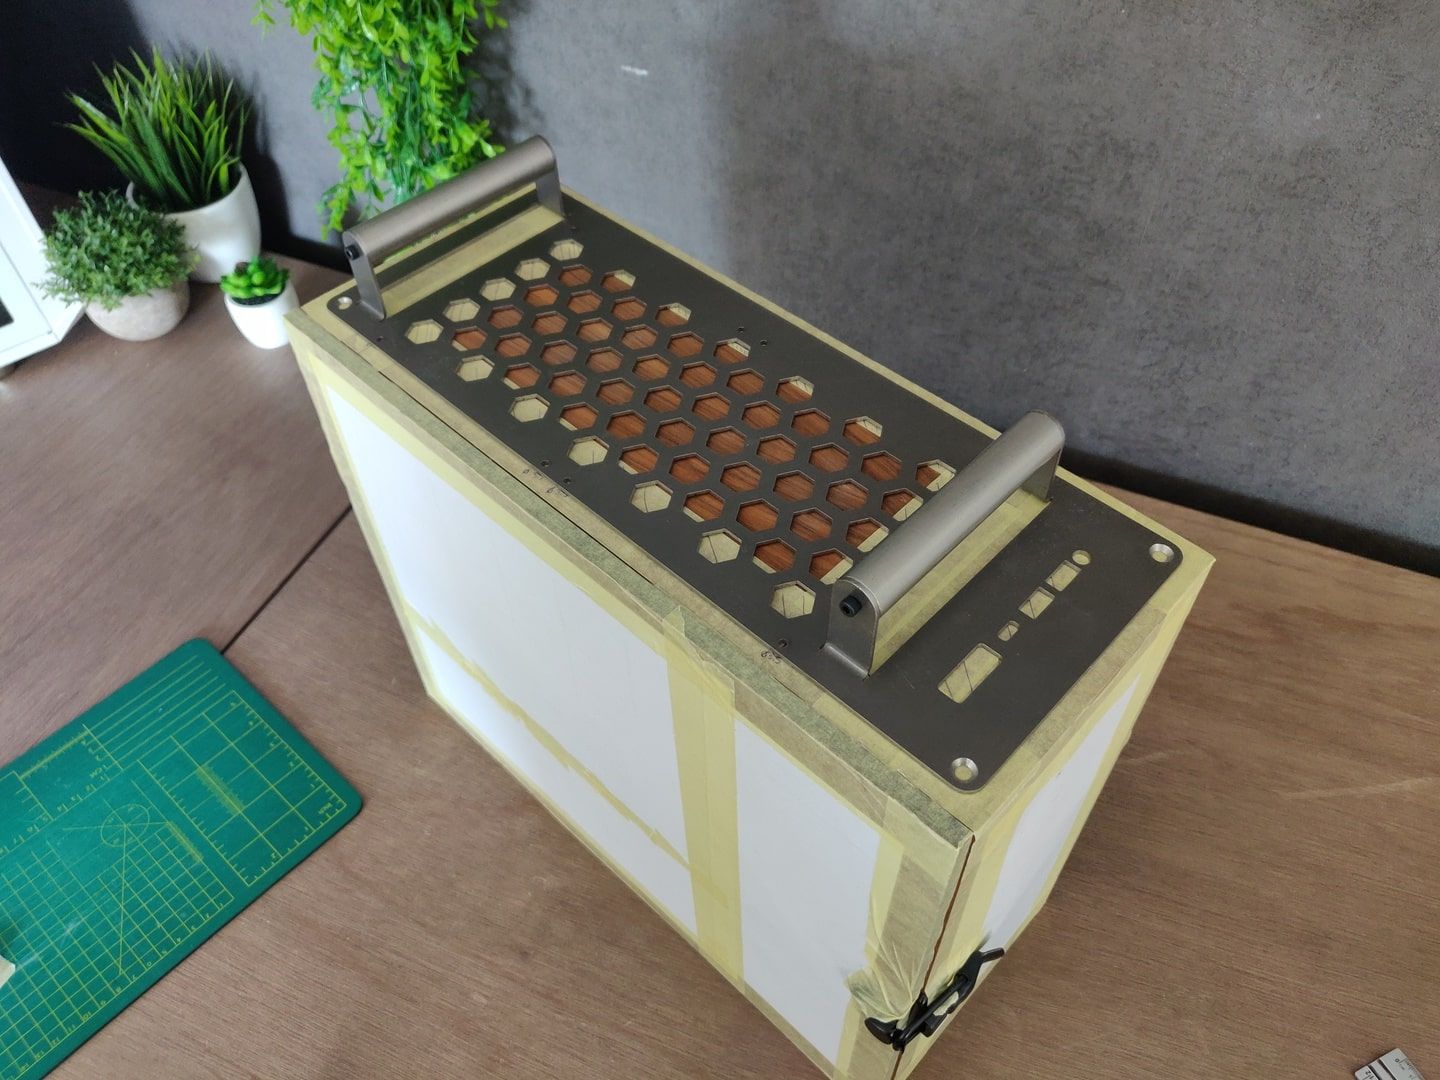
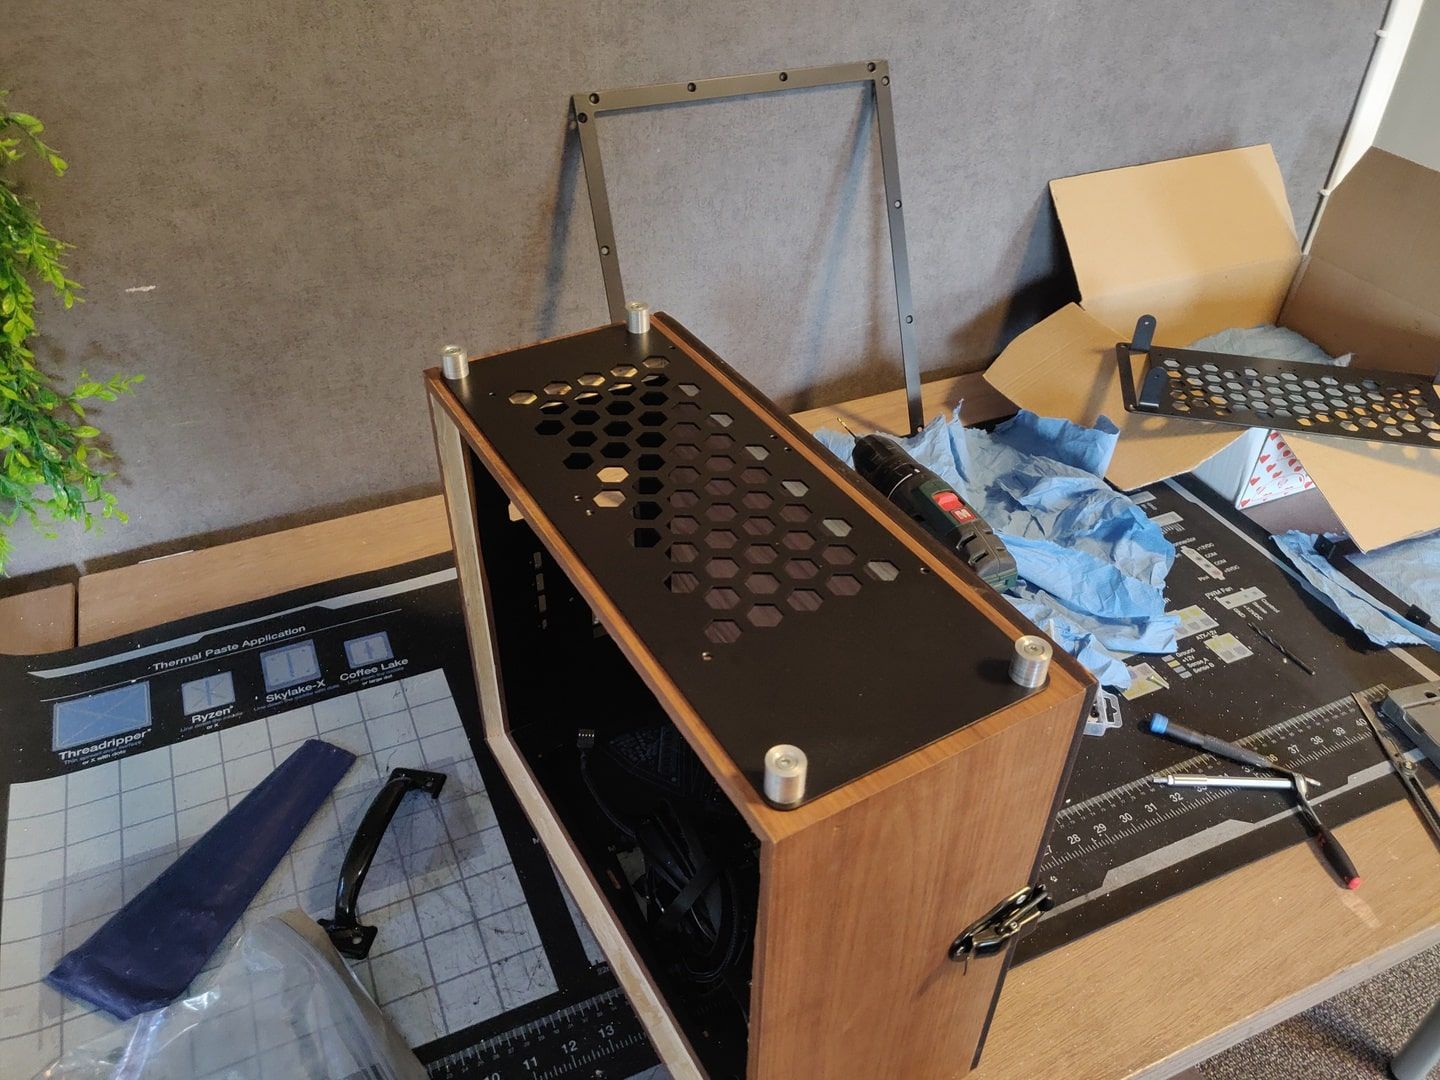
Tell me about the handles on top – those are an awesome touch!
While working on the 3D model of the build I soon found out that the original single center handle on the top would not work with the top exhaust. Still I wanted to keep it as original as possible so there needed to be handles.
After figuring out the exact location for the top exhaust as well as the top IO it became clear there would be room for two handles. This was great since the 3D model showed me that build was getting close to 16Kg in total once done.
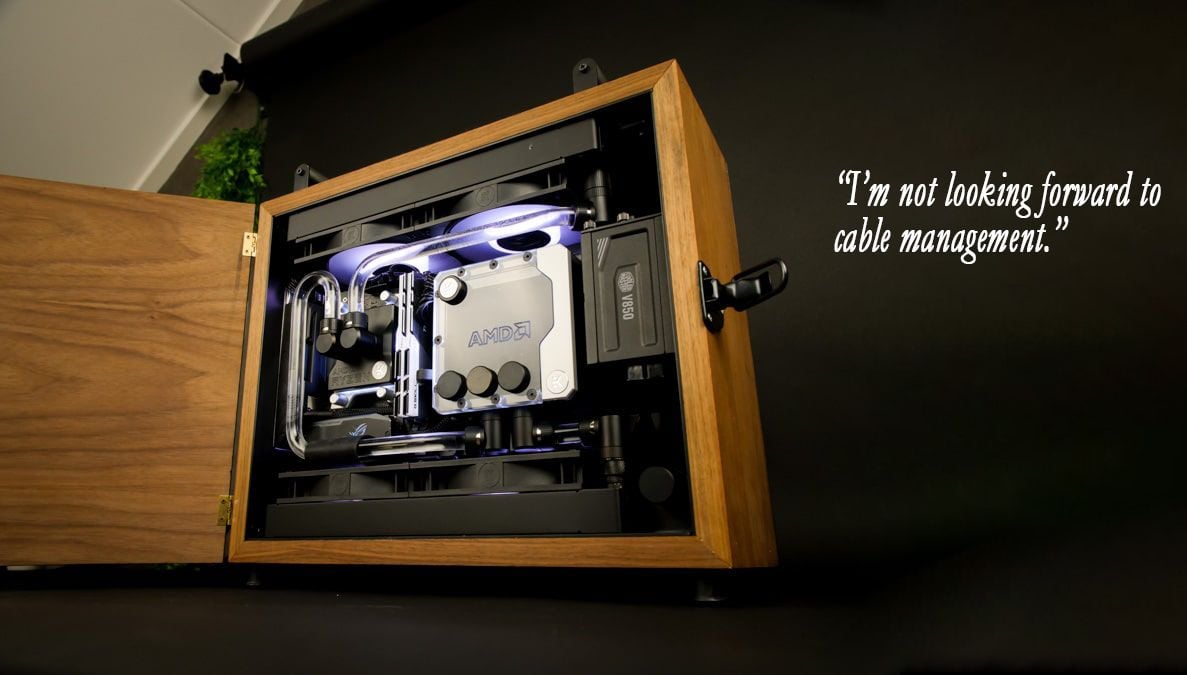
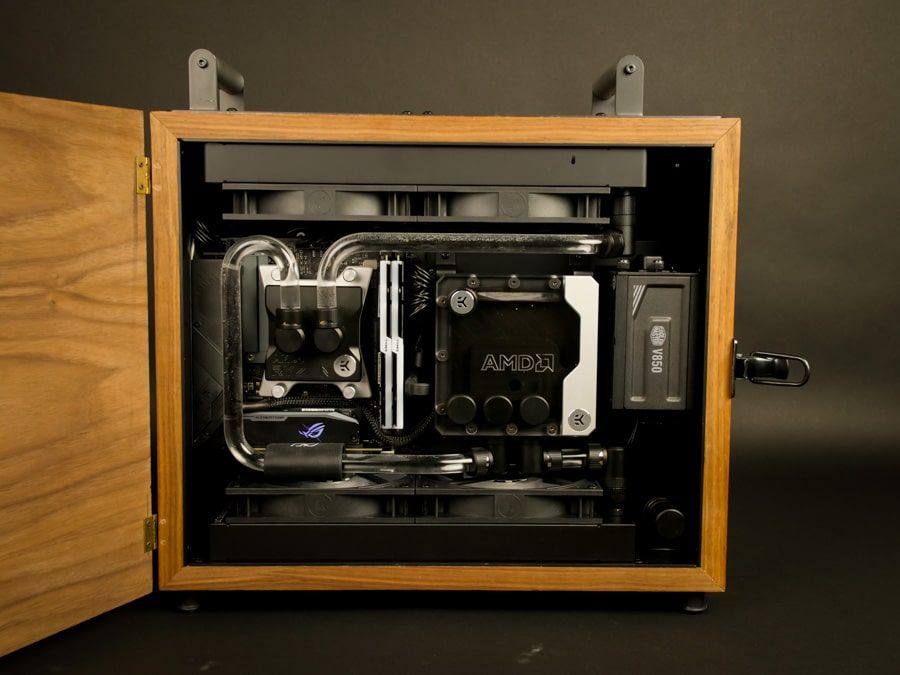
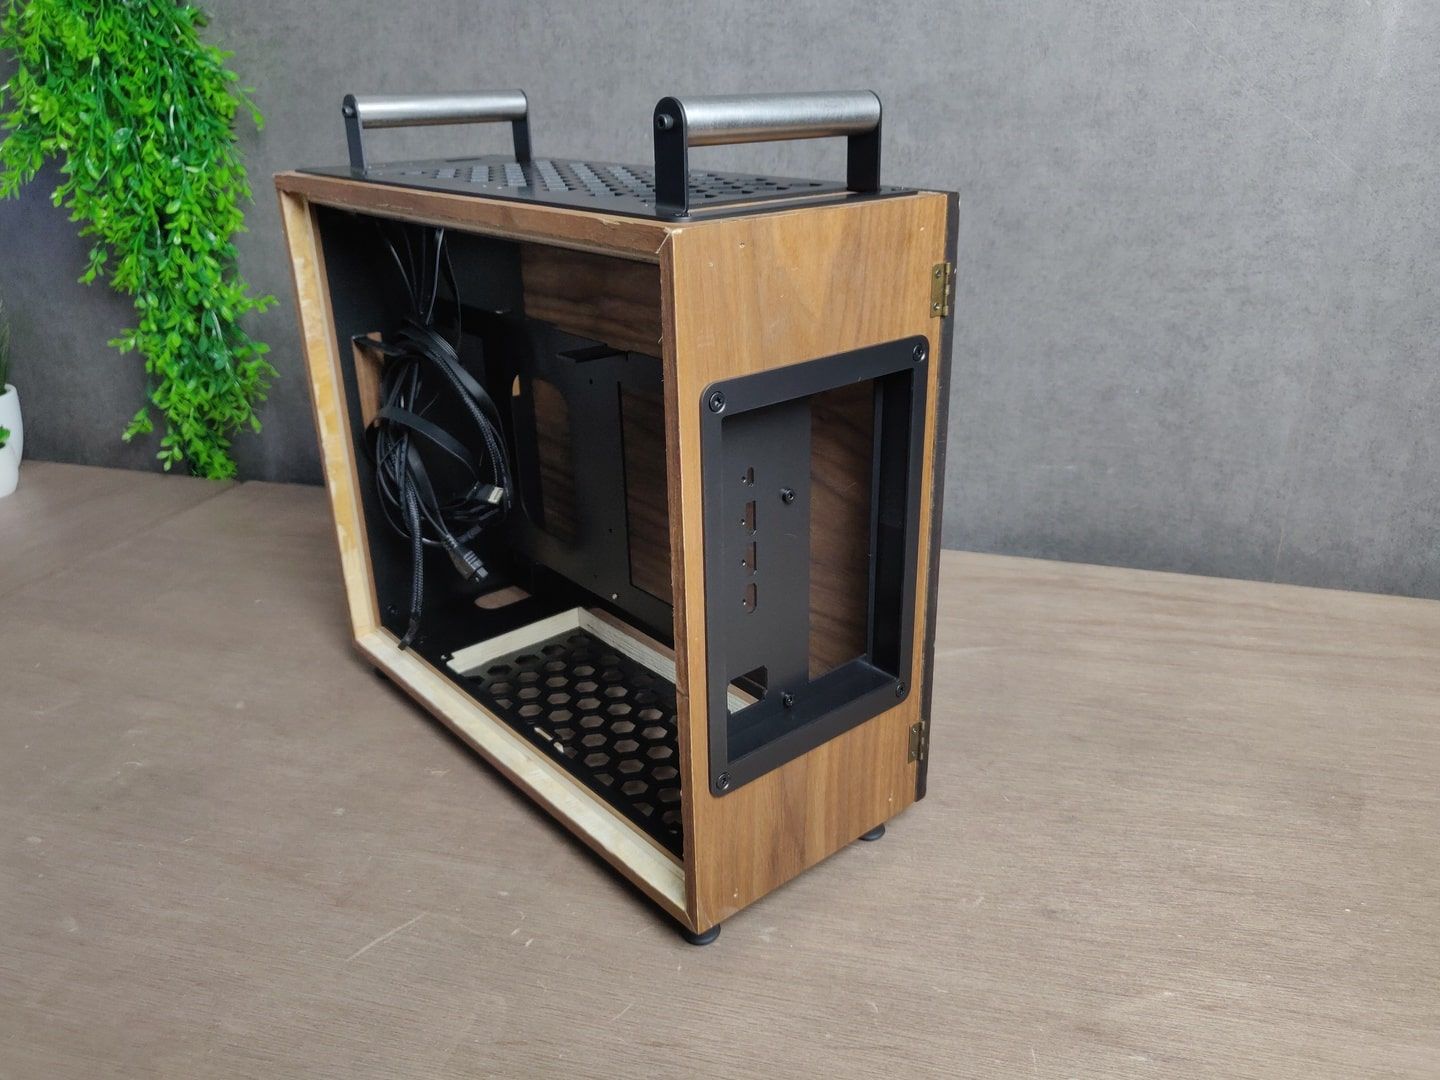
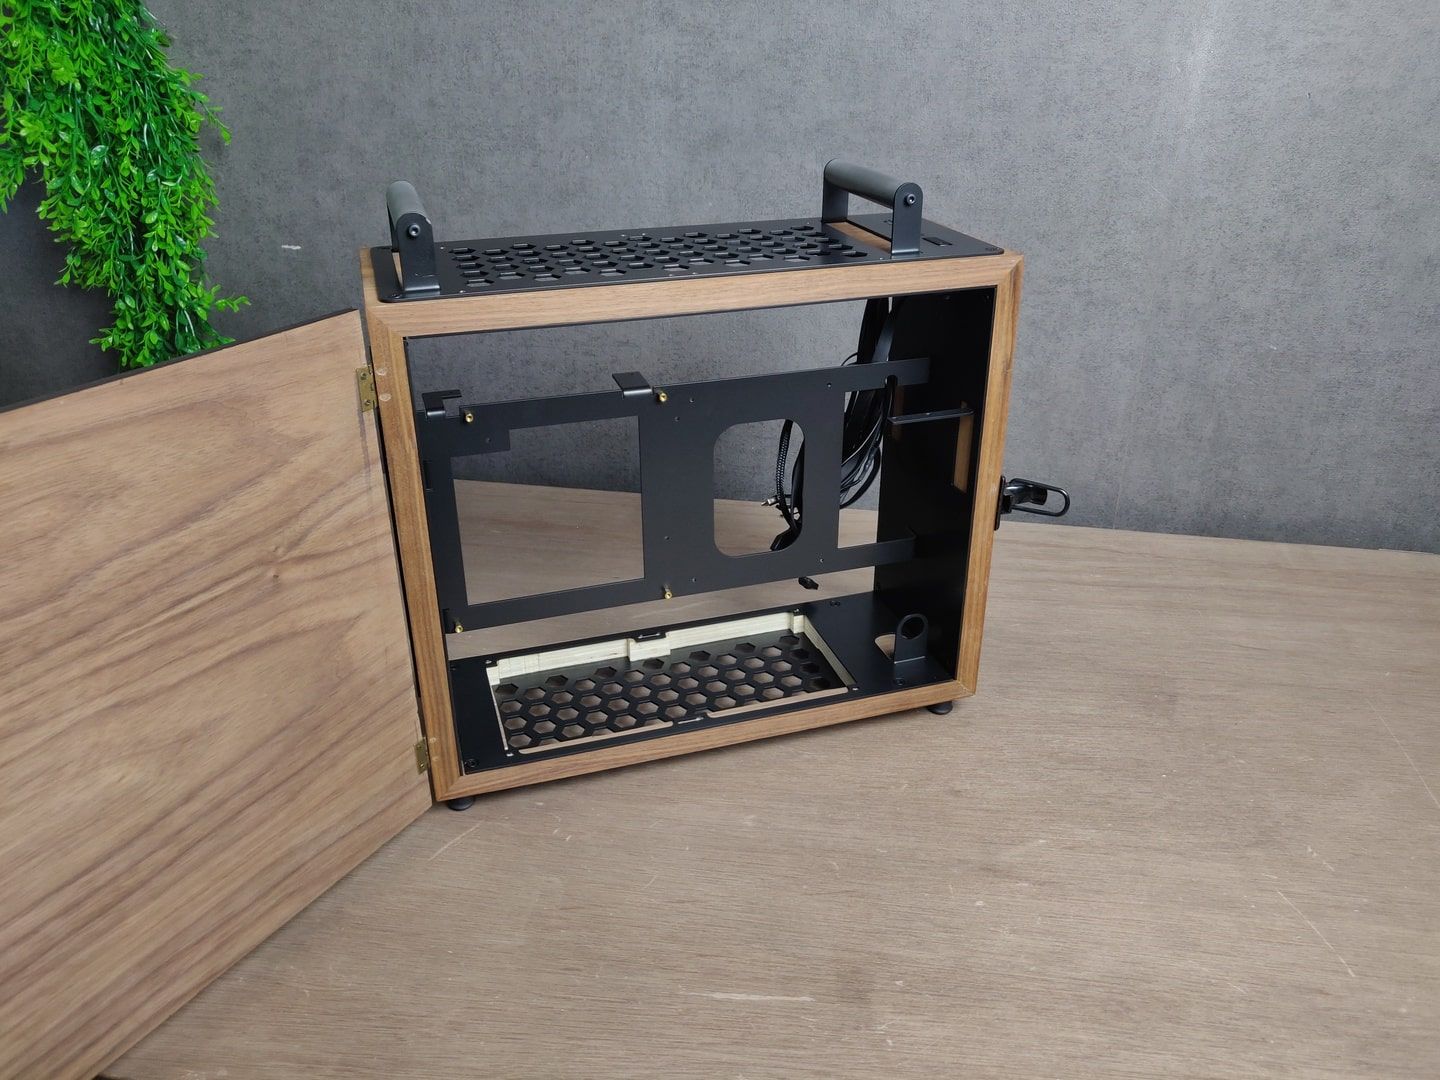
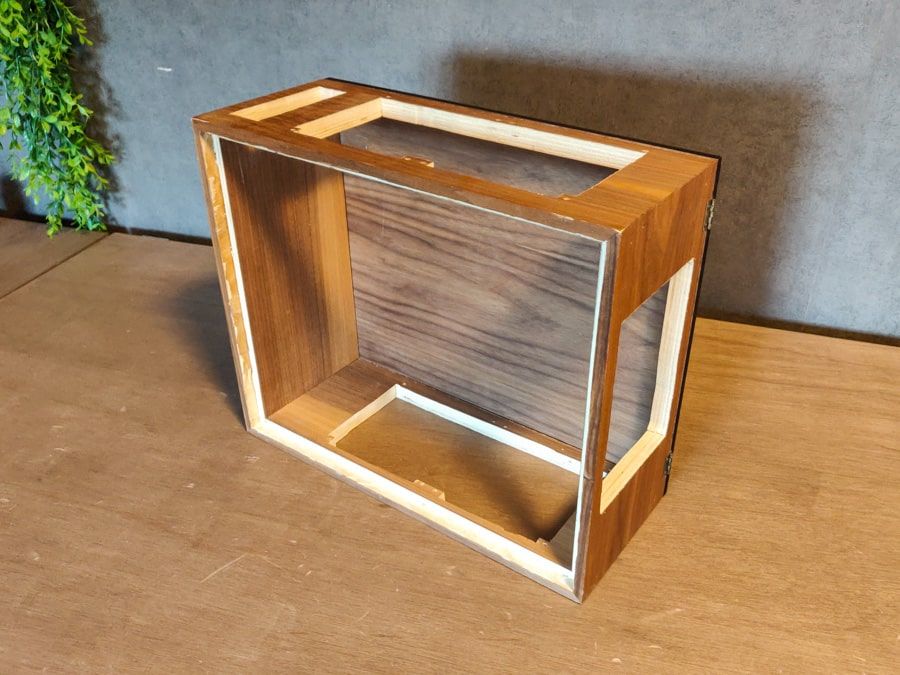
In the pics, the inside of the box looks like it’s lined with something black – what is that, and is it aesthetic or functional?
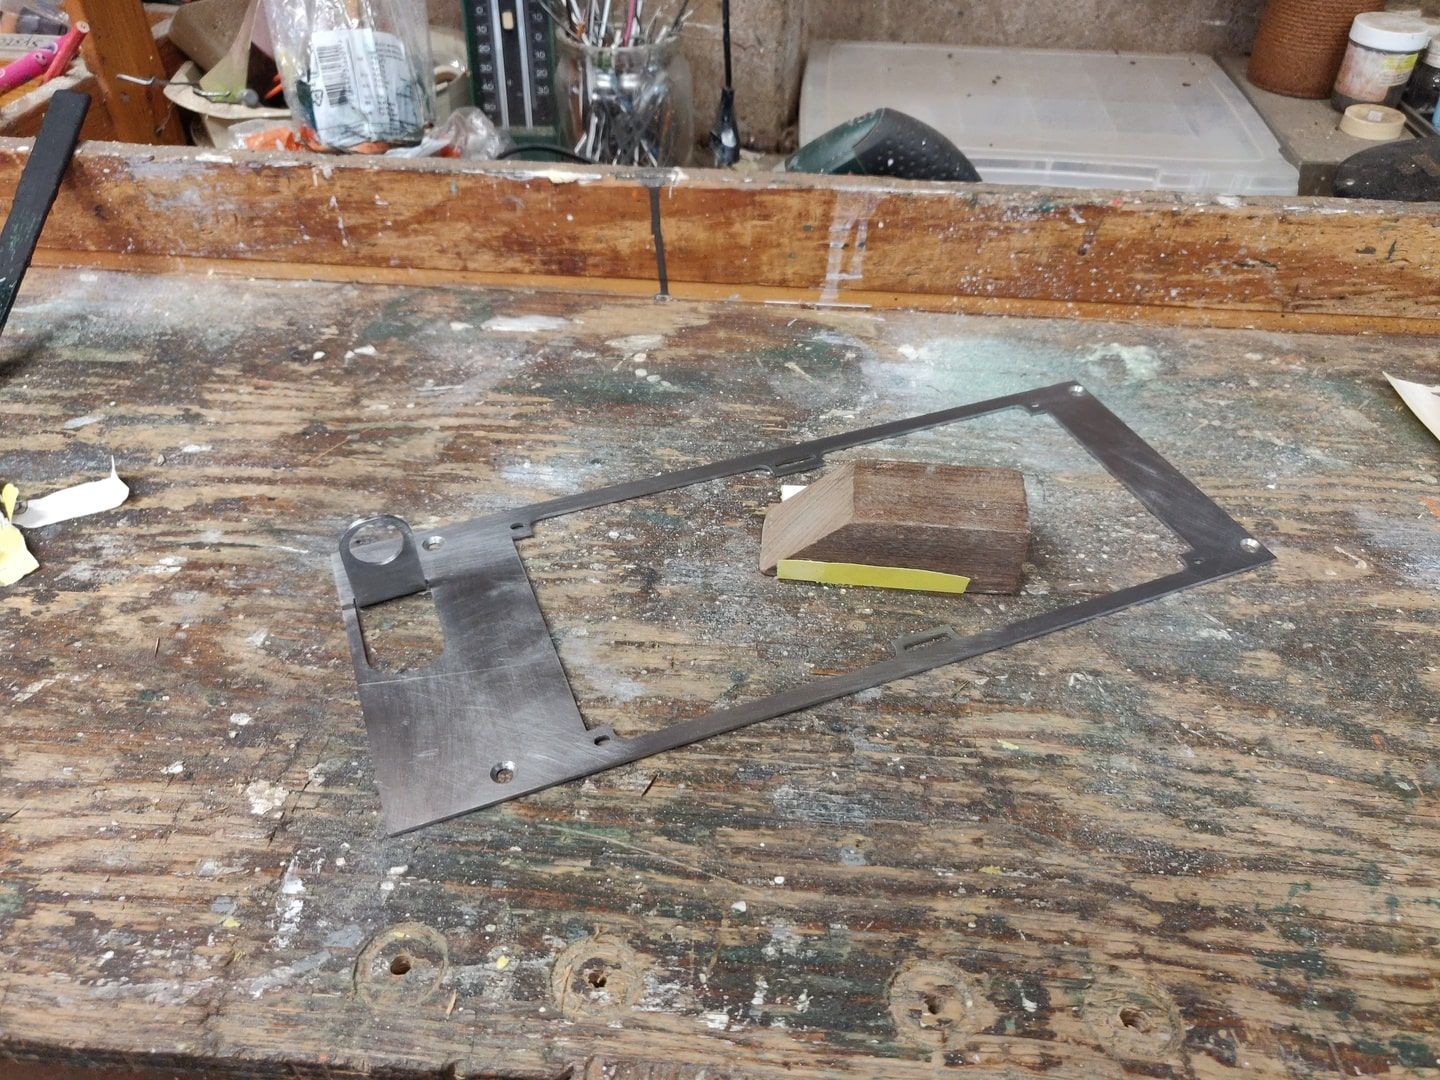
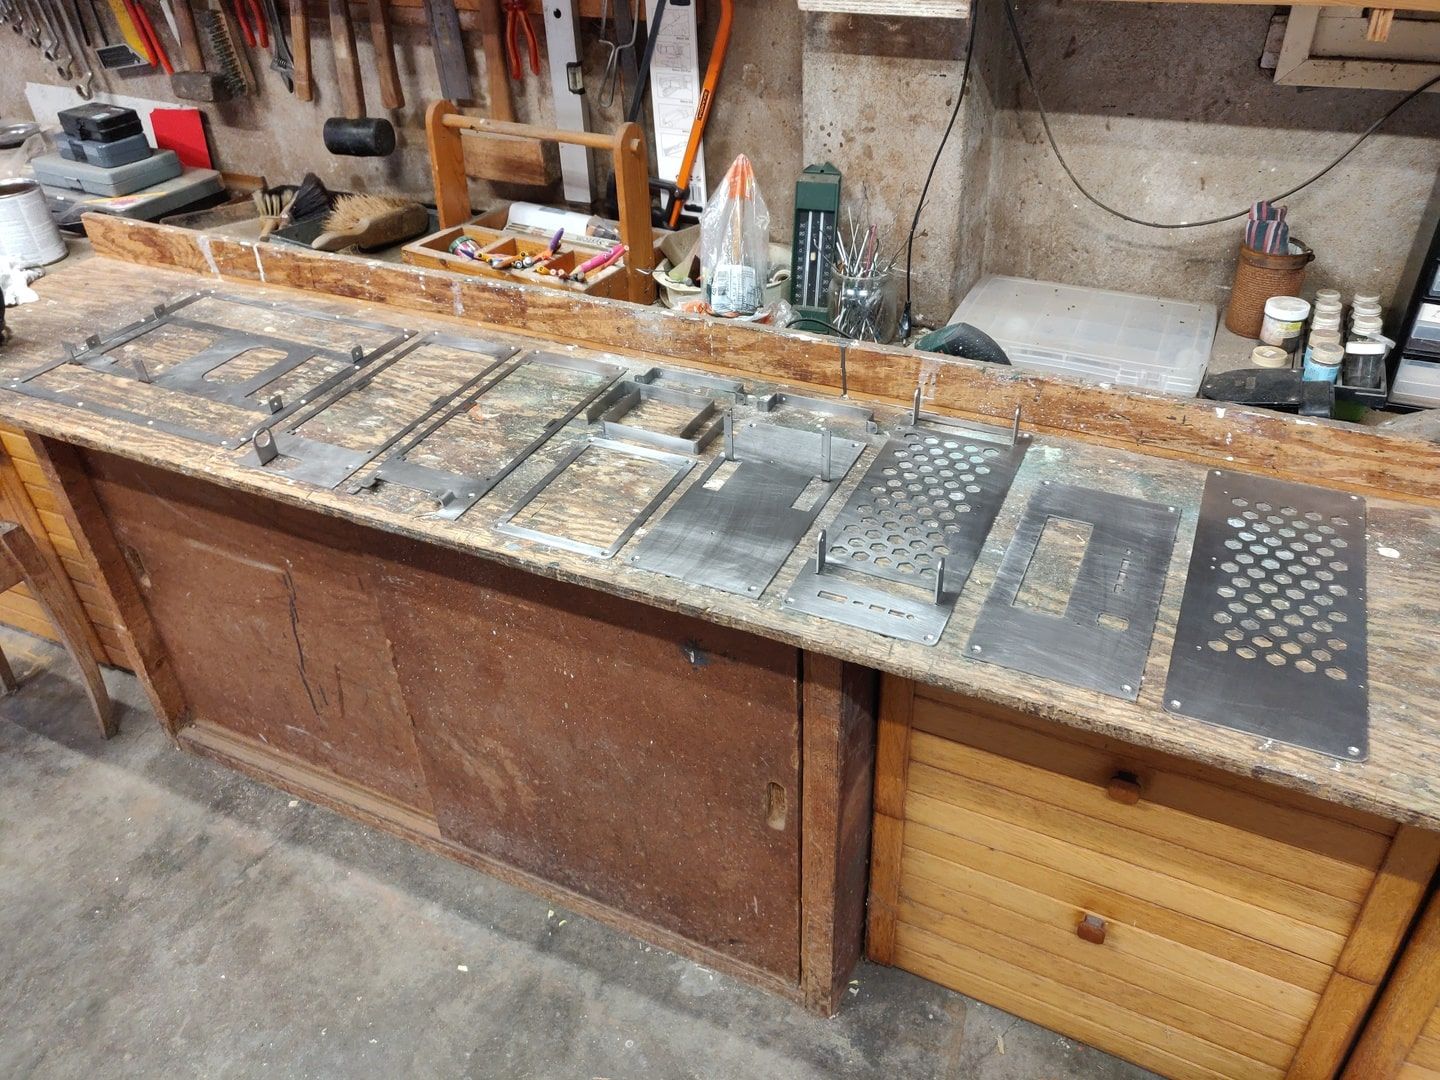
The inside of the box is lined with 2mm steel panels that are painted black with a Steel IT coating out of spray can. It’s both for aesthetics and functional.
Since the box is made out of wood I needed to have something to create a base to mount all the hardware to and it also creates a clean look.
It certainly does – it’s an awesome subtle add-on.
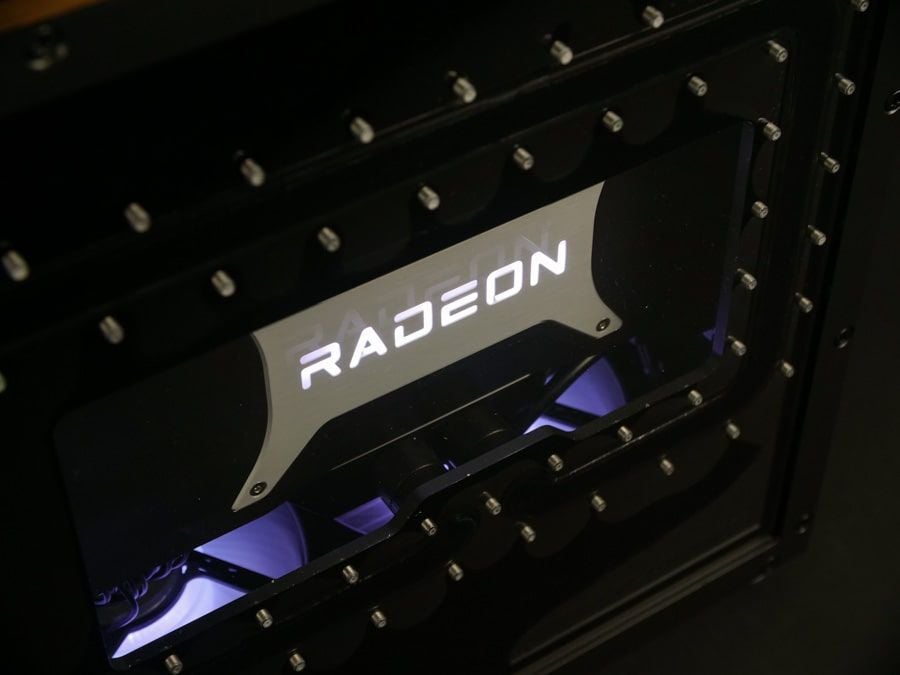
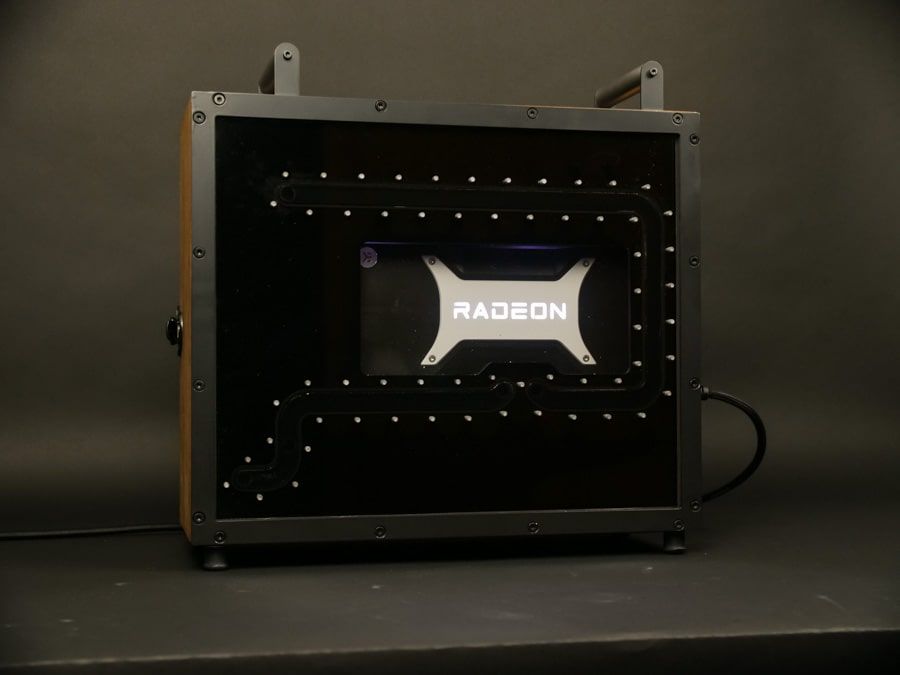
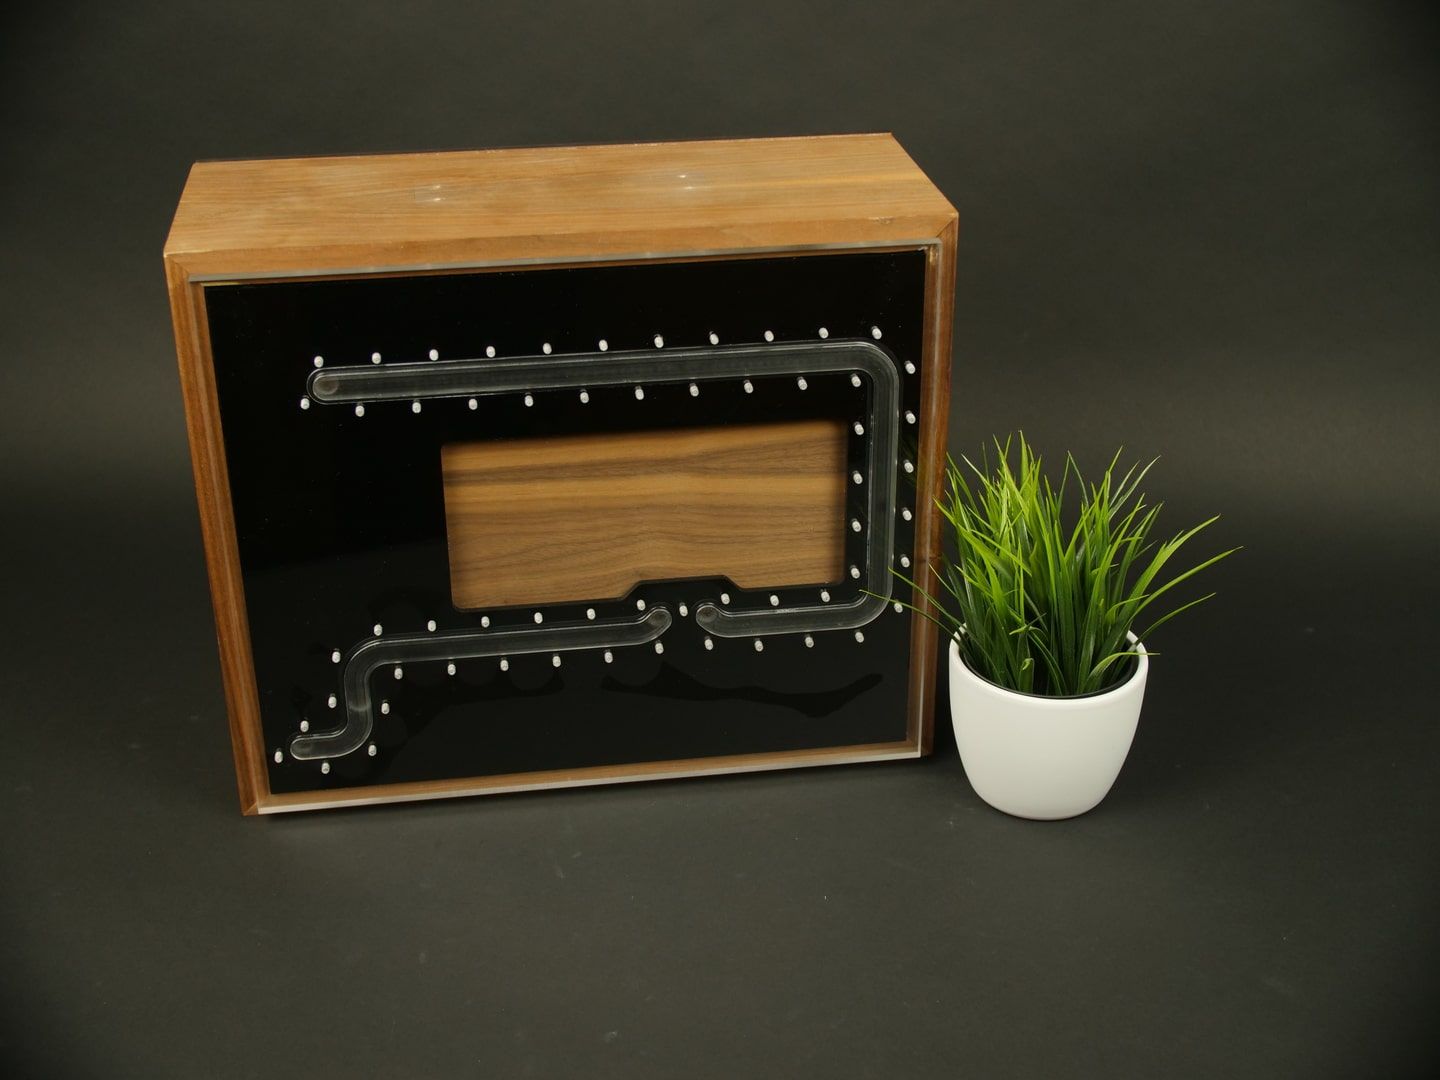
Is that a huge custom distro plate on the back?
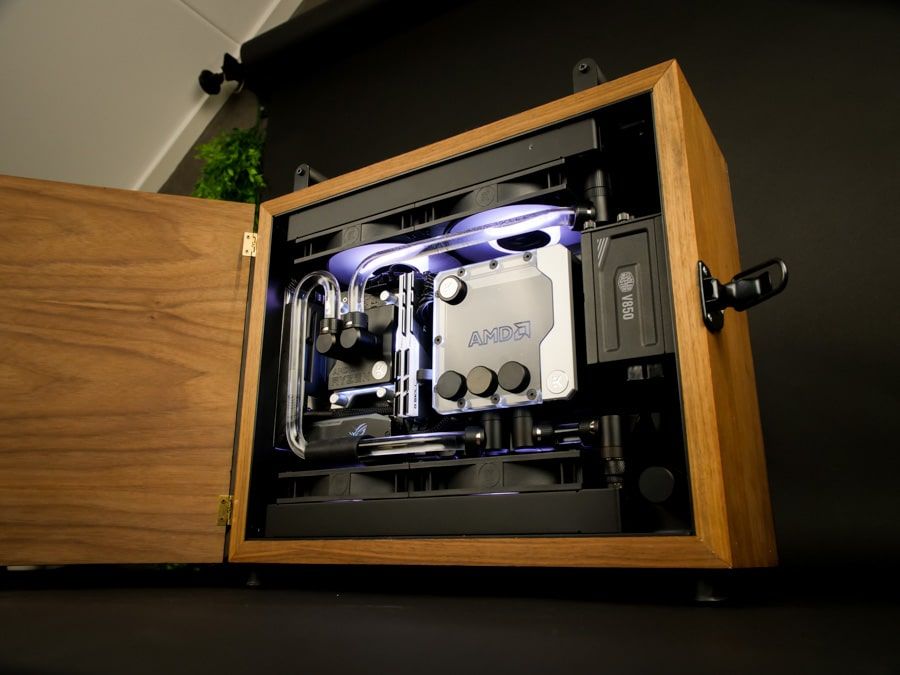
Yes it is, that made it possible to give the front side of the loop a clean look since there only 3 tubing runs needed there.
In addition is also works a window to show off the GPU since I used the more common sandwich layout on the inside for the hardware.
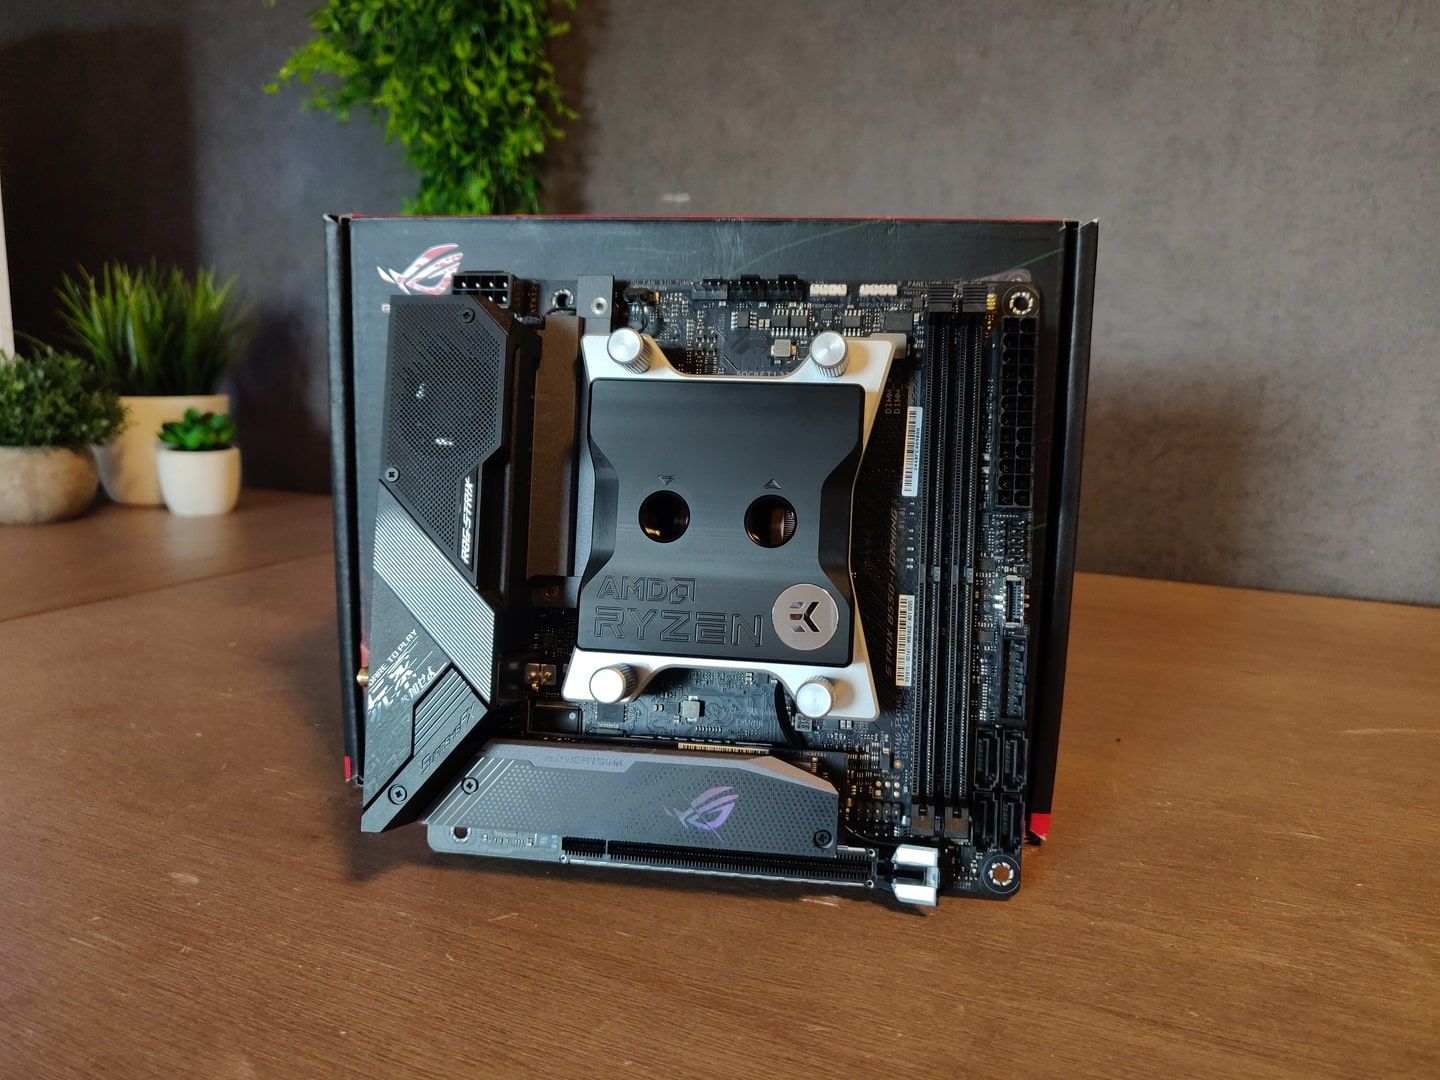
Your placement of the graphics card is genius. How is the card mounted back there?
It’s mounted to the back side of the motherboard tray using 3 spacers. These spacers connected with a threaded end directly in to the water block.
This was done by first mounting the GPU backplate with only 4 screws and then using the remaining 3 holes for the spacers. The IO mounting points are also screwed directly into the case rear IO panel.

This build must have been a lot of work. Did you run into any unexpected problems in the design or construction process?
It was a lot of work indeed, about 7 months from start to finish. The design part wasn’t hard but took quite a few tries to find a lay-out that would work with all the hardware.
There were two small problems during the building that I didn’t think fully through during the design: mounting the top radiator and SFX PSU.
While building I did a leak test on the loop with air pressure after each layer was added. This consisted of testing the distro only, then distro + GPU and then distro, GPU and radiators.
Once both rads were added I couldn’t get the test to pass the 15 min mark at 0.3bar. Some soapy water and brush helped me to find the fitting that needed ½ a turn extra to fully seal.
Getting all 4 mounting screws into the SFX PSU was the second challenge, the first 3 went in really easily, but the final one didn’t go without putting up a fight. It took 30 minutes to get it installed.

Any advice for any modders out there what might want to attempt a project like this?
Do as much planning beforehand as possible, that will save loads of time during the building process.


142 Comment(s)
Load more comments
Recent Posts